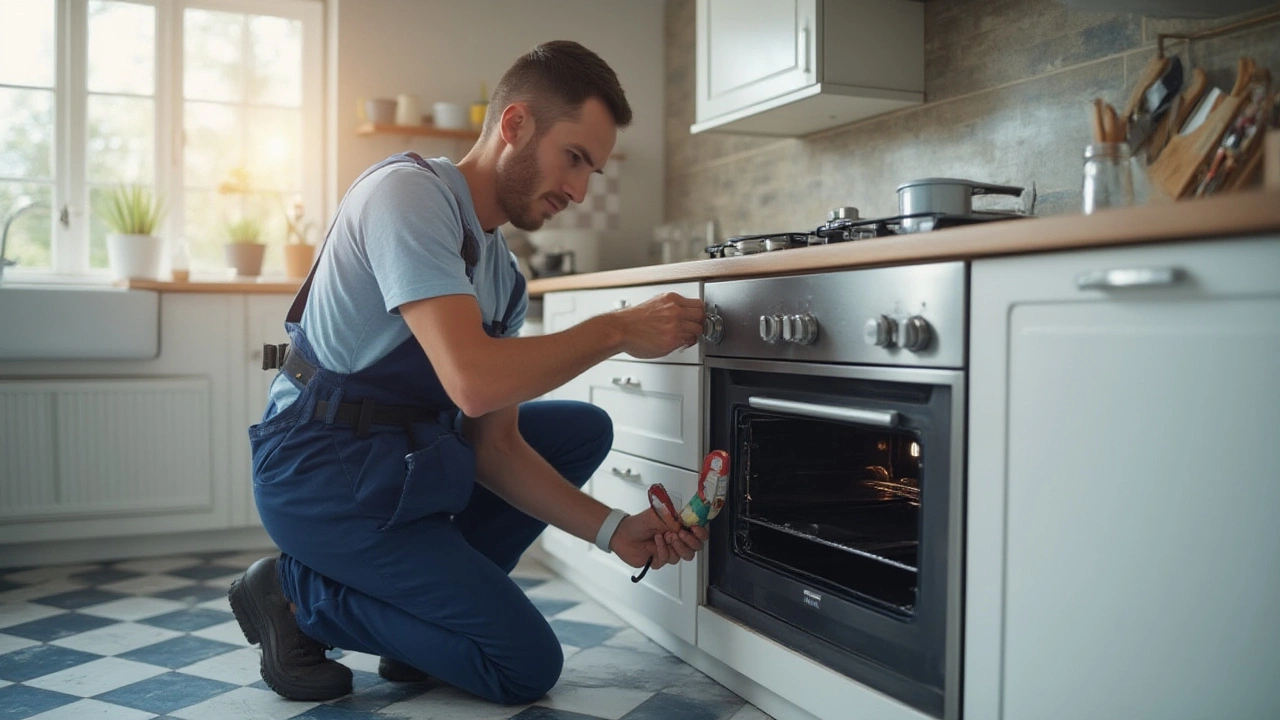
Oven Installation Made Simple: What You Need to Know
Got a new oven and not sure where to start? Installing an oven isn’t rocket science, but it does need a bit of planning, the right tools, and some safety checks. Whether you’re handling an electric or gas model, the steps are similar enough that you can follow this guide and feel confident before you call anyone.
Plan the Space and Check the Connections
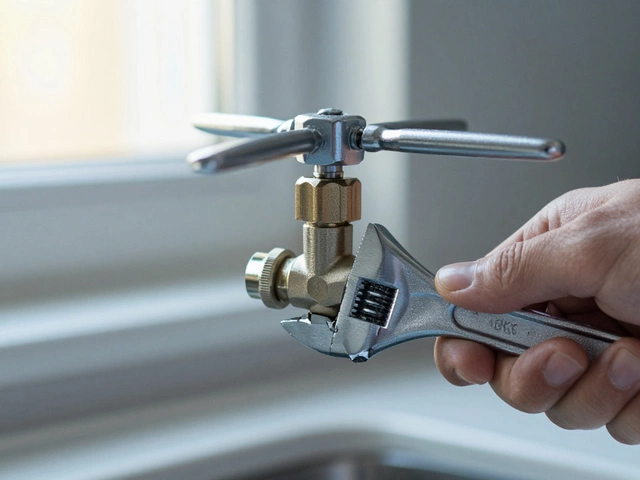
First thing – measure the cavity where the oven will sit. Leave at least 2 cm on each side for ventilation; the manufacturer’s manual will tell you the exact clearance. Next, look at the power source. Electric ovens need a dedicated 240‑V circuit with a suitable fuse. Gas ovens require a proper gas line, a shut‑off valve, and a venting system that meets local codes. If the existing wiring or piping doesn’t match, you’ll need a qualified electrician or plumber to upgrade it.
Gather these items before you start: a tape measure, level, screwdriver set, adjustable wrench, and a voltage tester. Having everything on hand saves time and stops you from mid‑job trips to the hardware store.
Step‑by‑Step Installation Process
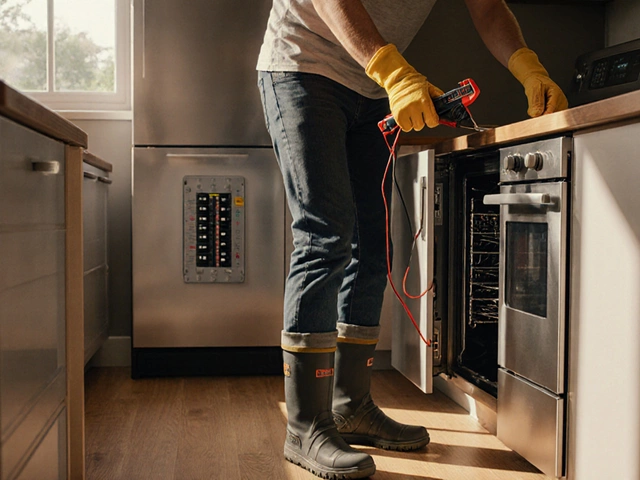
1. Turn off power and gas. For electric ovens, flip the circuit breaker. For gas, close the supply valve and wait a few minutes to clear any residual gas.
2. Remove the old oven. Unscrew the mounting brackets, pull the unit out gently, and disconnect the wiring or gas hose. Keep the old screws – you’ll need them for the new oven.
3. Prepare the new oven. Attach the supplied mounting brackets to the back of the oven. If it’s a wall‑oven, you may need to drill new holes in the cabinet side.
4. Set the oven in the cavity. Use a level to make sure it sits flat. Adjust the feet on the bottom until it’s level and sits snugly without forcing it.
5. Connect the power or gas. For electric models, match the three‑phase wires to the terminal block and tighten the screws. For gas, attach the hose with a wrench and check for leaks using a soap‑water solution – bubbles mean a leak, tighten the connection and test again.
6. Secure the oven. Re‑insert the mounting screws into the cabinet or wall studs. Double‑check that the oven doesn’t wobble.
7. Test it. Turn the breaker back on, or open the gas valve, then run the oven for a short cycle. Listen for any odd noises and make sure the heating elements or burners light correctly.
If anything feels off – a spark, a gas smell, or the oven won’t heat – shut it down immediately and call a professional. It’s better to be safe than to risk damage or injury.
When to Call the Pros
Even with a clear guide, some situations are best left to experts. If you find outdated wiring, need a new gas line, or the cabinet isn’t sturdy enough to hold the oven, a qualified installer will ensure everything meets UK building regulations. In Rugby, a local appliance repair service can also give you a same‑day quote and handle the whole job, letting you focus on cooking instead of troubleshooting.
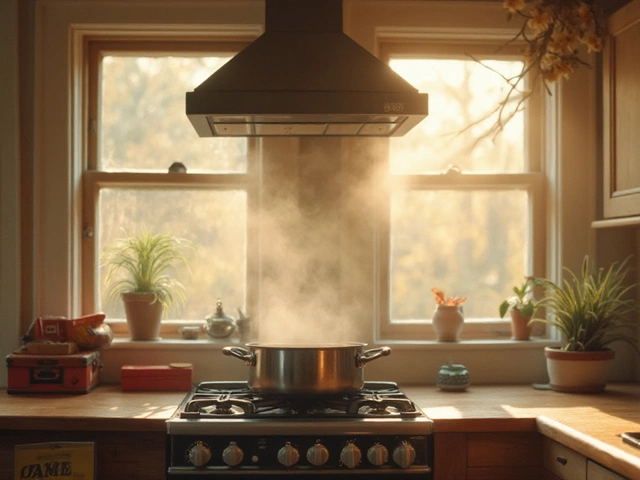
Regular maintenance keeps the oven running smooth. Clean the interior after each use, check the door seal for wear, and schedule a professional check‑up every few years if you use the oven heavily.
Bottom line: a little prep, the right tools, and a careful approach let you install most ovens yourself. When in doubt, reach out to a trusted Rugby appliance repair team – they’ll get the job done fast and safely, so you can enjoy your new oven without hassle.