Electric Oven Compatibility Checker
This tool helps you determine if your home's electrical setup is compatible with your new electric oven. Proper electrical compatibility is critical for safety and proper operation.
Key considerations:
- Most electric ovens require 240V (or 220V/230V in some regions)
- Most require a dedicated 10A circuit
- Correct grounding is essential for safety
Results will appear here after checking compatibility.
Thinking about swapping out that old electric oven on your own? You’re not alone-many homeowners wonder if a DIY swap is worth the time, money, and risk. The good news is that with the right knowledge, tools, and a strict safety mindset, you can replace an electric oven yourself. The bad news? Cutting corners on electricity work can lead to fire hazards, void warranties, and costly repairs later. Below we’ll walk through everything you need to decide whether to roll up your sleeves or call in a qualified professional.
Safety First: Know the Rules Before You Touch Anything
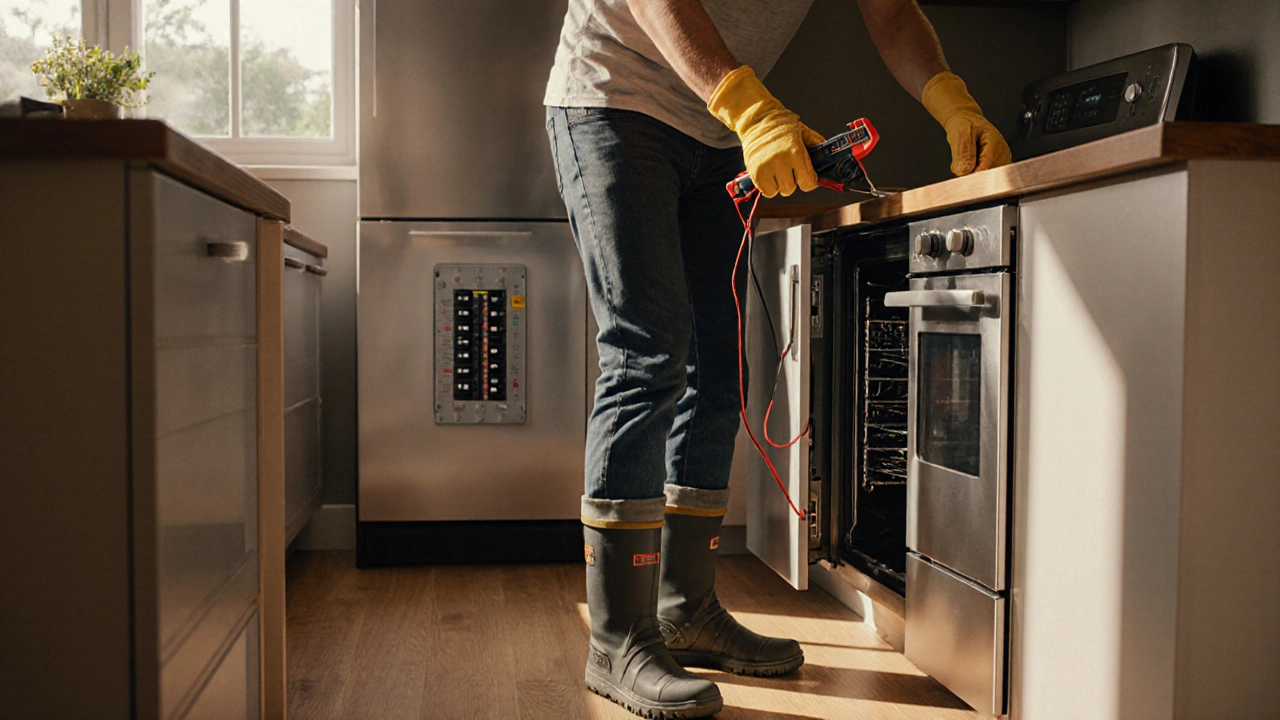
Electric Oven is a high‑voltage kitchen appliance that draws 240 V (or 220 V in some regions) and contains heating elements, thermostats, and internal wiring. Because it operates on mains electricity, Australian standards such as AS/NZS 60335 set out safety requirements for household appliances, including mandatory earthing and proper isolation must be followed. If you’re not a certified electrician, the safest route is to treat the oven’s power connections as you would any high‑current circuit: turn off the circuit breaker at the main panel, double‑check voltage with a multimeter, and never assume a wire is dead.
Key safety checkpoints:
- Verify the breaker is OFF and lock it if possible.
- Use insulated tools and wear rubber‑soled shoes.
- Inspect the power cord for nicks or exposed wires.
- Make sure the new oven’s rating matches your home’s voltage and amperage.
If any of these steps feel shaky, pause-call a qualified electrician a licensed tradesperson authorized to work on mains electricity. One mistake can turn a simple swap into a house fire.
Assess Your Skill Set and Gather the Right Tools
Before you start, ask yourself three quick questions:
- Do you have basic electrical knowledge (reading wiring diagrams, using a multimeter)?
- Can you safely move a heavy appliance (most ovens weigh 70 kg + )?
- Do you own or can you rent the required tools - a sturdy appliance dolly, screwdrivers, adjustable wrench, and a voltage tester?
If you answered “yes” to all three, you’re in a good position. If not, the cost of hiring a professional is often less than the expense of a slipped bolt or burnt wiring.
Step‑by‑Step Guide to Replacing Your Electric Oven
- Measure and Order the Correct Replacement
Note the width, height, and depth of your existing unit. Most built‑in ovens follow standard 60 cm or 90 cm widths. Also, check the installation kit includes mounting brackets, screws, and insulation pads specific to the oven model - some manufacturers sell an aftermarket kit for older cabinets.
- Prepare the Kitchen
Clear the countertop, remove any surrounding cabinetry, and protect the floor with moving blankets. Disconnect any gas lines if you share a dual‑fuel hob, though this guide focuses on electric only.
- Turn Off Power and Verify
Switch off the circuit breaker that feeds the oven. Use a multi‑meter to confirm there’s no voltage on the terminal block.
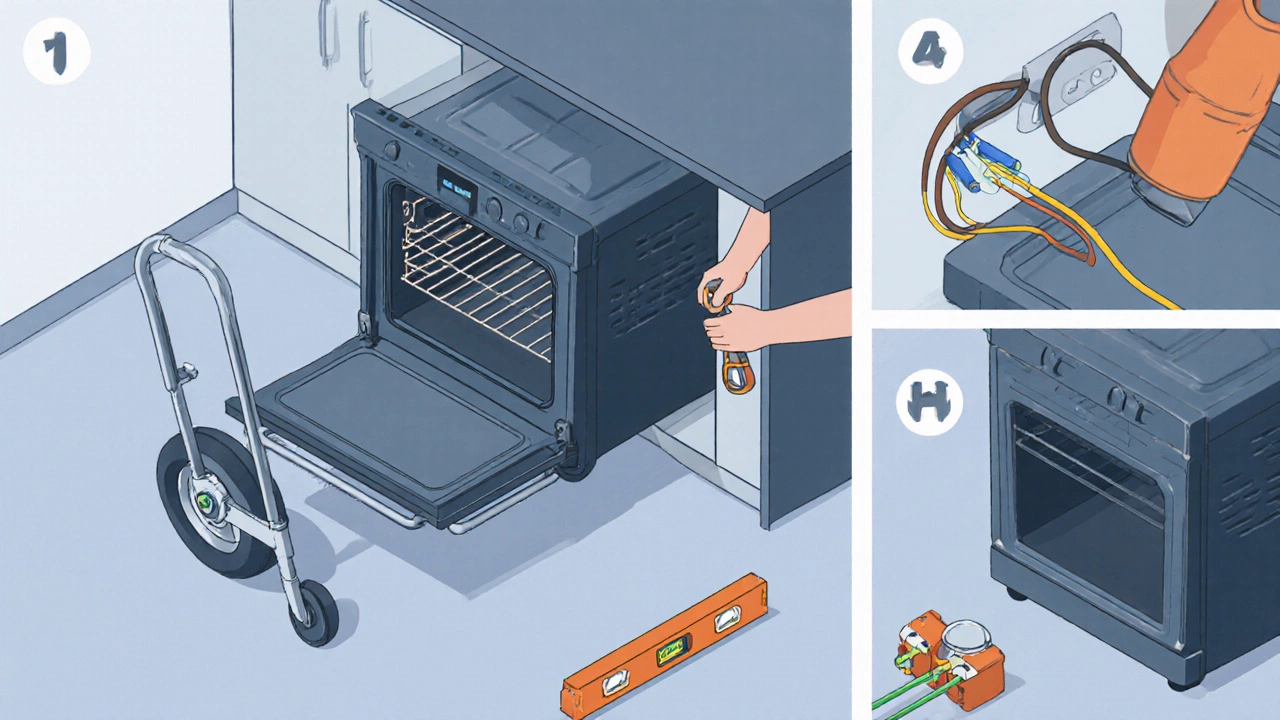
- Remove the Old Oven
Unscrew the mounting brackets (usually three to four long screws), then gently slide the oven forward. Have a helper support the weight while you disconnect the power cord - most models use a quick‑release plug, but some older units may have hard‑wired connections that require loosening terminal screws.
- Inspect and Prepare Wiring
If the old cord is damaged, replace it with a new power cord rated for 10 A + 240 V with proper earth grounding. Strip the wires, connect live (brown), neutral (blue), and earth (green/yellow) to the matching terminals, and tighten securely.
- Install the New Oven
Position the new unit on the prepared floor space, level it with a spirit level, and secure it using the installation kit. Re‑attach the power cord plug to the back of the oven, ensuring the earth pin aligns.
- Re‑connect Power and Test
Flip the circuit breaker back on. Run a quick self‑test (most ovens have a “heat‑up” button). Verify that the display lights, heating element glows, and thermostat reads correctly. If anything smells burnt or flickers, turn off power immediately and re‑check connections.
- Finish Up
Replace any removed cabinetry, reinstall side panels, and clean the oven interior before its first use.
That’s the whole process. It can take anywhere from two to four hours, depending on how snug your cabinet fit is and whether you run into wiring quirks.
When to Call a Professional
Even seasoned DIYers hit a wall. Here are red‑flag scenarios where hiring a qualified electrician is the smart move:
- The existing wiring is outdated (e.g., no dedicated 10 A circuit).
- You discover a broken earth connection or corroded terminal block.
- Your home uses a different voltage standard (e.g., 230 V in some Australian regions).
- You lack the equipment to safely lift the oven.
- The new oven requires a built‑in convection fan that must be ducted externally.
Professionals can also provide a compliance certificate, which may be required for insurance or resale.
DIY vs Professional Replacement - Quick Comparison
| Factor | Do‑It‑Yourself | Hire a Professional |
|---|---|---|
| Up‑front Cost | Tool rental + oven price (≈ AU$200‑500) | Labor + possible permit (≈ AU$300‑800) |
| Time Investment | 2‑4 hours + prep | 1‑2 hours (plus scheduling) |
| Risk Level | Electrical shock, fire, warranty void | Low - licensed work ensures compliance |
| Warranty Impact | May be void if installer not authorized | Preserved - installer provides certificate |
| Skill Requirement | Basic electrical knowledge + heavy‑lifting | No technical skill needed |
Use this table to decide which route aligns with your budget, confidence level, and timeline.
Common Pitfalls & Pro Tips
- Pitfall: Forgetting to level the oven. Pro tip: Use a spirit level; uneven placement can stress the door hinges and cause uneven heating.
- Pitfall: Over‑tightening wiring screws and cracking terminals. Pro tip: Hand‑tighten until snug; a little give prevents stress.
- Pitfall: Ignoring the earth (ground) connection. Pro tip: The earth wire must be solid; test continuity with a multimeter before powering up.
- Pitfall: Relying on old mounting brackets that are rusted. Pro tip: Replace with new brackets from the installation kit - they’re usually stainless steel.
Pre‑Installation Checklist
- Measure cabinet opening (width, height, depth).
- Confirm oven voltage/amperage matches home circuit.
- Gather tools: appliance dolly, screwdriver set, adjustable wrench, multimeter, level.
- Order compatible installation kit if original brackets are missing.
- Turn off and lock the relevant circuit breaker.
- Check that the new oven’s warranty allows DIY installation (some brands require a certified installer).
- Have a helper ready to support the oven’s weight.
Frequently Asked Questions
Do I need a permit to replace an electric oven?
In most Australian states, a standard 240 V oven can be swapped without a building permit, as long as you use an existing dedicated circuit and the work meets AS/NZS 60335. However, if you’re adding a new circuit or altering wiring, a licensed electrician must obtain the appropriate approval.
Can I reuse the old oven’s power cord?
Only if the cord is in perfect condition, with an intact earth wire and no cracks. Most experts recommend buying a new cord that matches the oven’s amperage rating to avoid hidden wear.
How heavy is a typical built‑in electric oven?
A 60 cm model usually weighs 70‑85 kg, while a 90 cm version can tip over 100 kg. Always use a sturdy dolly and have at least one strong helper.
What should I do if the new oven won’t heat after installation?
First, double‑check the power connection and make sure the earth is secure. Then verify the circuit breaker is on the correct setting (10 A for most ovens). If everything checks out, the heating element may be faulty - contact the retailer or a technician.
Will a DIY replacement void my oven’s warranty?
Many manufacturers require a certified installer for the warranty to stay valid. Check the warranty booklet; if it says “installation by a licensed electrician required,” you should follow that.