Extractor fans are the unsung heroes of our kitchens. They're hard at work, keeping smells at bay and ensuring good air circulation while we whip up delicious meals. But like any hero, they sometimes need a helping hand. If you've noticed your fan isn't quite pulling its weight anymore, it might be time to roll up your sleeves and give it a little TLC.
Before you decide on spending big bucks on a new fan or professional repair services, consider diving into the world of DIY repairs. With some basic knowledge and a few tools, you might be able to solve common problems yourself. Understanding how your extractor fan operates is the first step in tackling any issues. From strange noises to reduced suction power, let's explore how you can bring your kitchen buddy back to life.
- Understanding How Extractor Fans Work
- Common Issues with Kitchen Extractor Fans
- Checking for Simple Fixes
- Replacing Filter Components
- When to Call a Professional
- Prevention and Maintenance Tips
Understanding How Extractor Fans Work
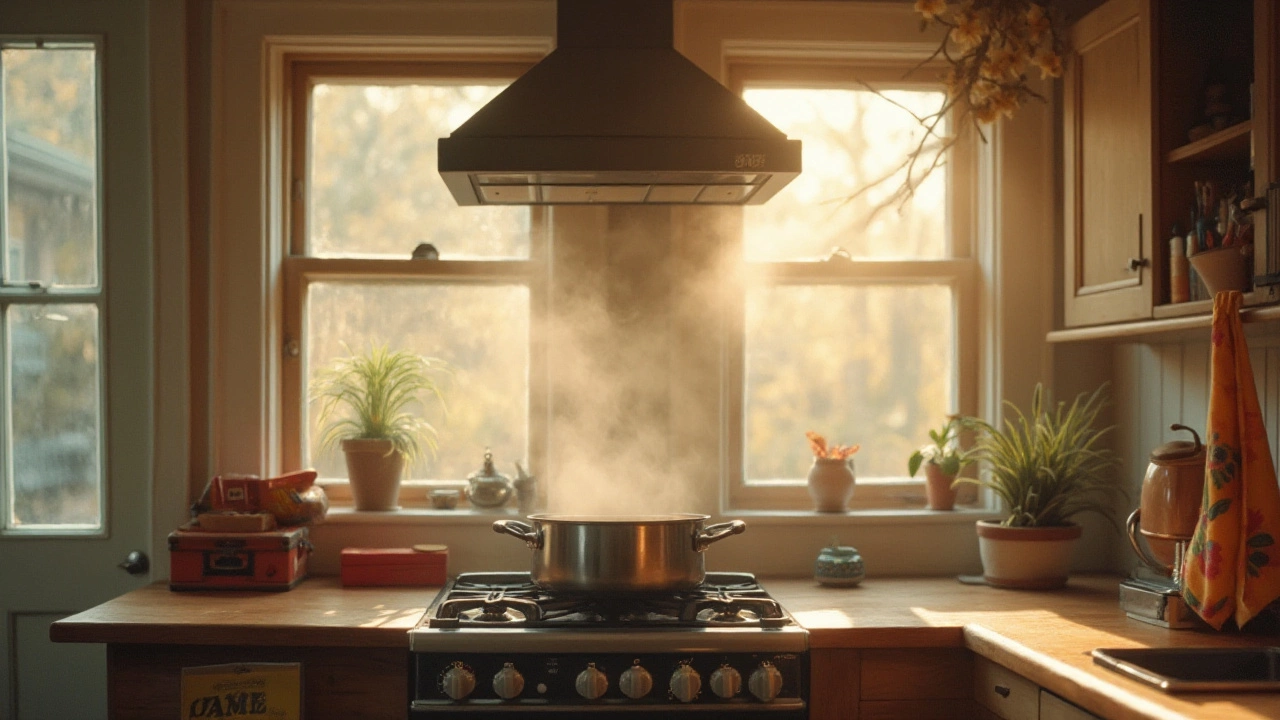
At the heart of any kitchen's ventilation system lies the kitchen extractor fan, an essential device designed to improve air quality by expelling smoke, steam, and cooking odors. The fan operates through a series of components working in harmony. Typically, the system includes a fan motor, a series of blades, and either a duct leading to the outside environment or a filter-based recirculation system. Through its mechanism, it effectively pulls in polluted air and either filters it or redirects it outdoors. Historically, the modern kitchen's focus on open-plan living spaces has amplified the importance of these appliances, necessitating efficiency and aesthetic design to coexist harmoniously.
Delving into its inner workings, the fan itself is driven by an electric motor. This motor enhances the air extraction capabilities by rotating vanes or blades. Fast-paced rotation creates a pressure difference, which is what most people attribute to the fan's suction ability. As it rotates, air is drawn through an internal duct or filter, capturing particles and odor molecules. The importance of regular maintenance cannot be overstated, as experiences show that performance declines drastically when filters remain unchanged or blades become encrusted with grime. Furthermore, many modern extractor fans integrate advanced technologies, such as activated carbon filters. Not all fans are built the same; some boast centrifugal mechanisms that enhance airflow through increased velocity and payout pressure.
For those contemplating a deep dive into how this all meshes together, it’s worth considering this observation by energy-efficiency expert Dr. Sarah Thompson:
"The efficiency of an extractor fan often reflects the synergy between its motor capability and the design of the ductwork. Proper installations can result in a reduction of indoor pollutants by up to 80%."This highlights the potential benefit of understanding not only the fan but also its environment.
Moreover, when it comes to ducted extractor fans, they typically connect to an exterior vent, shuttling aromatic compounds and lesser airborne oils out of the kitchen. A series of pipes ensure the air passes seamlessly. Alternatively, non-ducted ranges integrate charcoal or grease filters that capture some odors before recirculating the cleaned air. Within any DIY repairs context, understanding this structural difference is vital. To round off this explanation, consider practicing regular inspections and paying particular attention to any changes in noise levels or extraction prowess, as these could signal underlying mechanical issues. Much like how bridge architects account for and adapt to various constraints, similarly, extractor fan function hinges on balancing design, structure, and property-specific variables.
Common Issues with Kitchen Extractor Fans
Everyone who has ever spent some time in the kitchen knows the importance of a kitchen extractor fan. Though it works silently, its absence or malfunction can be glaringly apparent. Over time, these handy appliances can face some common issues, disrupting the airflow and affecting their efficiency. One of the first things that users notice is the obvious reduction in the fan’s suction power. Proper ventilation might be hampered if the motor is struggling to work. Motor fatigue often results from overuse or a clogged filter. Grimy filters are a usual suspect lurking behind these inefficiency issues. Filters can capture grease and oil particles, but when they're clogged, not only does suction reduce, but also air quality suffers inside the kitchen. So, replacing or cleaning your filters regularly can be beneficial.
Another bothersome issue comes in the form of unusual noises. A well-functioning extractor fan should hum along quietly; any jarring noises could signal loose parts or debris lodged in the fan blades. This is not just an auditory issue but can lead to more significant damage if not addressed timely. While noise complaints usually mean mechanical interference, be sure to check for a misalignment of parts or screws. More serious still, occasionally the fan may not start at all or shuts off unexpectedly. This issue might be due to electrical wiring problems or a burnt-out motor that needs replacement. Loose wiring or faulty electricals can cause hazardous conditions, so a careful inspection may save potential disasters.
Manufacturers now make myriad models, each with its quirks, but it’s not rare for fans to vibrate excessively. While this might be due to the fan being improperly installed, it could also indicate issues with the fan blades being unbalanced. Balance is crucial since imbalance further exacerbates wear on the unit’s components over time. Regular maintenance checks can circumvent such persistent issues. If you’re ever unsure about the cause, do not hesitate to reach out for professional advice. Remember, understanding these components can spell the difference between a quick DIY fix and the need for professional intervention. As one respected technician puts it,
'The secret to a long-lasting appliance is regular care and understanding what makes it tick.' - Alex Merton
In some rare instances, users might encounter peculiar, lingering odors despite running the extractor fan. Contrary to its raison d'être, if the fan doesn't efficiently eliminate cooking smells, it could be due to either clogged filters or inadequate power to clear fumes entirely. Be on the lookout for these unusual signs. Repeated issues may arise if refurbishing or replacing units is prolonged. Each model may have distinct instructions, so referring to the manufacturer's guide can sometimes do wonders. A simple reset or recalibration is sometimes all it takes, but knowing your particular model's traits can save time and resource investment. Don't wait until a minor problem grows wings; keeping on top of maintenance can lead to years of odor-free cooking easing the cluttered air in your kitchen.
Checking for Simple Fixes
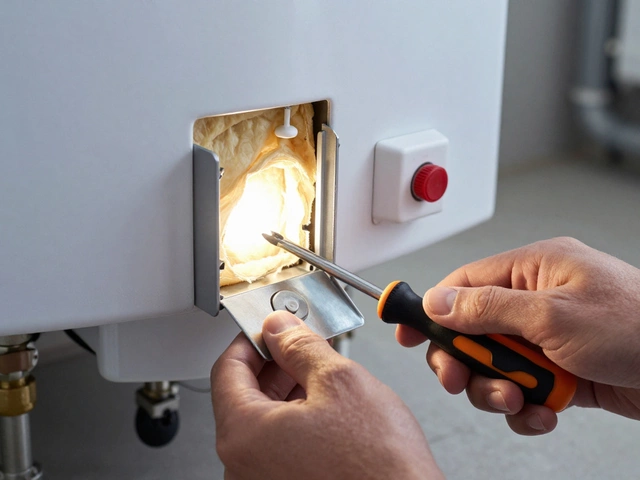
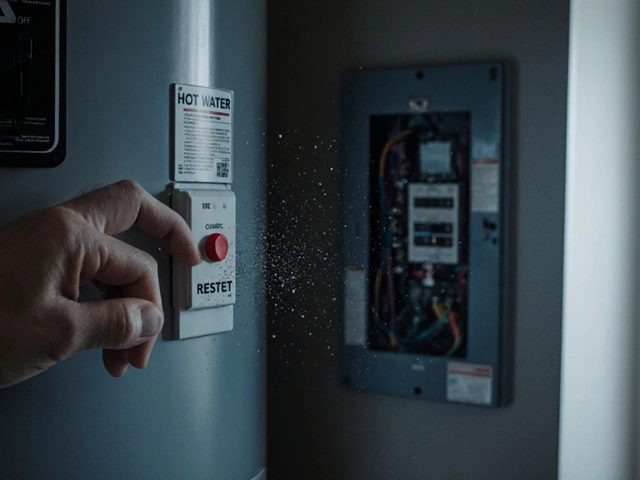
When your kitchen extractor fan isn't performing at its best, it's tempting to think the worst. But more often than not, the issue can be a simple one. The first target for investigation should be your fan's power source. Make sure it's securely plugged in and that circuit breakers haven't been tripped. It's surprising how often something as simple as a loose connection or a flipped breaker can be the culprit, bringing your fan back to life without any costly interventions.
If the fan's power source checks out, consider examining the blades and filters next. Over time, these parts can accumulate significant amounts of grease and grime, impeding their motion and effectiveness. A meticulous cleaning session might be all you need to solve the problem. Cleaning solutions can be conjured up from common household items such as baking soda and vinegar, which are both effective and eco-friendly. If the blades are dirty, soak them in a baking soda solution to break down built-up grease faster.
Another frequent issue is a worn-out or damaged filter. Extractor fans come with removable filters, which can either be washed or replaced effortlessly. If your filter looks to be on its last legs, replacing it can lead to a marked improvement in the fan's performance. It's a straightforward task that doesn't require any technical wizardry. Most replacement filters can be found in local hardware stores or online without putting too much of a dent in your wallet. According to an insightful article in "Home Appliance Tech":
"Regular maintenance and timely filter replacements can extend the life of an extractor fan by up to five years."
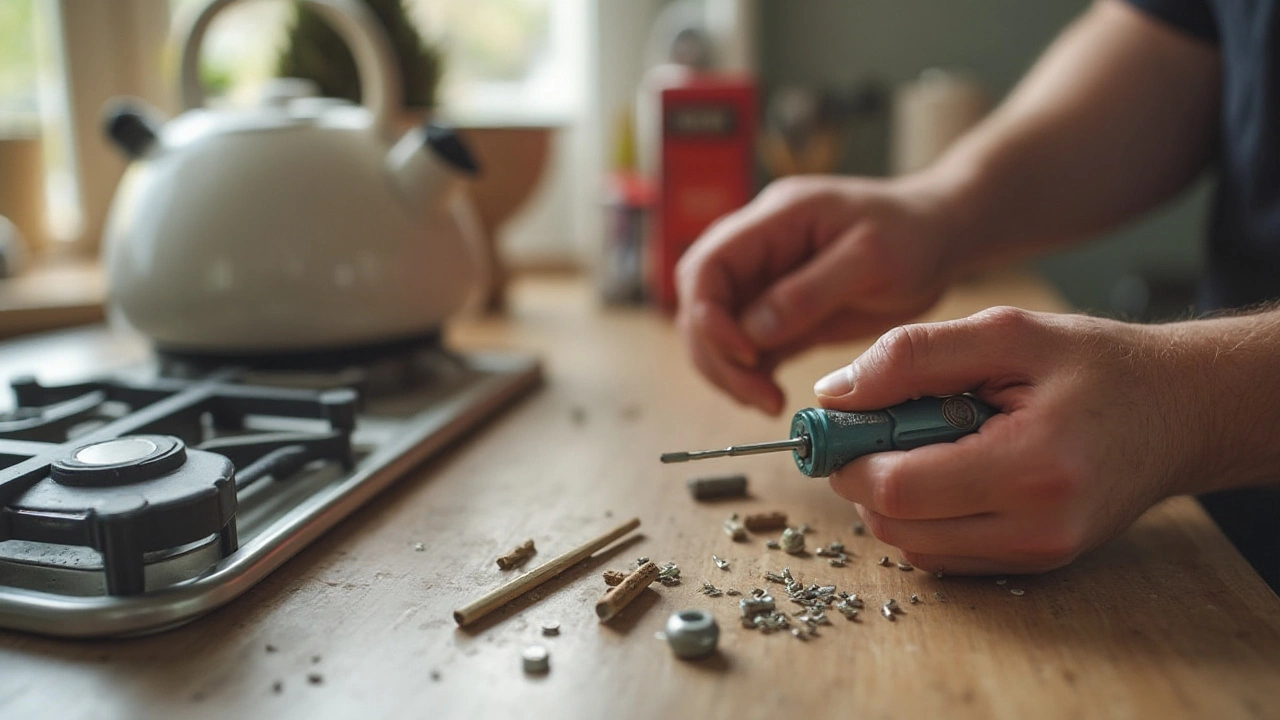
At times, the issue can be mechanical, such as a misalignment of the fan blades or loose screws holding parts together. Check if the blades rotate freely by giving them a spin. If they're blocked or scraping against something, gently adjust them until they move unobstructed. Tighten any loose screws or fasteners to ensure everything is securely in place. It's these minor adjustments that can sometimes make a world of difference in fan operation.
If these initial checks don't resolve the problem, a little deeper digging might be required. Consider listening closely for any unusual noises when the fan is on. If there is a persistent humming, buzzing, or rattling, it could indicate an issue with the fan’s motor. While motor repair can be more technical, sometimes a simple lubrication of the moving parts can smooth out any operational hiccups. Using a silicone-based lubricant ensures parts remain efficiently silent and less prone to wear.
Before you get overwhelmed by the thought of picking up a tool kit, remember: addressing small issues before they escalate is the best course of action. With a few simple checks, you might just save yourself a heap of trouble. Not only will you return your kitchen to its fresh-smelling state, but you'll also gain the satisfaction of a job well done. Taking proactive measures in the face of this humble but essential home appliance can make all the difference.
Replacing Filter Components
When it comes to keeping your kitchen extractor fan in top-notch condition, paying attention to the filters is crucial. They play an important role in ensuring the air in your kitchen remains fresh and free from unwanted particles. Depending on the model, you may have either charcoal or grease filters. These need periodic replacement to maintain efficiency. Now, let's dive into changing those all-important components.
Firstly, before starting, check your fan's manual to confirm the type of filters you have. It's also a good idea to familiarise yourself with the model number. Replacement filters can often be ordered online or found in hardware stores. Remove the old filter; this is typically straightforward, involving a click or unscrewing. Pay attention here—some fans might require a gentle tug, while others demand a slight twist. If you aren't gentle, you risk damaging the clips or mounts, leaving your fan repair job incomplete.
Once the old filter is out, you can better understand how much grime it has accumulated, which is a good indicator of how often future replacements will be necessary. Clean the surrounding area to ensure that no excess dirt impairs the fitting of your new filter. A moist cloth should do the trick. Now, slot in the new filter carefully, ensuring that it sits snugly and securely. This step might be simple yet requires a bit of patience to avoid misalignment.
Maintaining Longevity
An often-overlooked part of this process is keeping the vents clear. Sometimes, grease builds up not just on the filters but on the fan blades and housing as well. To maintain your kitchen ventilation system, wipe these areas down carefully during each filter change. It might be worth noting that not all filters are created equal. Those made from charcoal can neutralize odors more effectively but may require more frequent changes. On the other hand, metal mesh grease filters can be washed and reused, usually lasting a bit longer.
According to a study by the Kitchen Ventilation Association, "regular maintenance of kitchen extractor fans can prolong their life by up to 30%." This statistic underscores the importance of not ignoring these elements of your kitchen setup.
These tasks can seem tedious, but they pay off in terms of air quality and fan lifespan. Keeping an eye on the efficiency of your kitchen extractor directly impacts your quality of life. Our kitchens are places of creation and joy; the last thing we want is a malfunction due to a neglected appliance.

When to Call a Professional
Deciding when to enlist a professional for your kitchen extractor fan issues can play a significant role in maintaining both functionality and safety in your home. Sometimes, despite your best DIY efforts, a problem may persist that requires the nuanced expertise of someone trained in the intricacies of electronic appliances. Knowing when to step back can save both time and costly mistakes. One major red flag is if you encounter electrical issues, like the fan not turning on at all or a constant tripping of your circuit breaker. These problems could indicate deeper electrical faults that pose a fire risk and aren't typically within the realm of DIY fixes. Certainly, any signs of burned or melted wires should never be ignored.
Additionally, intricate mechanical faults, such as motor failures or bearings that need replacing, require specific tools and knowledge. Though dismantling parts might seem straightforward, knowing the right way to put them back together isn't always as simple. Professional repair technicians are equipped not only with the right tools, but also with the manufacturer's know-how. They can quickly source and replace specific parts that are failing. Moreover, a professional can test air pressure and assess proper ventilation, which assures that your fan is working optimally without noise pollution or loss in energy efficiency.
One technician noted in an article by Home Appliance Repair News, "Attempting to fix complex internal parts without proper guidance can sometimes cause further damage, leading to more expense than initially anticipated."
Another consideration for calling a professional is related to warranty. If your fan repair necessitates replacing parts, doing so yourself might void your warranty. Professionals often keep records of their repairs and can handle necessary paperwork if replacements are covered under manufacturer warranties. Don't underestimate the value of expertise in recognizing the nuances of warranty agreements and their limitations.
If you're hesitant about the longevity and reliable operation of your fan after a home reparation, professional technicians can conduct a wide array of diagnostic tests to make sure your repair has returned the fan to its optimal state. These tests are not easily duplicated by an amateur since they may involve specialized equipment designed to measure air flow rates, pressure, and noise levels.
Here's a helpful guideline to know when DIY should transition to professional intervention:
- Persistent electrical issues, including frequent tripping of circuits.
- Smoke or burning smells during operation.
- Null response from the fan or inconsistent performance.
- Failures related to the motor or intricate component replacements.
- Your warranty is at risk if touched by non-professionals.
- Lack of significant improvement after basic DIY troubleshooting.
In essence, evaluate the risks versus the rewards of attempting fixes yourself. Understanding limits and making the decision to reach out for professional kitchen ventilation expertise can be the best course in preserving not only the appliance but the comfort and safety of your home.
Prevention and Maintenance Tips
Kitchens can be bustling places, full of activity and, quite often, airborne particles that can clog even the most efficient kitchen extractor fan over time. Regular maintenance isn't just about keeping your fan in top shape; it's about ensuring the air quality in your home remains fresh and pleasant. The first point of call for fan maintenance is to make it part of your regular kitchen cleaning routine. Keeping the fan's external and internal components clean can drastically reduce the chance of mechanical issues arising. A general rule of thumb is to clean the fan both inside and out every three months. This can be more frequent if you cook very often or fry a lot of foods.
One of the simplest yet most significant maintenance tips is regular filter checks. Your extractor fan may have a charcoal filter or a metal grease filter. The charcoal filters often require replacement, which is generally every three to six months, depending on usage. Meanwhile, metal grease filters should be washed. A simple soaking in hot, soapy water should be enough to break down grease build-up, followed by a rinse and air dry. By maintaining clean filters, you ensure the device functions at maximum efficiency, ventilating your kitchen as it should.
Next, it’s vital to pay attention to the fan's ducts. Blockages can occur in the ductwork, affecting the fan's ability to ventilate. At least twice a year, inspect ducts for blockages or kinks. If the duct is too long or winds unnecessarily around other kitchen structures, it might need shortening for optimal performance. Also, check the outside vent cover to ensure it’s not obstructed by debris like leaves or dust. If your home often suffers from high humidity or excessive smoke, vent covers might need checking more often.
Lubricating the fan's motor and moving parts can never be understated. Every six months, consider applying a bit of lightweight oil to the motor bearings. This can prevent the familiar yet annoying squeaks and also extend the life of the fan. Be cautious, though, and ensure the appliance is turned off when performing this task to prevent mishaps.
According to Appliance Advisor, "A little oil goes a long way in preserving the longevity of fan motors and prevents against the grinding sounds that often precede motor failure."While it might feel unnecessary, taking these small steps minimizes costly repairs in the long run.
Preventative maintenance is a money-saver. Rather than dealing with costly replacements or professional repairs, taking the time to understand and care for your fan repair needs keeps kitchen costs down. To make things easier, maintain a maintenance checklist specific to each of your kitchen appliances. This way, you can track when you last serviced each part and stay ahead of any potential issues. Lastly, bear in mind that consistent maintenance isn't only about immediate satisfaction; it safeguards your appliance investment for years to come.