Electric Oven Installation – What You Need to Know
Getting a new electric oven into your kitchen can feel like a big job, but it doesn’t have to be scary. A proper install keeps the oven working well and makes sure your home stays safe. In Rugby, the rules are clear: any work that touches the mains electricity should be done right, or you could end up with a fire hazard or an illegal wiring job.
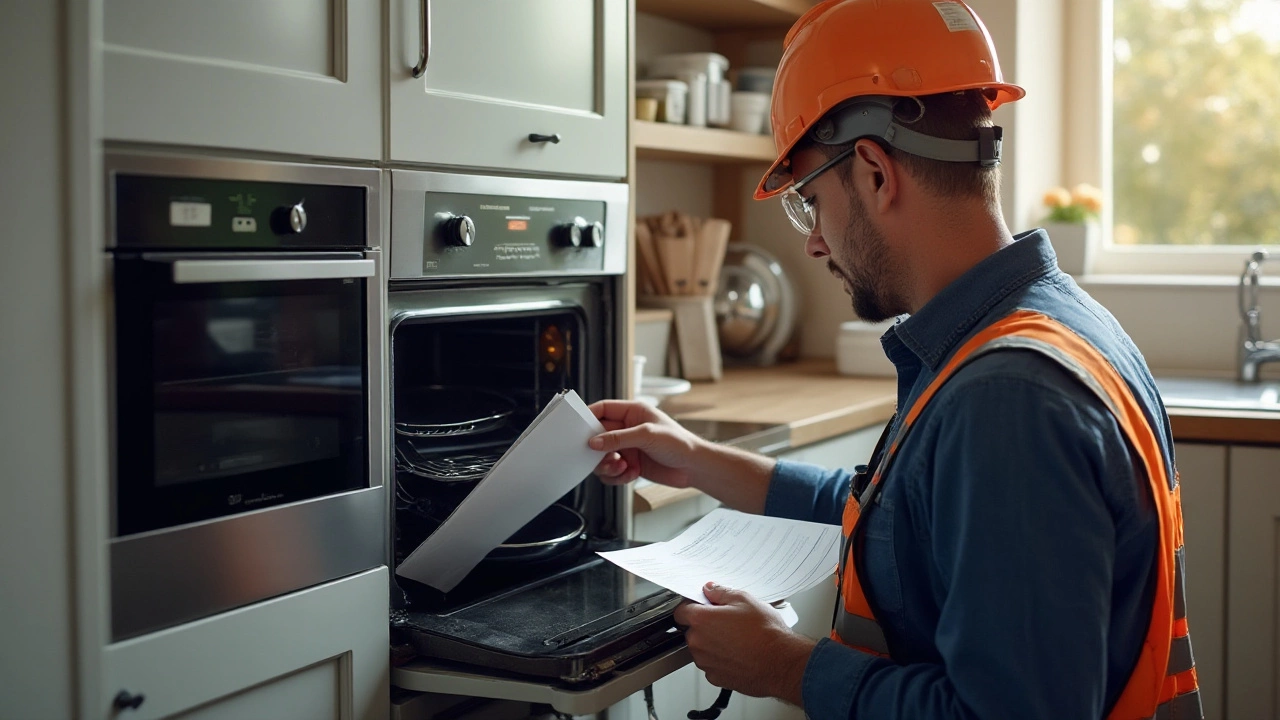
Do You Really Need an Electrician?
In the UK, the law says a qualified electrician must handle any connection to the fixed wiring. That means if your oven needs a dedicated circuit, a new plug‑in socket, or any hard‑wired connection, call a pro. An electrician will check that the circuit is correctly rated (usually 13 A for a standard oven) and that the earth wire is solid. They’ll also make sure the work is recorded for future sales or insurance.
However, if your oven simply plugs into an existing, correctly rated socket and the socket is in good condition, you can often do the install yourself. Just double‑check the socket’s rating, turn the power off at the consumer unit, and make sure the plug fits snugly. When in doubt, it’s cheaper to spend a little on a qualified electrician than to fix a mistake later.
Step‑by‑step DIY Installation
1. Read the manual. Every oven comes with its own wiring diagram and clearance requirements. Follow the guide exactly.
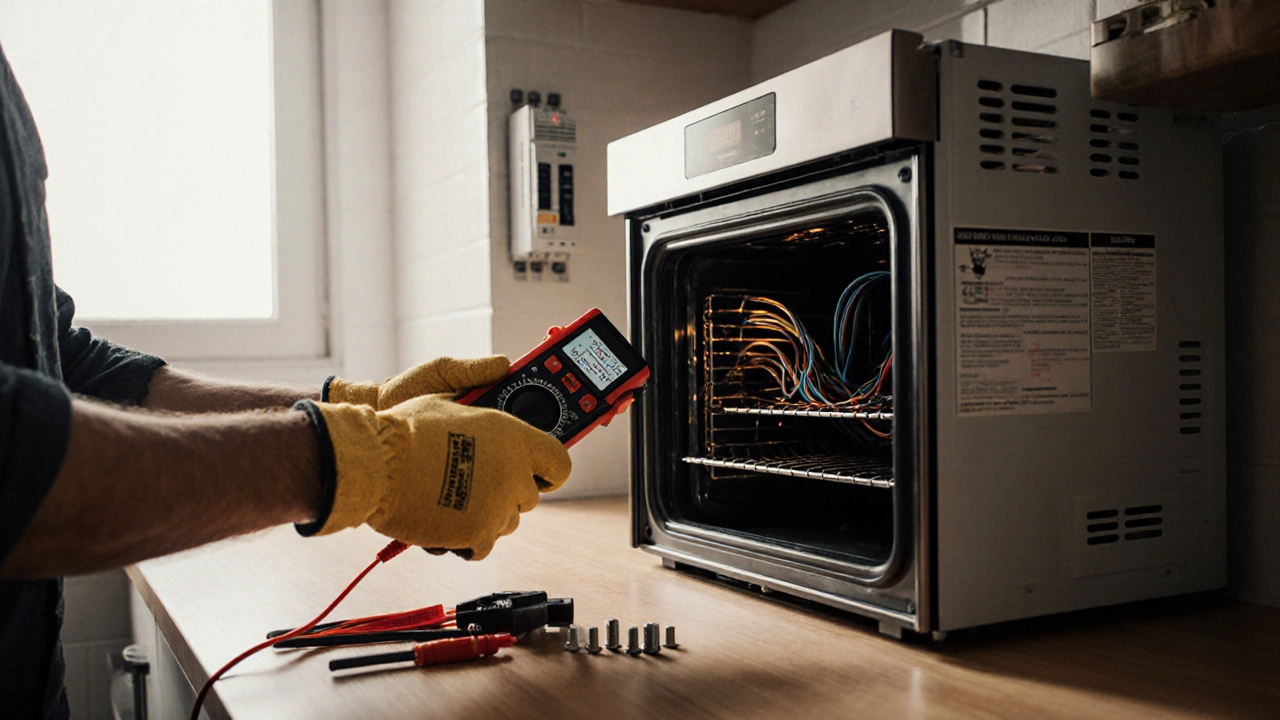
2. Turn off the power. Switch off the relevant fuse or circuit breaker. Use a voltage tester on the socket to be sure it’s dead.
3. Check the location. Make sure there’s enough space around the oven for ventilation. The manual will tell you the minimum clearances at the back and sides.
4. Prepare the socket. If you need a new socket, install a 13 A fused socket with an earth terminal. Use a three‑core cable (live, neutral, earth) with at least 2.5 mm² cross‑section.
5. Connect the plug. Strip the cable, connect live to the brown wire, neutral to blue, and earth to the green‑yellow wire. Tighten the screws securely.
6. Secure the oven. Slide the oven into place, level it with a spirit level, and tighten any mounting brackets. A wobbling oven can cause uneven heating and extra wear.
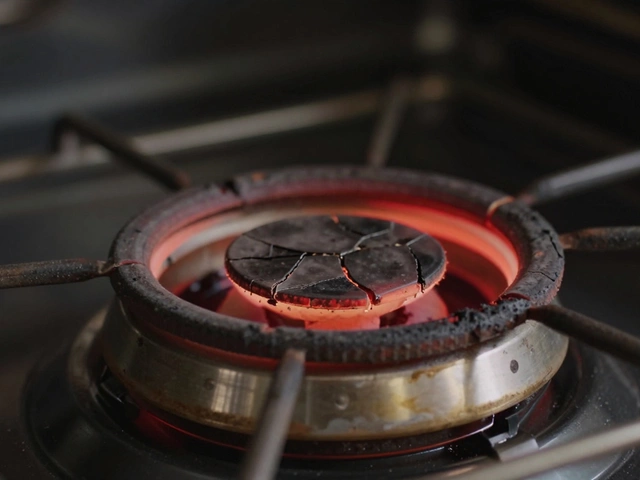
7. Power up and test. Turn the breaker back on, set the oven to a low temperature, and watch for any odd smells or tripping. If everything runs smooth, you’re done.
8. Final safety check. Make sure the oven door closes fully, the vent isn’t blocked, and the surrounding cabinets aren’t too close to the hot surface.
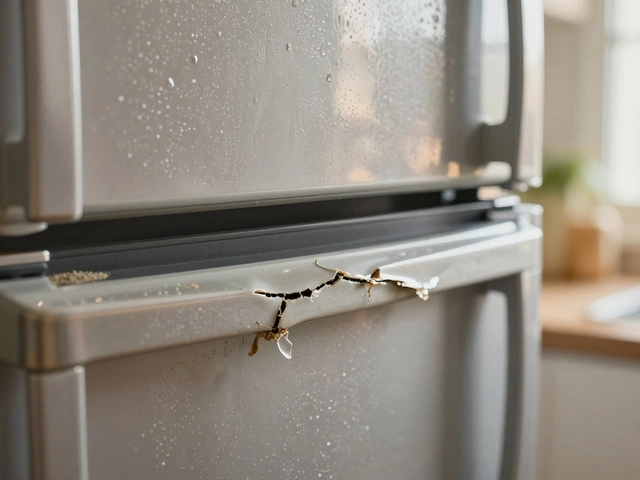
If at any point you feel unsure – especially when dealing with the wiring – stop and call an electrician. It’s better to be safe than to risk a faulty connection that could damage the oven or start a fire.
Need a hand? Rugby Appliance Repair Services can arrange a qualified electrician to finish the job, or we can take over the whole installation for you. Give us a call and we’ll get your new oven up and running quickly and safely.