Replacing an electric oven isn’t like swapping out a light bulb. It’s heavy, it’s wired into your home’s electrical system, and one mistake can leave you without power-or worse, cause a fire. But if you’ve got basic tools, some patience, and a clear head, you can do it yourself. No need to pay $300 for a technician to swap a unit that’s 15 years old and ready for retirement.
When DIY Makes Sense
You should only attempt this if your old oven is completely dead, the heating elements are burnt out, or the control panel is fried beyond repair. If it’s just a broken door hinge or a faulty timer, fix those parts instead. Replacing the whole unit is worth it when the cost of repairs hits 60% of a new oven’s price. That’s the rule of thumb most appliance repair techs use.
Also, make sure your new oven matches the old one in size, depth, and voltage. Most standard electric ovens in Australian homes run on 240V and are 60cm wide. If your old one was 70cm, you’ll need to modify your cabinetry. That’s not a DIY job-it’s a carpenter’s job.
What You’ll Need
- New electric oven (double-check model number and dimensions)
- Insulated gloves
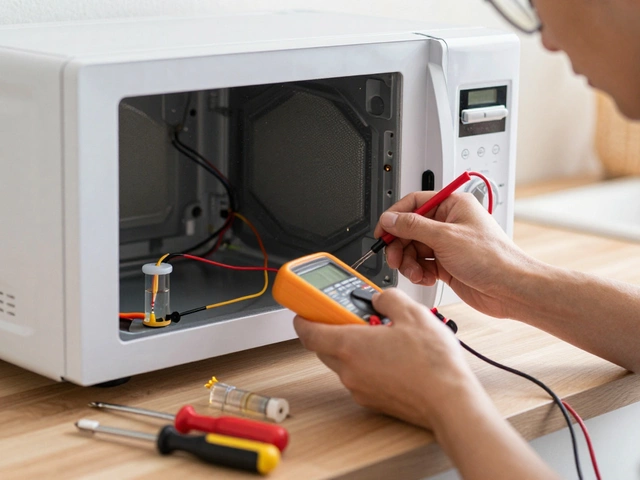
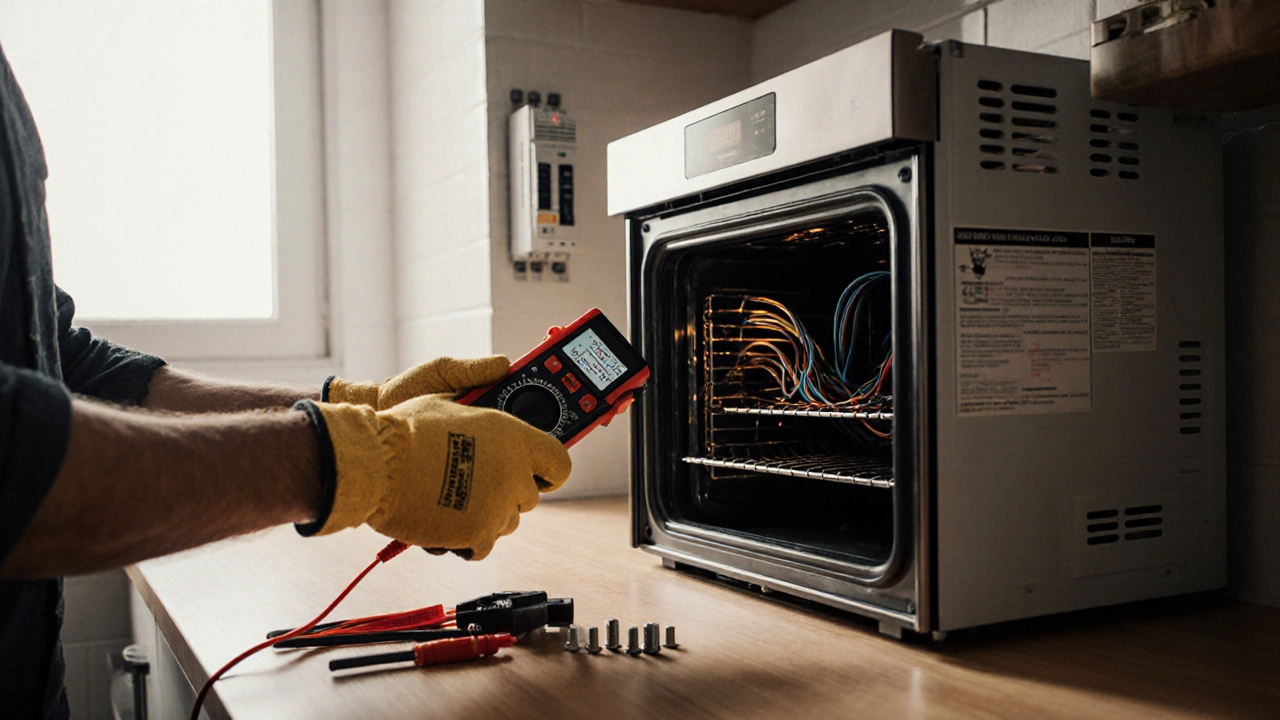
- Voltage tester (non-contact is fine)
- Phillips and flathead screwdrivers
- Adjustable wrench
- Flashlight
- Helper (ovens are heavy-think 40kg to 70kg)
- Electrical tape and wire nuts (if rewiring)
Don’t skip the voltage tester. Even if you turned off the circuit breaker, you need to confirm the wires are dead. I’ve seen people assume the breaker was off-and get zapped because someone else had flipped the wrong one.
Step-by-Step: Removing the Old Oven
- Turn off the power. Go to your switchboard and flip the breaker for the oven. Label it with tape so no one turns it back on accidentally.
- Unplug the oven (if it has a plug). Most built-in ovens don’t-they’re hardwired. If yours is plugged in, you’re lucky. Just unplug it and move on.
- Remove the oven door. Most doors detach by lifting slightly and pulling forward. Check your manual or look for release clips on the hinges.
- Clear the space. Take out the racks, trim any nearby shelves, and clear the countertop. You’ll need room to slide the oven out.
- Access the wiring. Pull the oven out about 15cm. You’ll see a junction box behind it, usually covered by a metal plate. Unscrew the plate.
- Test the wires. Use your voltage tester on each wire: black (live), red (live), white (neutral), and green or bare (earth). If any show voltage, stop. You didn’t turn off the right breaker.
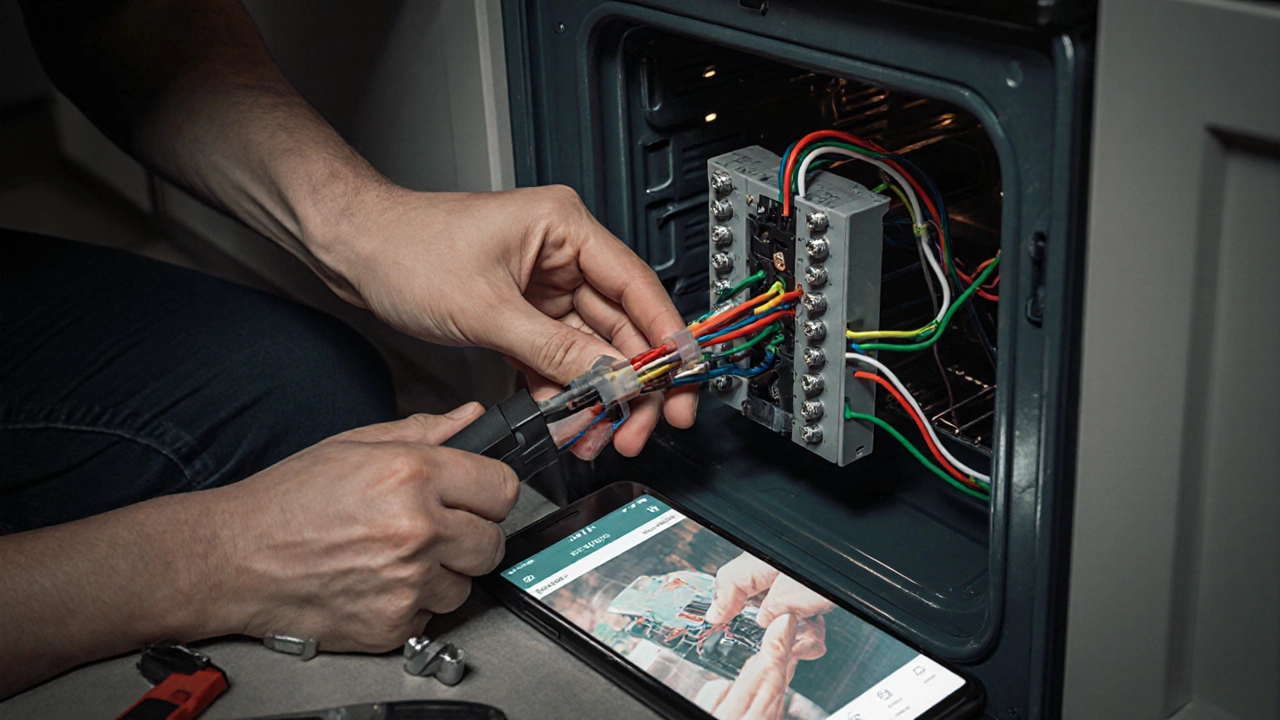
- Disconnect the wires. Unscrew the terminal screws holding each wire. Keep them separated. Take a photo of how they’re connected before you disconnect. This is your reference.
- Remove mounting screws. Look for screws on the top or sides of the oven frame that attach it to the cabinet. Remove them.
- Slide it out. Have your helper hold the front while you pull the oven out slowly. Watch for the wires-don’t yank them.
Installing the New Oven
- Check the new oven’s wiring. Most new ovens come with a flexible cable and terminal block. If your old oven had a hardwired connection, you’ll need to connect the new one the same way. Don’t use a plug unless the manufacturer says it’s okay.
- Match the wires. Connect black to black, red to red, white to white, and green/bare to earth. Use wire nuts if the terminals don’t match. Wrap each connection with electrical tape for extra safety.
- Secure the junction box. Tuck the wires neatly back into the box. Replace the cover plate.
- Slide the oven in. Again, use your helper. Align the oven with the cutout and push it in slowly. Don’t let the wires get pinched.
- Reattach mounting screws. Screw the oven into the cabinet from the top or sides. It should feel solid-no wobble.
- Reinstall the door. Slide the hinges back into place and lower the door until it clicks.
- Turn the power back on. Go to the switchboard and flip the breaker. Don’t rush this step.
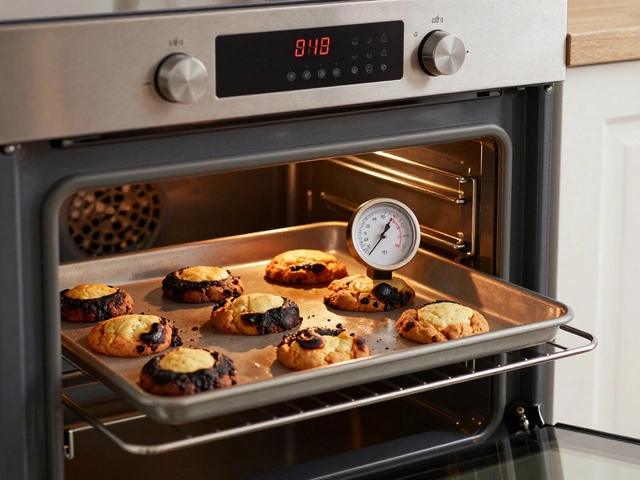
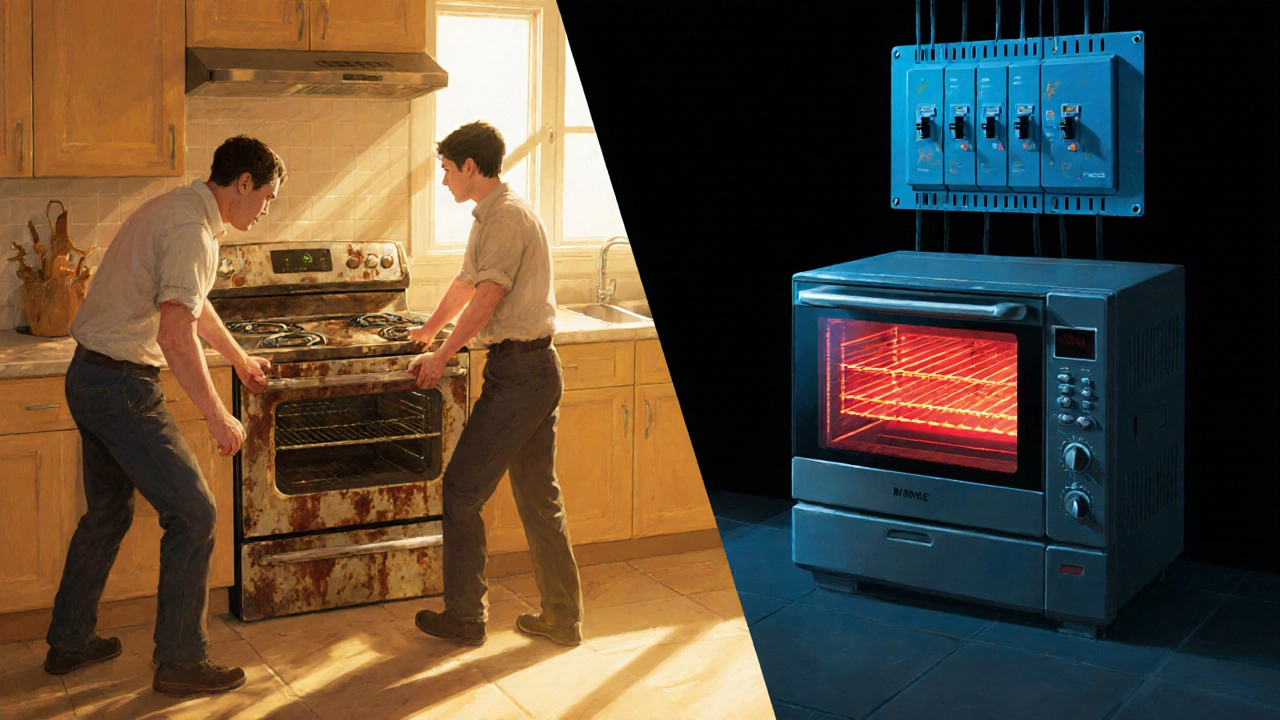
- Test it. Turn on the oven and set it to 180°C. Wait 10 minutes. Check that the heating elements glow red and the fan runs (if it has one). Use an oven thermometer to confirm the temperature is accurate.
Common Mistakes to Avoid
- Ignoring the voltage. Some ovens are 120V (US standard). Australian homes use 240V. A 120V oven plugged into 240V will burn out instantly.
- Forgetting the earth wire. Never leave the earth wire disconnected. It’s your safety net in case of a short circuit.
- Using the wrong breaker. Ovens need a dedicated 32A circuit. If your breaker is 15A, you’re asking for trouble. Check your switchboard before buying a new oven.
- Not checking clearance. Ovens need space behind and on the sides for airflow. If it’s jammed against a wall or cupboard, it’ll overheat and fail early.
- Skipping the test. Turning it on and walking away is a recipe for disaster. Wait. Watch. Listen.
When to Call a Professional
Stop right here if:
- Your home has old wiring (knob-and-tube or aluminum cables)
- The circuit breaker trips when you turn on the oven
- You’re unsure about the wiring colors or configuration
- The oven doesn’t fit the cutout without cutting into cabinetry
- You’re uncomfortable working with live electricity-even if you turned the power off
In South Australia, electrical work must be done by a licensed electrician if it involves permanent wiring. Even if you’re technically capable, your home insurance might not cover damage from unlicensed work. That’s not a risk worth taking.
What to Do With the Old Oven
Don’t leave it on the footpath. Adelaide City Council offers free e-waste pickup for large appliances. Book it online through Recycle It or take it to your nearest e-waste drop-off point. Some retailers like Harvey Norman or Bunnings will haul it away for $30 when you buy a new one.
Old ovens contain copper, steel, and insulation materials that can be recycled. Throwing it in the trash is illegal in most Australian councils and wastes valuable resources.
Final Thoughts
Yes, you can replace an electric oven yourself. But only if you respect the electricity, the weight, and the precision needed. Most people who try this end up calling a pro halfway through-not because they can’t do it, but because they didn’t plan well enough.
If you’ve got the tools, the confidence, and the right oven model, go for it. Take your time. Double-check everything. And if you feel even a little unsure? Call a licensed electrician. It’s cheaper than a house fire.
Can I plug a new electric oven into a regular power point?
No. Standard power points in Australia are rated for 10A, but electric ovens need a dedicated 32A circuit. Plugging an oven into a regular outlet will overload the circuit, trip the breaker, or cause overheating that could start a fire. Built-in ovens are hardwired for safety. Only portable countertop ovens can plug in.
Do I need a permit to replace my electric oven?
In South Australia, you don’t need a permit if you’re replacing an oven with the same type and wiring configuration. But if you’re changing the circuit, adding a new outlet, or modifying the wiring, a licensed electrician must do the work and issue a Certificate of Compliance. Insurance companies require this paperwork.
How long does it take to replace an electric oven?
If everything’s ready-power off, new oven delivered, helper on standby-you can remove the old one and install the new one in 60 to 90 minutes. The trickiest part is getting the old one out without damaging the cabinetry. If the wiring is old or the cutout doesn’t fit, add another hour.
What if the new oven doesn’t fit the space?
Measure the cutout before buying. Standard sizes are 60cm wide, 60cm deep, and 60cm high. If your old oven was 55cm wide and the new one is 60cm, you’ll need to remove the side panels of the cabinetry. This requires a saw and carpentry skills. If you’re not confident, hire a cabinetmaker. Forcing a larger oven into a smaller space can damage the oven’s insulation or block airflow.
Why is my new oven not heating properly after installation?
Most likely, one of the live wires (black or red) isn’t connected properly. Double-check the terminal block. Another common cause is a faulty thermostat or heating element-this can happen if the oven was damaged during transport. Use an oven thermometer to test the actual temperature. If it’s 30°C off, the oven might need calibration or a replacement part.
Can I reuse the old wiring for the new oven?
Yes, if the wiring is in good condition and matches the new oven’s requirements. Check the cable gauge-it should be at least 6mm² for a 32A circuit. If the wires are brittle, discoloured, or frayed, replace them. Old wiring can’t handle modern ovens’ power draw safely.