DIY Oven Repair: Practical Guides, Tips & Cost Insights
When tackling DIY oven repair, you’re basically learning how to bring a broken oven back to life without calling a pro. It means diagnosing faults, swapping out parts, and testing safety, all from your own kitchen. Also known as home oven fix, DIY oven repair saves money and gives you confidence in your appliances. This process often involves a few key components: the oven control board, the electronic brain that regulates temperature, timing and safety functions, the electric oven element, the heating coil that actually generates heat inside the cavity, and the oven temperature sensor, a probe that tells the control board how hot the oven really is. Understanding how these parts interact is the first step toward a successful repair.
Key Tools and Skills You’ll Need
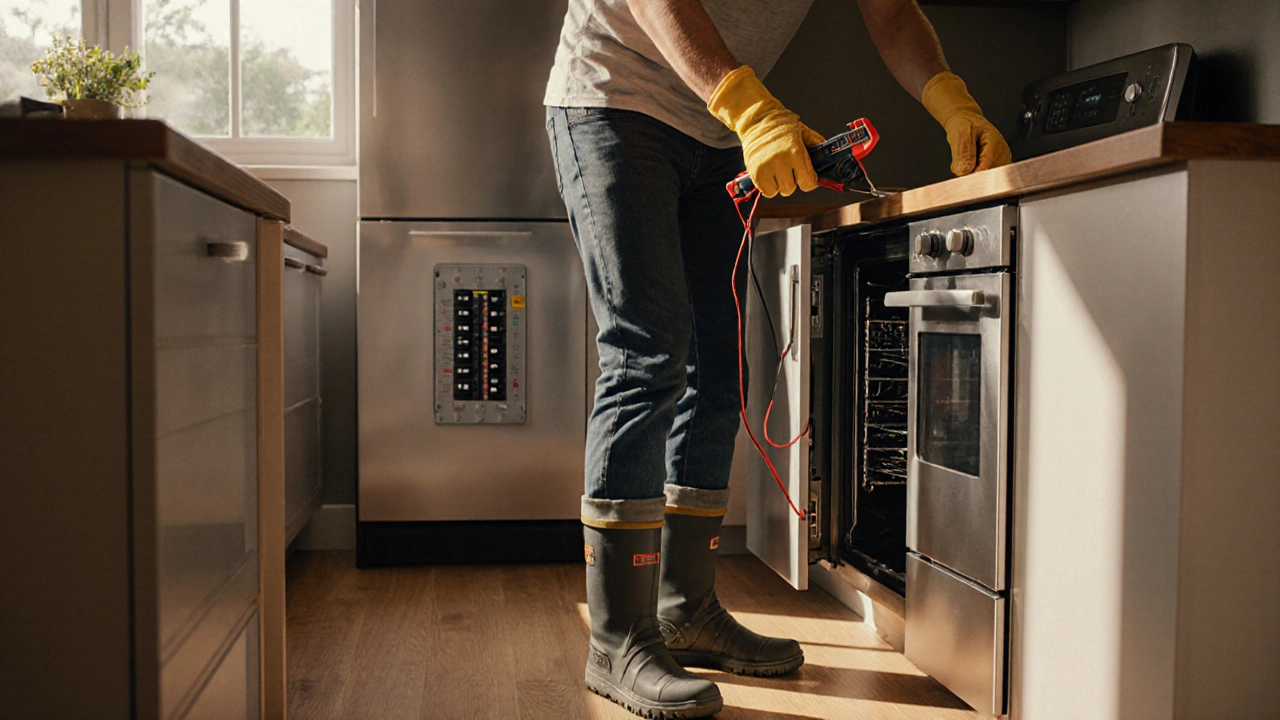
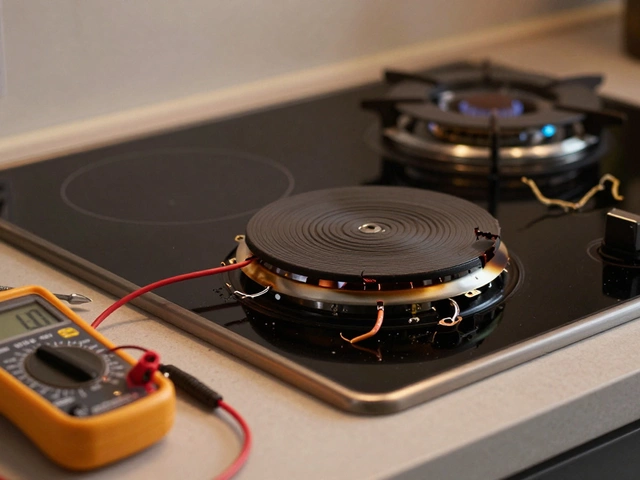
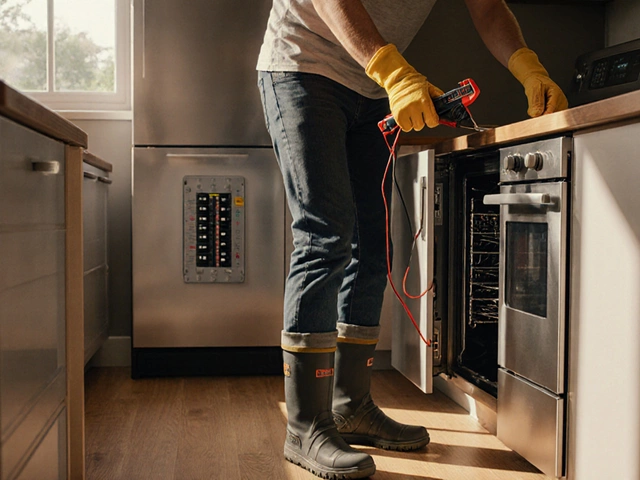
DIY oven repair requires a basic set of tools—screwdrivers, a multimeter, and sometimes a torque wrench. Safety gear like insulated gloves and goggles isn’t optional; you’re dealing with high voltage and hot components. Knowing how to test continuity with a multimeter lets you confirm whether a heating element or sensor is faulty before you pull it apart. Many homeowners skip this step and replace parts blindly, ending up with higher costs. By testing first, you can pinpoint the exact failure point, whether it’s a burnt-out oven control board or a shorted electric oven element.
The next skill is reading the oven’s error codes. Modern ovens flash codes that map directly to issues—like “E1” for a temperature sensor error or “E2” for a control board fault. A quick look in the manual (or an online PDF) will decode these signals, saving you hours of guesswork. Once you’ve identified the culprit, you can move to the replacement stage. Replacing an oven element typically takes 20‑30 minutes: disconnect power, remove the rear panel, unscrew the old coil, and bolt in the new one. Swapping a control board is a bit more involved; you’ll need to detach multiple connectors and possibly upgrade firmware if the manufacturer released a newer version.
Cost is another piece of the puzzle. An oven control board replacement can run between £80‑£150 depending on brand and model, while an electric oven element usually costs £30‑£70. If you’re comfortable with the swap, you can shave off labor fees that often add another £50‑£100. However, if the oven is over 15 years old, weigh the repair cost against the energy efficiency of a newer model; older ovens lose heat faster, raising your electricity bill.
One mistake people make is ignoring the oven temperature sensor. A faulty sensor can cause the oven to overheat or never reach the set temperature, and the control board will keep throwing error codes. Testing the sensor with a multimeter is quick: a healthy sensor shows around 1 kΩ at room temperature and changes predictably as it heats. If the reading is out of range, replace it—usually a £15‑£25 part.
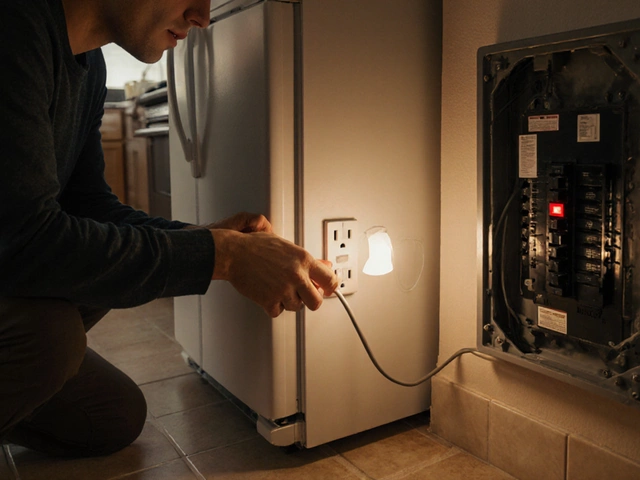
Before you start any repair, always disconnect the appliance from the mains and wait at least five minutes for residual charge to dissipate. Double‑check that the oven’s internal fuse isn’t blown; a simple visual inspection can save you from a false diagnosis. Once the power is off, label each connector with masking tape so reassembly is straightforward. Many DIY enthusiasts keep a small notebook of connector layouts for future reference.
Now that you know which parts matter, what tools to use, and how to manage costs, you’re ready to dive into the specific guides below. Whether you need to replace a cracked heating element, troubleshoot a stubborn control board, or simply understand why your oven won’t heat, the articles in this collection cover every angle. Keep these fundamentals in mind as you scan the posts, and you’ll be able to assess each fix with confidence.