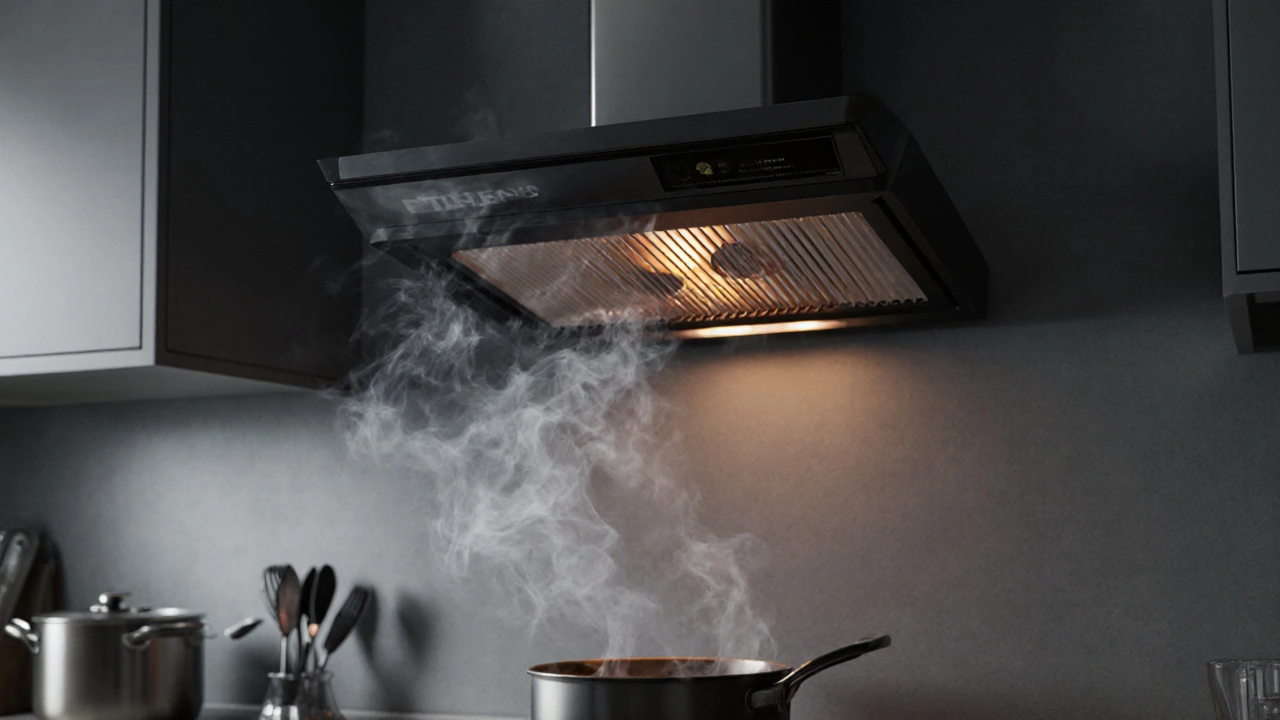
If your kitchen extractor fan is suddenly silent, smells like burnt plastic, or simply won’t turn on, you’re probably wondering what went wrong. The good news is that most failures boil down to a handful of common culprits, and many of them can be diagnosed and fixed with a few simple tools. Below we’ll walk through why these fans stop working, how to pinpoint the problem, and when it’s time to call in a professional.
Key Takeaways
- Most fan failures are caused by a motor issue, a power supply fault, or a blocked ventilation path.
- Safety first: always turn off the circuit breaker before inspecting electrical components.
- Regular cleaning of the carbon filter and vent pipe prevents overheating and motor burnout.
- Simple fixes include checking the fuse, tightening loose wiring, and resetting the circuit breaker.
- Use the troubleshooting checklist below to decide whether you can DIY the repair or need a qualified technician.
What Usually Makes a Kitchen Extractor Fan Stop Working?
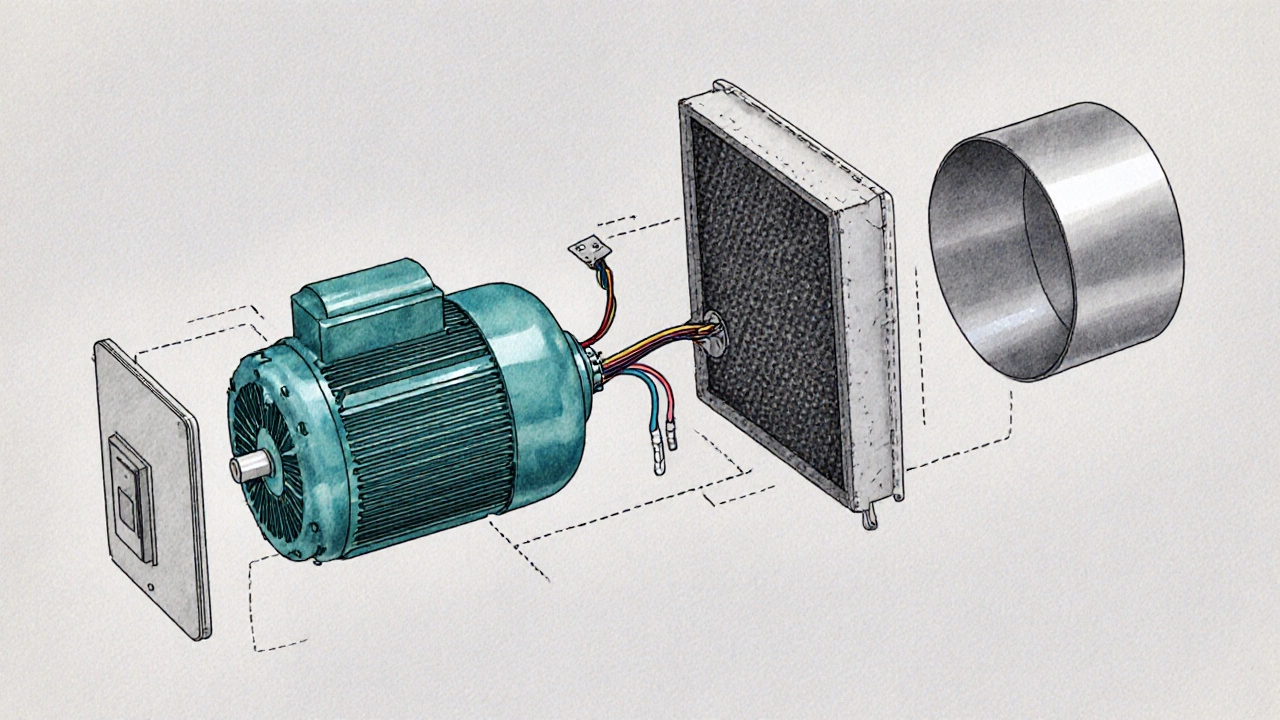
Even though a fan looks like a single piece of equipment, it’s actually a small system made up of several parts that each can fail. The most frequent failure points are:
- Motor failure - The fan motor is the heart of the fan. Over time, dust, grease, and moisture can cause the windings to short or the bearings to seize.
- Power supply problems - A tripped circuit breaker, a blown fuse, or a loose plug can cut electricity before it even reaches the motor.
- Control switch malfunction - The control switch that tells the fan when to run can wear out, especially if it’s asked to start and stop frequently.
- Blocked ventilation duct - If the ventilation duct leading to the outside becomes clogged with grease or lint, the motor works harder and can overheat.
- Dirty carbon filter - A saturated carbon filter creates excess resistance, which may trip a thermal overload protector built into the fan motor.
- Wiring issues - Cracked insulation or corroded terminals in the wiring can cause intermittent power loss.
Step‑by‑Step Diagnosis
Before you climb onto a stool with a screwdriver, run through this quick checklist. Having a systematic approach saves time and keeps you safe.
1. Verify Power at the Outlet
- Turn off the circuit breaker that feeds the fan.
- Remove the fan’s plug and test the socket with a voltage tester or a lamp.
- If there’s no voltage, check the fuse in the breaker panel. Replace a blown fuse or reset a tripped breaker.
2. Inspect the Control Switch
- Remove the wall switch cover (always with power off).
- Look for signs of scorching, loose screws, or broken springs.
- Using a multimeter, test continuity while toggling the switch. No continuity means the switch is bad and should be swapped.
3. Examine the Motor and Fan Blade
- Open the fan housing (usually a few screws on the top or rear).
- Visually inspect the motor windings for burnt spots and the bearings for grit.
- Give the fan blade a gentle spin by hand. It should rotate freely; any grinding indicates bearing wear.
- If the motor smells of burning or feels hot to the touch, it likely has an internal failure and needs replacement.
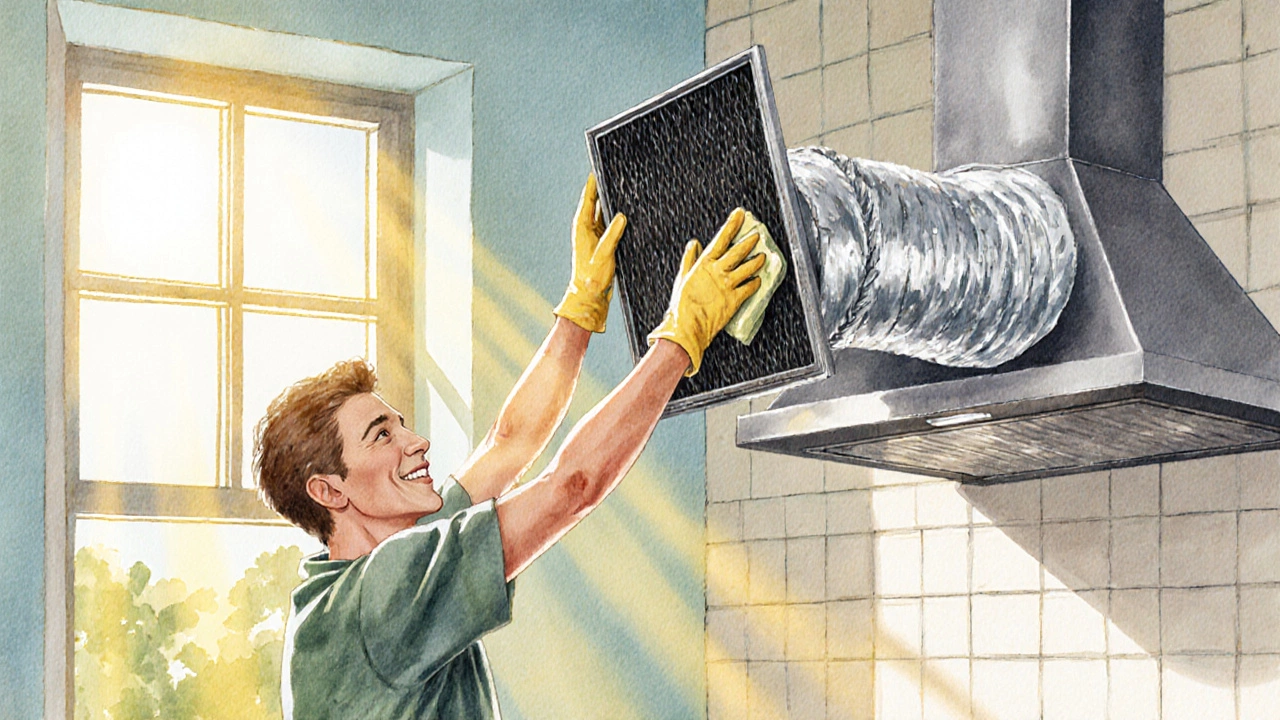
4. Check the Carbon Filter and Ductwork
- Remove the charcoal filter. If it’s dark, damp, or crumbling, replace it.
- Detach the duct (often a flexible aluminium tube) and blow air through it. A strong airflow means the duct is clear; a weak flow suggests a blockage.
- Clean the duct with a long brush or replace it if it’s severely corroded.
5. Test the Wiring Connections
- Look at the terminal block inside the fan housing. Tighten any loose screws.
- Check the insulation on the wires for cracks or discoloration.
- Using a multimeter, verify that voltage reaches the motor when the switch is on.
DIY Fixes You Can Try Today
Once you’ve identified the faulty component, many fixes are within reach of a homeowner with basic tools.
Resetting a Tripped Breaker or Replacing a Fuse
Simply flip the breaker back on or swap a standard 13A fuse with a new one of the same rating. Always match the amp rating to avoid fire hazards.
Swapping a Bad Control Switch
Control switches are inexpensive (usually under $15). Disconnect the wires, attach them to the new switch, and secure the cover. Test the fan before reinstalling the wall plate.
Cleaning or Replacing the Carbon Filter
Most manufacturers recommend changing the filter every 3-6 months, depending on cooking frequency. A fresh filter restores airflow and reduces motor strain.
Lubricating or Replacing Fan Bearings
If the blade spins but feels gritty, apply a few drops of light machine oil to the bearing shaft. For sealed‑bearing motors, replacement is the safer option.
Clearing a Blocked Duct
Run a flexible brush through the duct or detach it and hose it out with warm water. Let it dry completely before re‑attaching.
When to Call a Professional
While many issues are DIY‑friendly, some situations call for a qualified electrician or appliance technician.
- Motor replacement - Involves handling high‑current components and may require specific torque settings.
- Complex wiring problems - If you see melted insulation, broken conduit, or suspect a hidden fault in the house wiring.
- Repeated breaker trips - Could indicate an underlying circuit overload that needs an electrician’s assessment.
- Warranty concerns - Opening the fan may void a manufacturer’s warranty; a professional can perform repairs without risk.
Preventive Maintenance Checklist
Keeping your kitchen extractor fan in top shape is easier than you think. Schedule these tasks quarterly:
- Turn off the fan and remove the carbon filter. Clean or replace it.
- Wipe the exterior and interior housing with a damp cloth to remove grease splatter.
- Inspect the vent duct for dust buildup; clean if airflow feels weak.
- Run the fan on high for a minute after cooking to dry any moisture.
- Listen for unusual noises; early detection of bearing wear can save a costly motor replacement.
Comparison: DIY vs Professional Repair
| Aspect | DIY Repair | Professional Service |
|---|---|---|
| Typical cost | AU$20-AU$80 (parts only) | AU$120-AU$250 (labour + parts) |
| Time required | 30min-2hrs | 1day-2days (including parts order) |
| Skill level | Basic tool use, safety awareness | Licensed electrician/appliance technician |
| Risk | Low if power is off; possible void warranty | Minimal; work covered by guarantee |
Frequently Asked Questions
Why does my fan make a humming sound but the blades don’t spin?
A humming fan usually means the motor is receiving power but the capacitor that starts the motor has failed. Replacing the start capacitor restores normal operation.
Can I use a regular kitchen hood filter instead of a carbon filter?
Metal mesh filters remove grease but not odors. Most extractor fans are designed for charcoal filters to absorb smells, so swapping them may reduce effectiveness and could void the warranty.
My fan turns on, runs for a few seconds, then shuts off. What’s happening?
That’s a classic sign of an over‑temperature protection circuit kicking in. Check for a blocked duct or a dirty filter, and let the motor cool before resetting the overload switch.
Is it safe to repair the fan myself if I’m not an electrician?
Yes, as long you isolate the circuit at the breaker, avoid working on live wires, and stick to tasks that involve only the fan housing, filter, and visible wiring. Anything involving the main supply should be left to a licensed professional.
How often should I replace the carbon filter?
Most manufacturers recommend changing it every 3 to 6 months, depending on cooking frequency and the type of food you prepare. A quick visual check-if the filter is dark and damp, replace it.
By following the steps above, you can quickly pinpoint why your extractor fan stopped working and decide the best course of action. Whether you’re tightening a loose wire, swapping a cheap switch, or calling a qualified technician, a little knowledge goes a long way toward keeping your kitchen fresh and quiet.