Refrigerator Repair Checklist – Your Quick Fix Guide
When working with refrigerator repair checklist, a step‑by‑step guide that helps you diagnose and fix common fridge problems before calling a pro. Also known as fridge troubleshooting guide, it lets you catch issues early, save energy, and avoid pricey replacements. Another core part of any fridge fix is the compressor, the heart of the cooling cycle that pressurises refrigerant and moves heat out of the cabinet. If the compressor hums but the fridge stays warm, you know the problem isn’t just a loose plug. Equally important is the door seal, the rubber gasket that keeps cold air in and warm air out. A cracked seal can raise the interior temperature by several degrees, making the whole system work harder. Finally, the thermostat, the sensor that tells the fridge when to start and stop cooling often trips out before any mechanical parts fail. Understanding how these pieces interact makes the refrigerator repair checklist more than a list – it’s a map of cause and effect that saves you time and money.
Key Steps in the Checklist
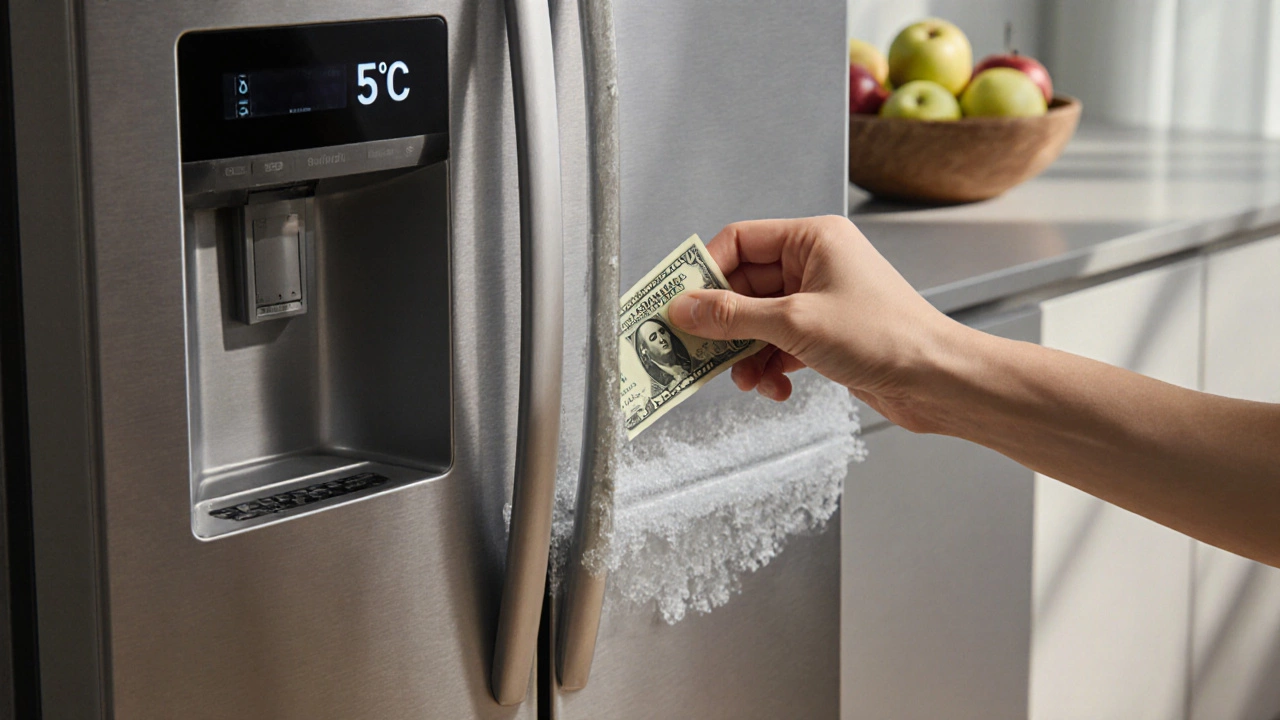
Start with the simplest check: is the unit plugged in and is the outlet delivering power? Use a multimeter or a basic lamp to confirm voltage; a dead outlet means you’ve solved the problem without opening the fridge. Next, inspect the door seal for tears, mold, or deformation – a quick dollar‑store seal repair kit can restore a tight closure in minutes. After the seal, move to the thermostat. Most modern fridges have a dial or digital readout; set it to the recommended temperature (usually 37‑40°F for the fridge and 0°F for the freezer) and listen for the compressor clicking on. If the compressor never starts, listen for a humming sound that indicates it’s trying but can’t spin; that’s a sign of a failed start relay or a seized motor, both of which require a technician.
When the compressor does run but cooling is still weak, check the condenser coils at the back or underneath the unit. Dust and pet hair act like a blanket, reducing heat exchange efficiency. A coil cleaning brush and a vacuum can restore airflow and improve performance dramatically. If cleaning doesn’t help, examine the evaporator fan inside the freezer; a noisy or stalled fan means cold air isn’t circulating, and the fridge will feel warm even though the compressor is working. Finally, evaluate the age and overall condition of the appliance. Our appliance repair checklist, a broader list that includes washing machines, ovens, and boilers shows that a fridge over ten years old with recurring issues may be cheaper to replace than to keep fixing. By walking through each step, you’ll know exactly which component is at fault and whether a DIY fix or a professional call makes sense.
Now that you’ve seen how power, seals, thermostats, compressors, and coils fit together, you’re ready to dive into the specific articles below. They cover everything from the first power check to advanced diagnostics for older models, giving you the confidence to tackle any fridge problem without guessing.


