Oven Thermostat: How It Works and Why It Matters
When working with oven thermostat, the temperature‑control component inside an oven that tells the heating system when to turn on or off. Also known as temperature sensor, it keeps your dishes from being undercooked or burnt. The oven control board, the electronic brain that receives the thermostat’s signal and decides whether to power the heating element relies on that data, while the heating element, the metal coil that actually generates heat in an electric oven provides the heat. When the thermostat fails, the whole chain breaks down. A qualified oven repair technician, a specialist trained to diagnose and replace faulty oven parts safely can spot the problem and fix it. The oven thermostat is the first piece to check when you notice temperature swings or long pre‑heat times.
Typical Oven Thermostat Problems and How They Affect Cooking
Most homeowners notice a bad thermostat when the oven temperature is off by more than 10‑15 °C. A stuck thermostat will keep the heating element on continuously, leading to scorching, while an open circuit stops heat entirely, leaving you with a cold oven. In gas models, the thermostat works with a flame sensor; if the sensor misreads the flame, the gas valve stays closed and nothing heats up. These issues often show up as “temperature spikes” on the oven’s digital display or as uneven browning on baked goods. Because the thermostat sends a signal to the control board, a faulty sensor can also trigger error codes that the board logs. Spotting the symptom early prevents energy waste and protects the heating element from overheating.
Another common scenario involves calibration drift. Over time, the metal sensor can lose accuracy due to wear or exposure to high heat cycles. Many ovens let you recalibrate the thermostat via a simple button sequence; the control board stores a new reference point. If you’ve tried recalibration and the oven still runs hot or cold, the sensor probably needs replacement. Replacing a thermostat is usually a quick job for a repair technician: they disconnect power, remove the old sensor, install the new one, and run a test bake. The cost is modest compared to swapping out a whole control board or heating element, which are more expensive parts and require more labor.
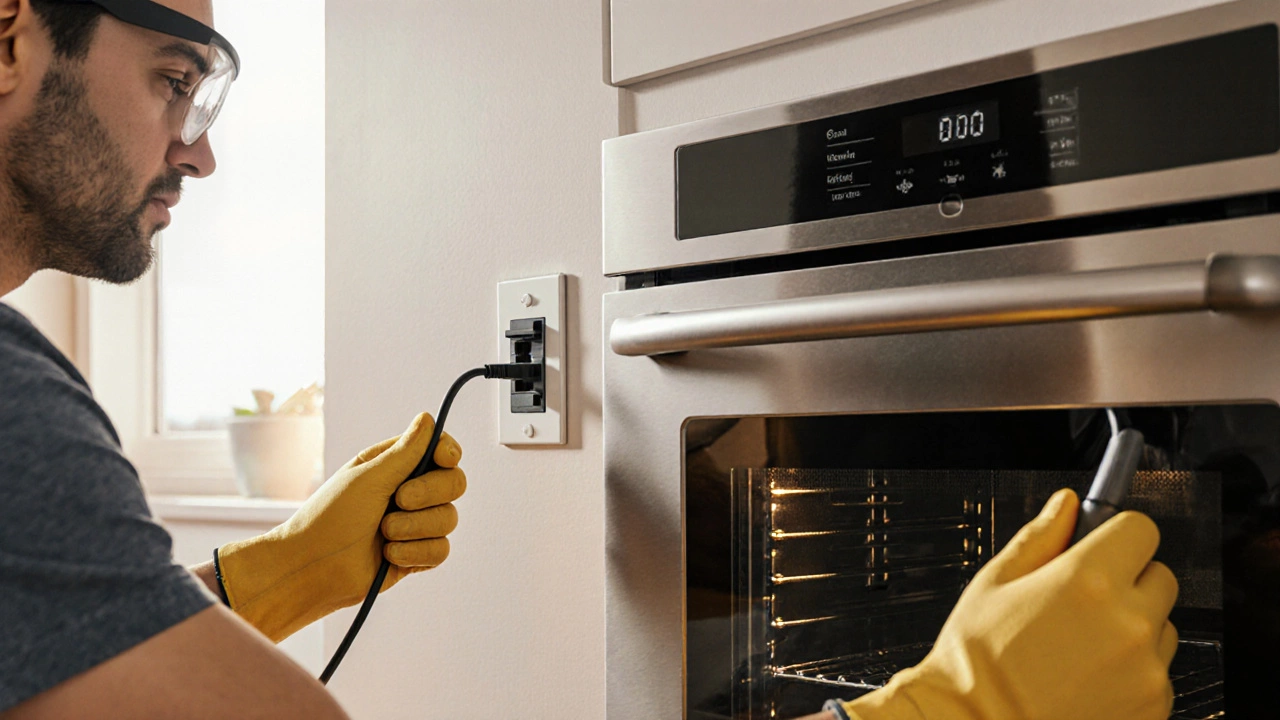
Understanding how the thermostat, control board, and heating element interact helps you decide whether to call a pro or try a DIY fix. If you’re comfortable unplugging the oven, checking wiring, and ordering the correct thermostat model, you can save money. But always double‑check that power is off, and never work on the gas valve yourself. For most people, letting an experienced oven repair technician handle the swap ensures the new thermostat is calibrated correctly and the control board’s error codes are cleared. Below you’ll find articles that dive deeper into each of these components, show you how to test an oven thermostat with a multimeter, explain when a control board replacement makes sense, and give tips on extending the life of your heating element. Keep reading to get the full picture and pick the right solution for your oven.


