If your Oven is acting up, you don’t have to call a technician right away. With a systematic approach you can pinpoint the cause, fix simple issues, and decide when a professional is truly needed. Below is a practical, hands‑on guide that walks you through the most common problems, safety precautions, and diagnostic steps.
Safety First - Power Down Properly
Before you lift a panel or touch any wires, make sure the appliance is completely disconnected from electricity. Unplug the oven from the wall socket and switch off the dedicated circuit breaker in your consumer unit. If you live in a three‑phase home, turn off all three phases for the appliance. This step prevents shocks and protects the control board from voltage spikes while you work.
Identify the Symptom
Write down exactly what’s wrong. The wording may sound trivial, but it shapes the next steps. Typical complaints include:
- No heat at all
- Uneven or weak heat
- Oven won’t turn on
- Random shutdowns
- Persistent error code on the display
Having a clear symptom list helps you match it with the right component.
Common Oven Components & Their Roles
Understanding the parts makes troubleshooting intuitive. Below are the key players you’ll encounter.
- Heating Element: converts electric current into radiant heat. A break or burn‑out stops heat generation.
- Thermostat (or oven thermostat): monitors temperature and signals the element to cycle on/off.
- Temperature Sensor: modern ovens use a thermistor that feeds temperature data to the control board.
- Door Gasket: seals heat inside the cavity. A torn gasket lets hot air escape, causing uneven baking.
- Control Board: the electronic brain that processes inputs, runs timers, and drives the element.
- Fuse or thermal cut‑out: protects the circuit by blowing when current exceeds safe limits.
- Circuit Breaker: located in your home’s main panel, may trip if the oven draws too much power.
- Error Code: numeric or alphanumeric clues displayed when the control board detects a fault.
- Manual: the manufacturer’s guide that lists codes, part numbers, and wiring diagrams.
Step‑by‑Step Diagnosis
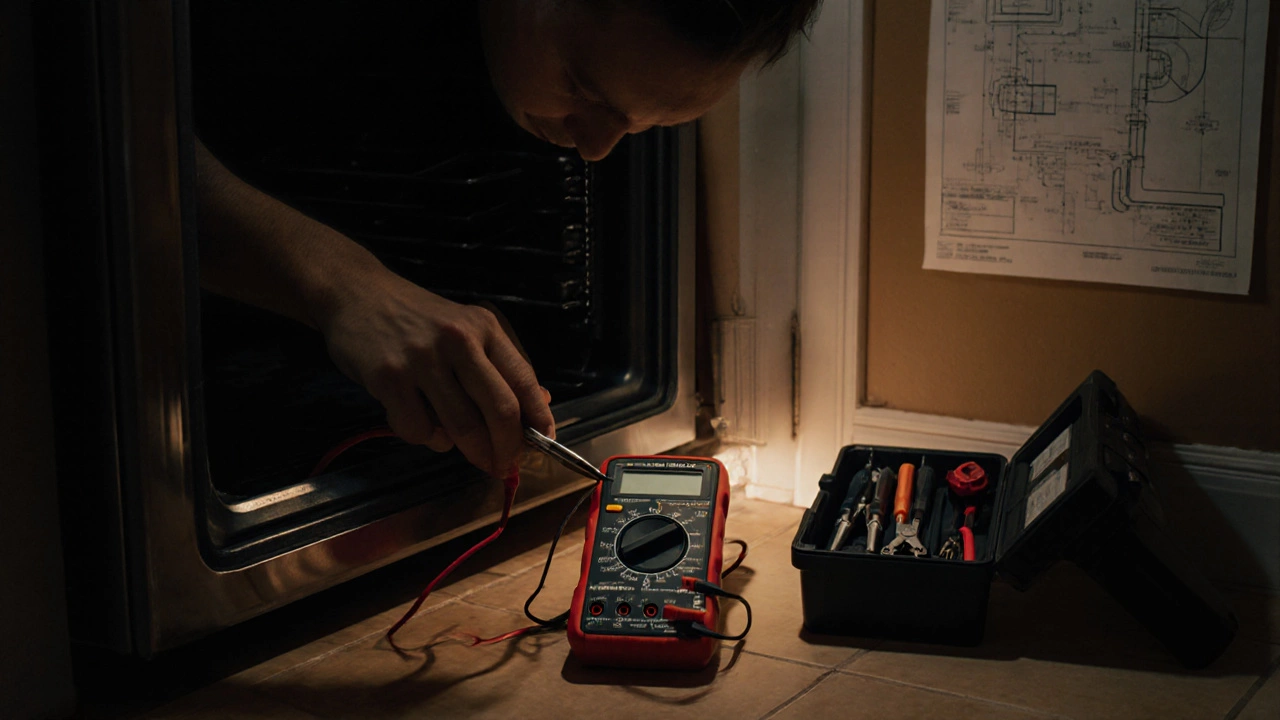
- Check the power supply. Verify that the outlet shows 230‑240 V with a multimeter. If voltage is absent, the breaker or wiring may be the issue.
- Inspect the heating element. Look for visible cracks, blisters, or black spots. Use a continuity tester; a good element reads near 0 Ω (low resistance). No continuity means replace it.
- Test the thermostat. With the oven unplugged, remove the thermostat and probe across its terminals. A functional thermostat typically reads a few hundred ohms; infinite resistance indicates failure.
- Examine the temperature sensor. Remove the sensor probe and measure resistance at room temperature (around 1 kΩ). Resistance should rise as temperature increases; a static reading suggests a bad sensor.
- Verify the door gasket. Close the oven door and feel for cold drafts. Lightly pull the gasket; if it tears or detaches, replace it to restore steady heat.
- Look at the fuse or thermal cut‑out. Many ovens have a replaceable fuse in the back panel. A blown fuse appears blackened or has an open circuit on a multimeter.
- Read the error code. Consult the Manual to translate the code. Common codes include "F1" for a faulty temperature sensor or "E0" for a heating element issue.
- Assess the control board. If all other components test good but the oven still won’t heat, the board may have burnt traces or failed relays. Visual inspection for scorch marks helps; otherwise, replacement is often the only fix.
Quick Reference Table
| Problem | Likely Cause | Simple Fix |
|---|---|---|
| No heat | Broken heating element or blown fuse | Test continuity, replace element or fuse |
| Uneven baking | Damaged door gasket or faulty thermostat | Replace gasket, check thermostat resistance |
| Oven won’t start | Tripped circuit breaker or dead power cord | Reset breaker, inspect cord for breaks |
| Random shutdowns | Overheating control board or thermal cut‑out | Allow cooling, replace board if scorch marks |
| Error code displayed | Specific sensor or element fault | Lookup code in manual, replace indicated part |
Pro Tips & Pitfalls to Avoid
- Always label wires before disconnecting them - a quick photo helps you reconnect correctly.
- When measuring resistance, ensure the oven is unplugged to protect your multimeter and yourself.
- Don’t force a broken gasket back into place; a loose seal will keep causing heat loss.
- If you replace a heating element, match the wattage and voltage rating exactly - an under‑powered element won’t bake properly.
- Keep a copy of the model’s service manual in a digital folder; it contains part numbers and wiring diagrams you’ll need.
When to Call a Professional
Even skilled DIYers hit a wall. Call a qualified appliance technician if you encounter any of the following:
- Repeated tripping of the main circuit breaker after component replacement.
- Control board failure where you need to solder or replace surface‑mount components.
- Gas‑powered ovens with ignition problems - a gas leak is a serious safety hazard.
- Warranty still active; opening the unit may void coverage.
Quick Troubleshooting Checklist
- Unplug and turn off the circuit breaker.
- Note the exact symptom or error code.
- Verify incoming voltage.
- Inspect heating element for visual damage.
- Test thermostat and temperature sensor for continuity.
- Check door gasket integrity.
- Look for a blown fuse or thermal cut‑out.
- Consult the manual for error‑code meaning.
- If all tests pass, consider control‑board replacement or professional help.
Final Thoughts
Most oven hiccups stem from a single faulty part, and with a methodical approach you can resolve them without a pricey service call. Keep a basic tool kit - screwdrivers, a multimeter, and a pair of needle‑nose pliers - on hand, and you’ll be ready for the next surprise. And remember, oven troubleshooting isn’t magic; it’s about isolating the broken link in a simple electrical chain.
Why is my oven not heating even though the lights are on?
The lights indicate the control board has power, but the heating element may be open-circuit or the thermostat could be failing. Test the element for continuity; if it reads infinite, replace it. If the element is good, check the thermostat or temperature sensor next.
What does the “F1” error code mean on a Samsung oven?
On most Samsung models, “F1” points to a faulty temperature sensor (thermistor). The sensor’s resistance is out of range, so the board shuts off heating to prevent overheating. Replace the sensor and clear the code by turning the oven off for a few minutes.
Can I use a regular multimeter to test the heating element?
Yes. Set the multimeter to the lowest resistance (ohms) range and touch the probes to the element’s terminals. A healthy element shows a low resistance (usually 10‑40 Ω). If the meter shows “OL” (open line), the element is broken and needs replacement.
My oven door won’t latch properly - could this affect cooking?
An unsecured door lets heat escape, leading to uneven or longer cooking times. Check the latch mechanism for broken clips and inspect the gasket for tears. Replacing a worn gasket usually restores a proper seal.
Is it safe to replace an oven fuse myself?
Yes, as long as you disconnect the oven from the mains and use a fuse with the exact rating (voltage and amperage) specified in the manual. A mismatched fuse can cause overheating or fail to protect the circuit.