Bathroom Extractor Fan Service Calculator
Your Fan's Condition
Recommended Service Frequency
Enter your details above to see your optimal service schedule
If your bathroom extractor fan is making a loud grinding noise, isn’t pulling air out anymore, or just won’t turn on, it’s not broken-it just needs a good clean. Most people think they need to replace the whole unit, but in 9 out of 10 cases, all it needs is a good service. This guide walks you through exactly how to service a bathroom extractor fan yourself, with tools you already have, in under an hour. No electrician needed.
Why Your Extractor Fan Needs Servicing
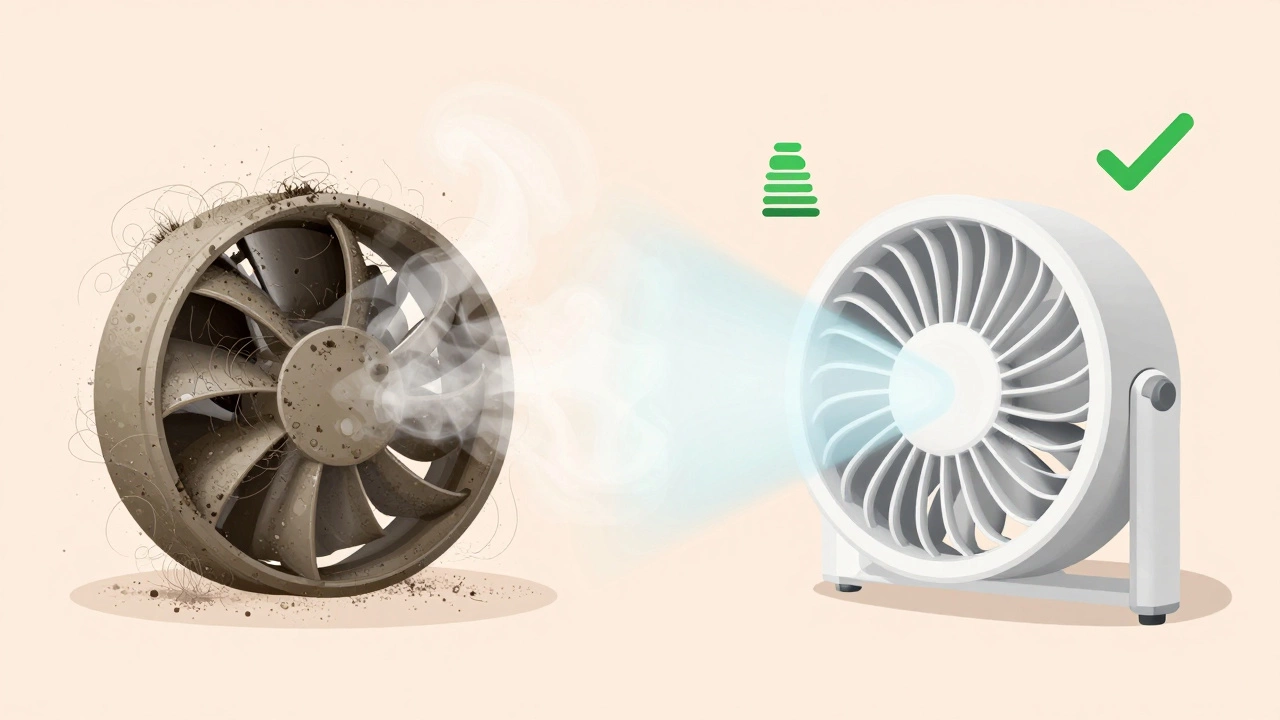
Bathroom extractor fans work hard. Every time you shower, steam, and moisture get pulled through the fan and into the duct. Over time, that moisture carries dust, hair, soap scum, and mildew right into the fan’s motor and blades. In Adelaide’s humid summers, this builds up even faster. After 2-3 years, the fan starts to struggle. The motor runs hotter. The blades get unbalanced. The bearings wear out. That’s when you hear the whirring, rattling, or squealing.Here’s the truth: you don’t need to replace your fan unless the motor is dead or the casing is cracked. Cleaning it regularly cuts noise, saves energy, and doubles its lifespan. A clean fan uses 30% less power than a clogged one, according to CSIRO testing from 2023.
What You’ll Need
Before you start, gather these simple tools:- Screwdriver (flathead or Phillips, depending on your model)
- Vacuum cleaner with brush attachment
- Soft brush (an old toothbrush works great)
- Microfiber cloth
- Isopropyl alcohol (70% or higher)
- Latex gloves (optional, but helpful)
You won’t need lubricant. Modern extractor fan motors are sealed and don’t need oiling. Adding oil can actually attract more dust and damage the motor.
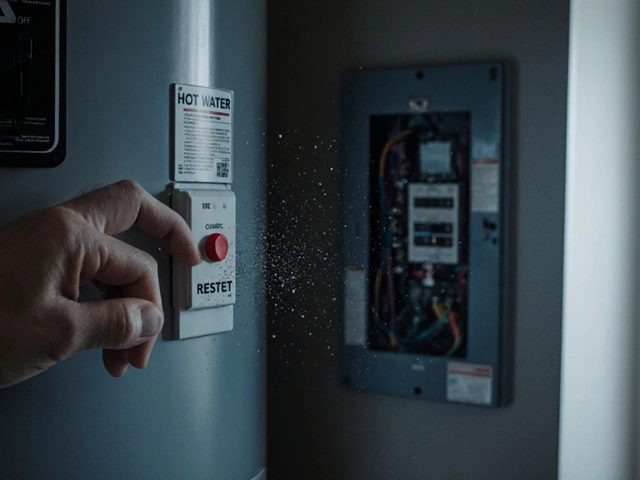
Step 1: Turn Off the Power
Safety first. Go to your switchboard and turn off the circuit that powers the bathroom. Don’t just flip the light switch-this fan is usually on its own circuit. If you’re unsure, turn off the main power. Use a non-contact voltage tester on the switch plate to confirm there’s no electricity running. Better safe than shocked.Step 2: Remove the Fan Cover
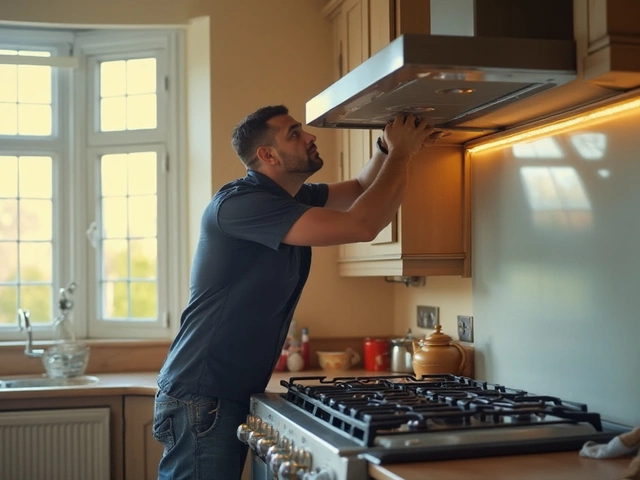
Most bathroom extractor fans have a plastic or metal grille that snaps or screws into place. Look for small screws around the edge-sometimes hidden under a rubber seal. If there are no visible screws, gently pry the cover off with a flathead screwdriver. Start at one corner and work your way around. It’ll pop off with a little pressure.Once it’s off, you’ll see the fan wheel (blades) and the motor housing. Dust will be thick-this is normal. Don’t wipe it yet. Use your vacuum’s brush attachment to suck up the loose grime from the cover and the opening. This keeps the dust from falling into the duct when you work.
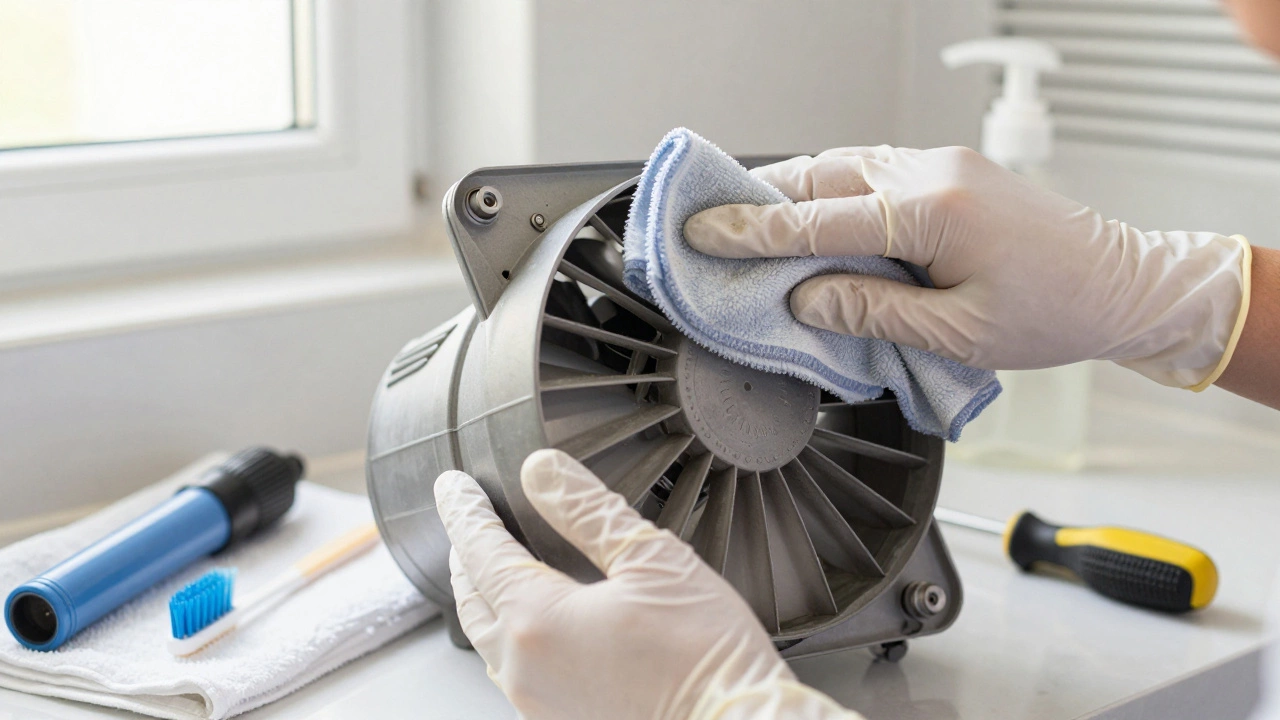
Step 3: Clean the Fan Blades and Housing
Now, take the microfiber cloth dampened with isopropyl alcohol. Wipe down each blade carefully. Don’t force them. If they’re really caked in gunk, let the alcohol sit for a minute to soften it. Use the toothbrush to scrub between the blades and around the motor shaft. Pay special attention to the hub-the center where the blades connect. That’s where grime builds up and throws the fan out of balance.Wipe the inside of the housing too. Any sticky residue? Dab it with alcohol. Don’t soak anything. Just clean, then dry with a clean part of the cloth. Moisture left behind can cause rust or short circuits.
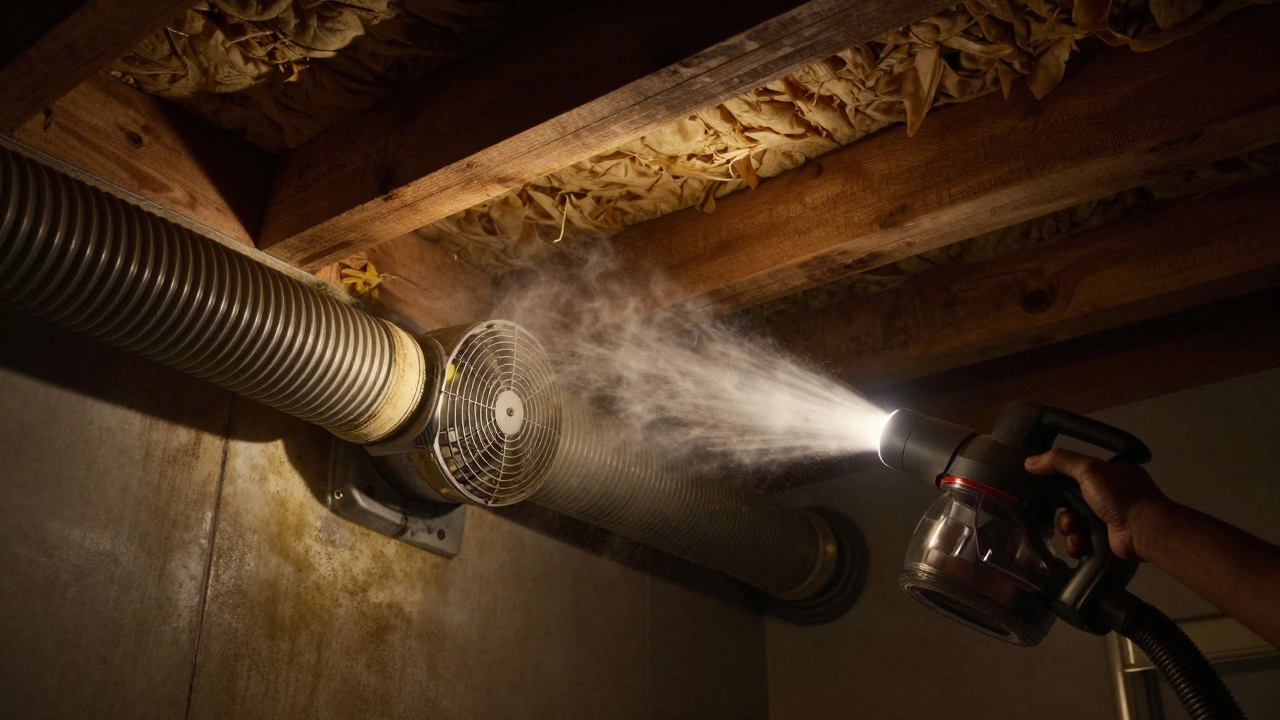
Step 4: Check the Ducting
The fan doesn’t work alone-it’s connected to a duct that leads to the outside. Go into the attic or roof cavity if you can. Look at the duct where it connects to the fan. Is it crushed? Blocked by insulation? Covered in bird nests? That’s a common cause of poor airflow.Use your vacuum to pull out any debris from the duct opening. If you see mold growing inside the duct, that’s a sign of long-term moisture buildup. You might need to replace the duct if it’s flexible plastic and cracked. Rigid metal ducting lasts longer and is easier to clean.
Step 5: Reassemble and Test
Once everything’s dry, put the cover back on. Make sure the fan is seated properly. Screw it back in place if needed. Turn the power back on at the switchboard. Flip the bathroom switch. Listen.Good: a smooth, quiet hum. Bad: a wobble, a buzz, or no movement at all. If it spins quietly and pulls air well, you’re done. If it’s still noisy, the bearings inside the motor might be worn. That’s when replacement is the only fix.
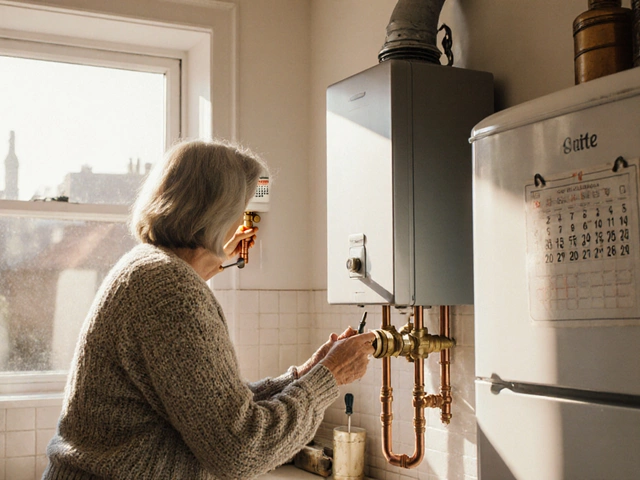
How Often Should You Service It?
In high-use bathrooms-like in a family home with daily showers-service the fan every 6 months. In a guest bathroom or low-traffic space, once a year is enough. If you have hard water, mineral deposits can build up faster, so check more often.Set a reminder on your phone. Put it in the same place as your smoke alarm checks. Make it part of your home maintenance rhythm.
Signs It’s Time to Replace, Not Repair
Not every noisy fan can be saved. Here’s when to call it quits:- The motor doesn’t spin at all, even after cleaning and power reset
- You smell burning plastic or see scorch marks near the wiring
- The casing is cracked or warped from heat
- The fan is over 10 years old and has been serviced multiple times
If any of these are true, buy a new one. Modern fans are quieter, more efficient, and come with humidity sensors that turn on automatically. Look for models with an IPX4 rating or higher for moisture resistance.
What to Look for in a New Fan
When shopping for a replacement, focus on three things:- CFM (Cubic Feet per Minute): For a standard bathroom (under 10m²), 80-100 CFM is enough. Larger bathrooms need 120+ CFM.
- Noise Rating: Look for 1.0 sone or lower. Anything above 2.0 sone is noticeable.
- Energy Star Rating: Saves you money over time. Most new fans use under 15 watts.
Brands like Panasonic, Vent-Axia, and extractors from Breezart are reliable and widely available in Australia. Avoid no-name brands-they often use cheap motors that fail within two years.
Common Mistakes to Avoid
People make the same mistakes over and over:- Using water instead of isopropyl alcohol-water leaves residue and encourages mold.
- Forgetting to turn off the power-this is how people get hurt.
- Trying to lubricate the motor-modern fans don’t need it, and it causes more problems.
- Ignoring the duct-cleaning the fan but leaving a blocked duct is like cleaning a car’s air filter but leaving the exhaust clogged.
Also, don’t just tape over the fan in winter to keep heat in. That traps moisture and causes rot in the ceiling. Use a timer switch or humidity sensor instead.
Can I clean my bathroom extractor fan without taking it apart?
You can do a light clean without removing the fan, like vacuuming the grille and wiping the outside, but that won’t fix performance issues. To truly service the fan, you need to access the blades and motor housing. Surface cleaning only hides the problem-it doesn’t solve it.
Why does my extractor fan turn on by itself?
If your fan turns on without you flipping the switch, it likely has a built-in humidity sensor. These sensors activate when moisture levels rise-common after showers. If it’s not supposed to have one, the wiring may be faulty. Check if the fan has a sensor dial or switch on the housing. If not, turn off the power and inspect the wiring for damage or misconnection.
Is it safe to run the fan while cleaning?
No. Never run the fan while cleaning the blades or motor. Even if the power is off at the switch, there’s a risk of accidental reactivation or residual current. Always turn off the circuit at the switchboard before touching any internal parts.
My fan is still noisy after cleaning. What now?
If the fan still rattles or buzzes after cleaning, the motor bearings are likely worn out. This is common in older units. You can’t fix worn bearings-replacement is the only solution. Consider upgrading to a newer, quieter model with a higher IP rating for better moisture resistance.
Can I use a hairdryer to dry the fan after cleaning?
Don’t use a hairdryer. The heat can warp plastic parts or damage internal wiring. Let the fan air-dry naturally for at least an hour before turning it back on. If you’re in a hurry, use a clean, dry microfiber cloth to gently wipe away moisture.
Final Tip: Make It Part of Your Routine
Servicing your extractor fan takes 30 minutes. The cost? Nothing but your time. The payoff? A quieter bathroom, less mold, lower electricity bills, and a fan that lasts 10-15 years instead of 5. Do it once every six months, and you’ll never need to pay a technician to fix it.Think of it like changing your air filter in the car. It’s not glamorous, but it keeps everything running smoothly. And in a place like Adelaide, where humidity and dust are constant, it’s not optional-it’s essential.