DIY Water Heater Guide – Simple Fixes, Maintenance & When to Call a Pro
Got a cold shower? Your water heater might just need a quick tweak rather than a full‑blown replacement. In this guide we’ll walk through the most common problems, easy fixes you can try, and a maintenance checklist that keeps the hot water flowing all year round. No fancy jargon – just plain steps you can follow with a screwdriver and a bucket.
Common DIY Water Heater Problems and Quick Fixes
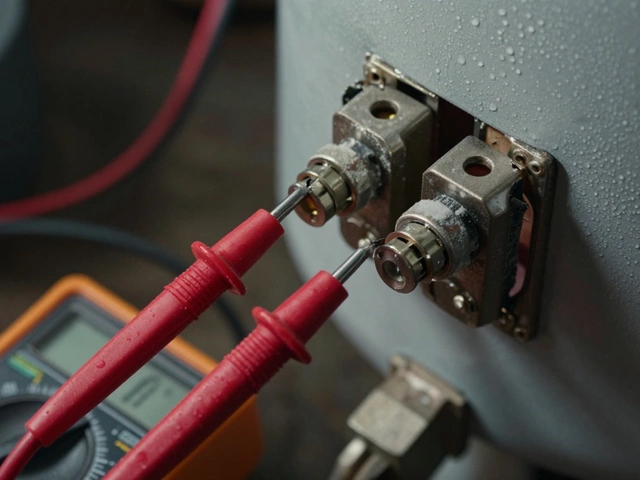
First thing to check is the power supply. For electric heaters, make sure the circuit breaker hasn’t tripped and the reset button on the thermostat isn’t popped out. Flip the breaker back on, press the reset, and you might have hot water again in a few minutes.
If you have a gas heater, listen for the pilot flame. A sputtering or missing pilot usually means the thermocouple needs cleaning or a new ignitor. Turn off the gas, wait a minute, then relight following the manufacturer’s instructions. Most models have a simple “turn‑knob, press button, hold” sequence.
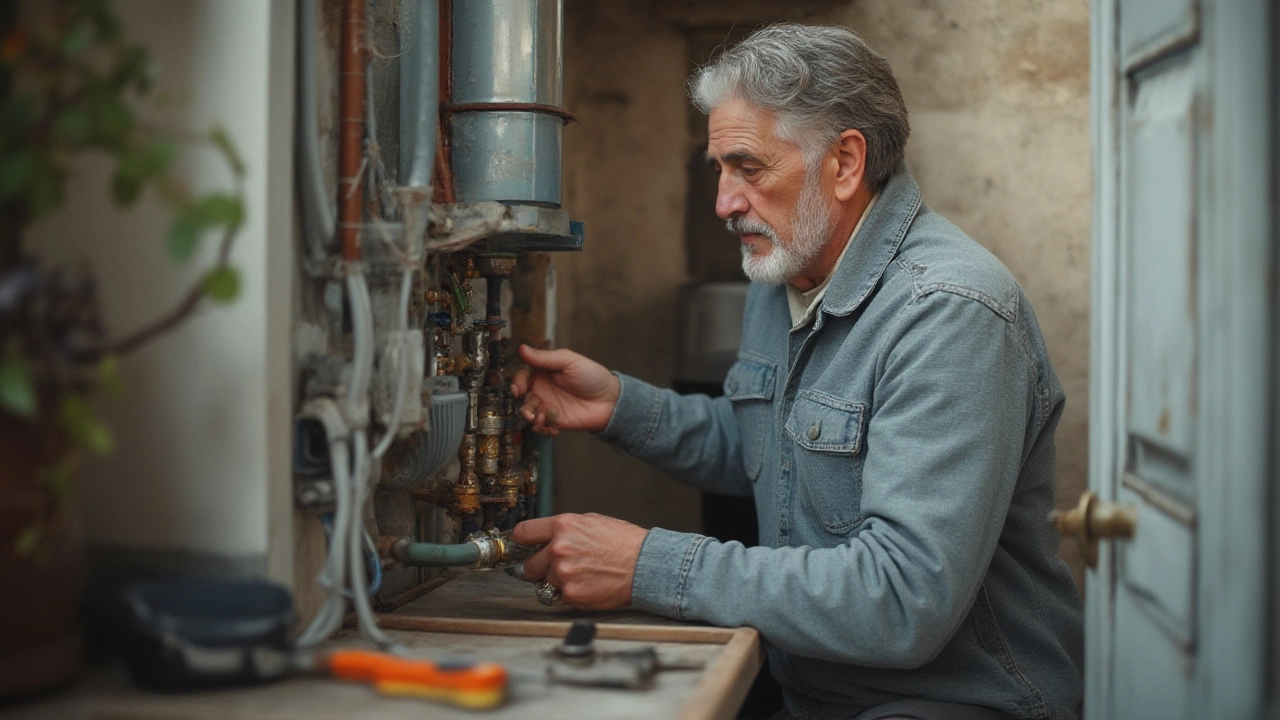
Another frequent issue is a leak around the tank. Small drips often come from the pressure‑relief valve or the inlet/outlet connections. Tighten loose fittings with a wrench, but don’t over‑tighten. If the valve is leaking continuously, replace it – it’s a cheap part you can swap yourself.
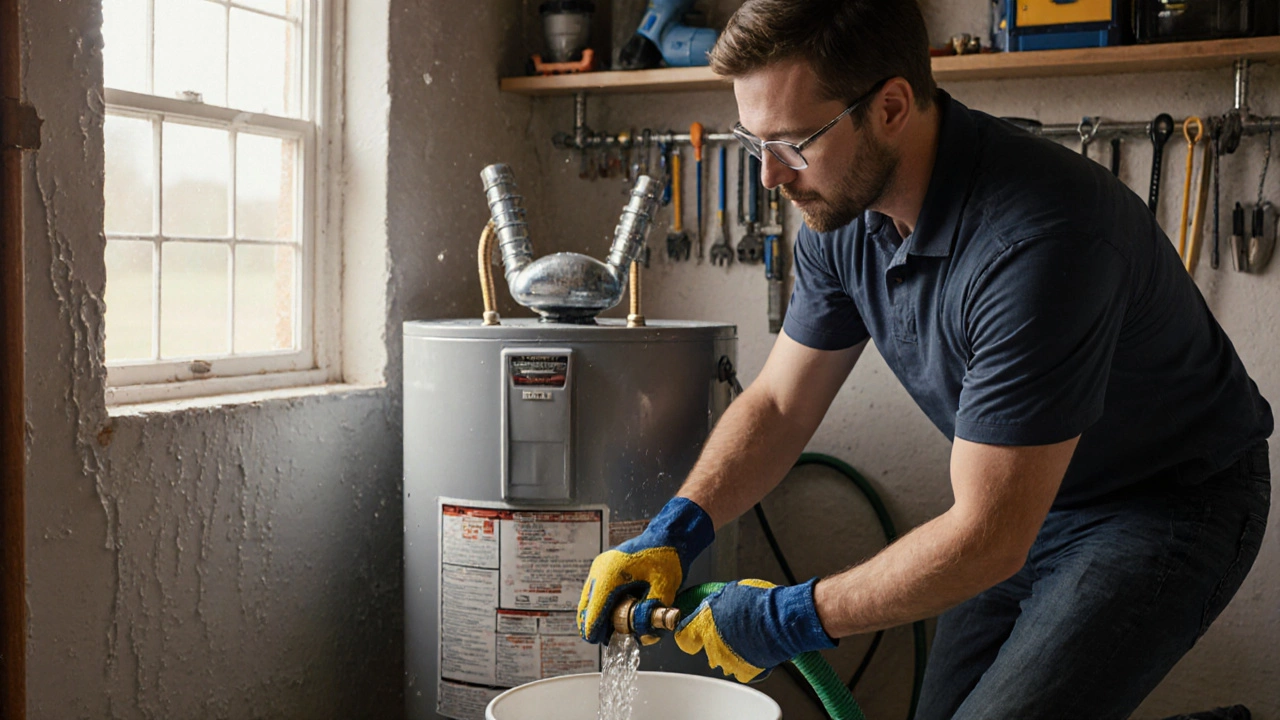
Water that’s not hot enough can be caused by a build‑up of sediment at the bottom of the tank. Sediment acts like an insulating layer, so the heater has to work harder. You can flush the tank: turn off power or gas, shut the water supply, attach a garden hose to the drain valve, and let the water run until it looks clear. This simple flush can add years to your heater’s life.
Safety first – always turn off the electricity at the breaker box before you touch any wiring, and shut off the gas valve for gas models. Use gloves and goggles if you’re draining water; hot water can scald.
Maintenance Checklist to Keep Your Heater Running
Set a reminder to do these tasks once a year:
- Turn off the power or gas and shut the water off.
- Open the drain valve and let the tank empty.
- Inspect the anode rod (usually a copper‑colored screw on top). If it’s heavily corroded, replace it – this prevents the tank itself from rusting.
- Check the temperature setting. 120°F (49°C) is safe and energy‑efficient; higher settings waste power and can cause scalding.
- Look around the area for any signs of rust or moisture. Early detection stops bigger problems.
Boost efficiency by insulating the pipes that run from the heater to the taps. A simple foam sleeve cuts heat loss and can lower your energy bill by a few pounds each month.
While most of these steps are DIY‑friendly, there are times when you’ll need a professional. If the heater is over ten years old, if you notice corrosion inside the tank, or if the burner won’t stay lit after several attempts, it’s smarter to call Rugby Appliance Repair Services. Our technicians know the local water quality and can advise whether a repair makes sense or if a replacement is the better investment.
Bottom line: a few simple checks can solve many cold‑water headaches. Keep a basic toolbox, a screwdriver, a wrench, and a garden hose handy, and you’ll save time and money. When the job feels beyond your comfort zone, Rugby Appliance Repair is just a phone call away, ready to get your hot water back on fast.