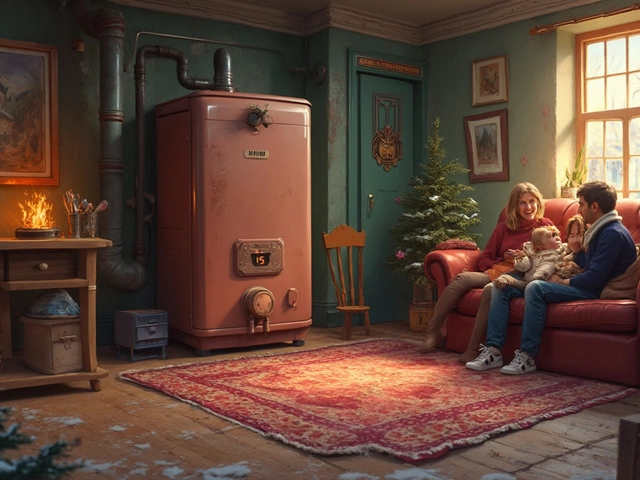
Picture it: you’re standing in a stream of icy water, soap in your hair, muttering darkly because your water heater has picked the worst time to quit. For most folks, hot water is one of those background comforts you barely think about—until it’s gone. But when that water heater refuses to cooperate, a big question pops into your head: Should you fix it yourself or call a pro?
Understanding Your Water Heater: Friend or Foe?
Your water heater isn’t just a mystery box in the basement. Whether you’ve got an old-school tank or a fancy tankless system, both types need a little respect—and occasional maintenance. Most homes in the U.S. use either electric or gas water heaters. Tank-type heaters typically hold 30-50 gallons, and work by heating water and storing it until you need it. Tankless models, meanwhile, heat water on demand, which saves energy but comes with more complex parts.
According to the U.S. Department of Energy, water heating is responsible for about 18% of your home’s energy use. It’s the second largest chunk after heating and cooling. So fixing a malfunction is more than just about comfort; it can affect your pocketbook in more ways than one.
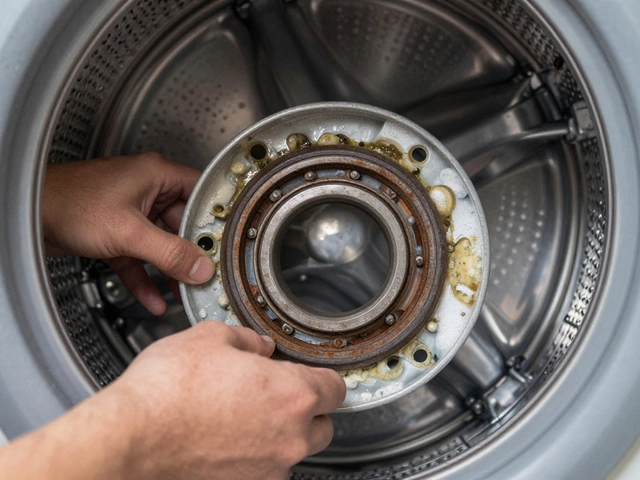
Water heaters tend to last 8-12 years, but many start acting up after year eight. You might notice rusty or foul-smelling water, rumbling noises, or leakage around the base. Not all problems mean you need a new one, though—sometimes it’s just a part like a heating element or a thermostat.
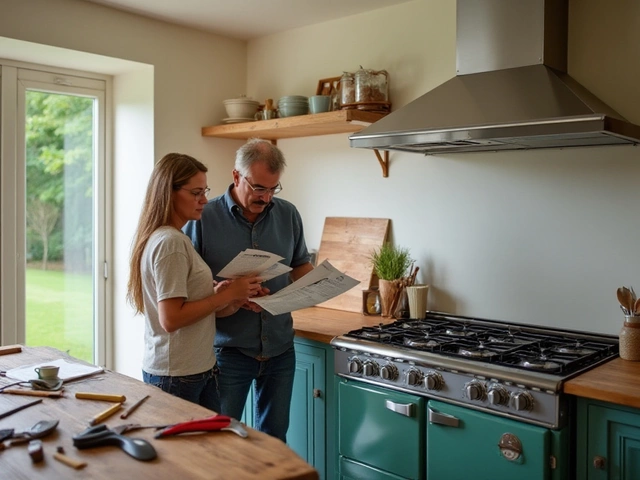
But before you even think about grabbing a wrench, it’s smart to check which type of water heater you’re dealing with, its age (those serial numbers aren’t just for show), and what’s actually going wrong. Mixing up tank and tankless systems is a classic rookie mistake that can make things worse fast.
Do-It-Yourself: When Can You Fix It Safely?
Rolling up your sleeves and getting the job done yourself can feel satisfying—and sometimes it isn’t rocket science. Simple fixes are fair game for a handy homeowner. If your pilot light is out on a gas water heater, or your electric unit trips a breaker, these are usually safe starts. Draining the tank to flush out sediment? Again, totally doable. And replacing a leaky drain valve can be accomplished with a few basic tools.
But here’s where it gets tricky. Water heaters are a strange combo of plumbing and, in the case of gas heaters, dangerous fuel lines. Mixing up which pipes go where, or forgetting that gas can leak, isn’t just a little blunder; it can have deadly results. In 2023, the National Fire Protection Association (NFPA) attributed over 4,000 home fires to water heater malfunctions—most linked to improper installations and repairs.
If you’re thinking about tackling a repair, use your senses. Smell gas? Call a professional—don’t risk it. Hear hissing or see water around electrical parts? Back away. Never open up panels or try to reset high-temperature cutoff switches unless you know exactly what you’re doing. Some wiring hides right behind thin metal doors, and one casual poke can hit live voltage.
There are some jobs best left for licensed techs: replacing thermostats, swapping out tankless heat exchangers, or handling code upgrades. Even if you’re good with a toolbox, city permits may be required for big jobs, and not getting them can void your house insurance. It’s not just ‘CYA’—it’s real money on the line.
If you’re set on a repair, watch well-made step-by-step videos (many manufacturers post official tutorials online), follow printed instructions, and have the right safety gear. Gloves and safety glasses matter more than you think, especially when you’re dealing with rusty bolts or boiling water. And always shut off power (for electric) or gas (for propane/natural gas) before opening anything up.

The Risks: Cost, Time, and Safety Facts You Can’t Ignore
Put simply: fixing your water heater may seem like a money saver, but it can bite you if you miscalculate. Let’s break it down.
- Water heater repair costs done professionally: $120–$600, depending on the issue—according to a 2024 HomeAdvisor survey.
- DIYers save money upfront, but a single mistake (like damaging the tank lining or mixing up gas valves) can mean buying a whole new heater. Replacement units cost $800–$2,000+.
- Your time matters too. The average professional job—flushing sediment or replacing a heating element—takes about 1–2 hours. If you’re new to plumbing, add several more for YouTube searching and tool runs.
- There’s also your physical safety and home investment. Gas leaks can cause explosions. Water under electrical panels can shock or start fires.
| Repair Type | DIY Time (Avg.) | Pro Time (Avg.) | DIY Material Cost | Risks |
|---|---|---|---|---|
| Replace Heating Element | 2–4 hrs | 1 hr | $15–40 | Electrical shock, water leaks |
| Flush Sediment | 1–2 hrs | 30 min | $0 | Hot water burns, valve breakage |
| Replace Thermocouple (Gas) | 2–3 hrs | 45 min | $10–30 | Gas leaks, improper ignition |
| Change Pressure Relief Valve | 1–2 hrs | 30 min | $20–40 | Scalding, leaks |
Plumbers will tell you horror stories about botched DIY attempts—melted connectors, makeshift pipe seals using duct tape, reversed hot/cold lines. Insurance adjusters see the aftermath: ruined flooring and walls from undetected leaks, or worse, claims denied because a non-licensed person did the work.
There’s the age-old advice from Popular Mechanics: “Know your limit, stay within it.” Not the stuffy legalese, just hard-earned wisdom. Here’s what Bob Vila once said that still holds today:
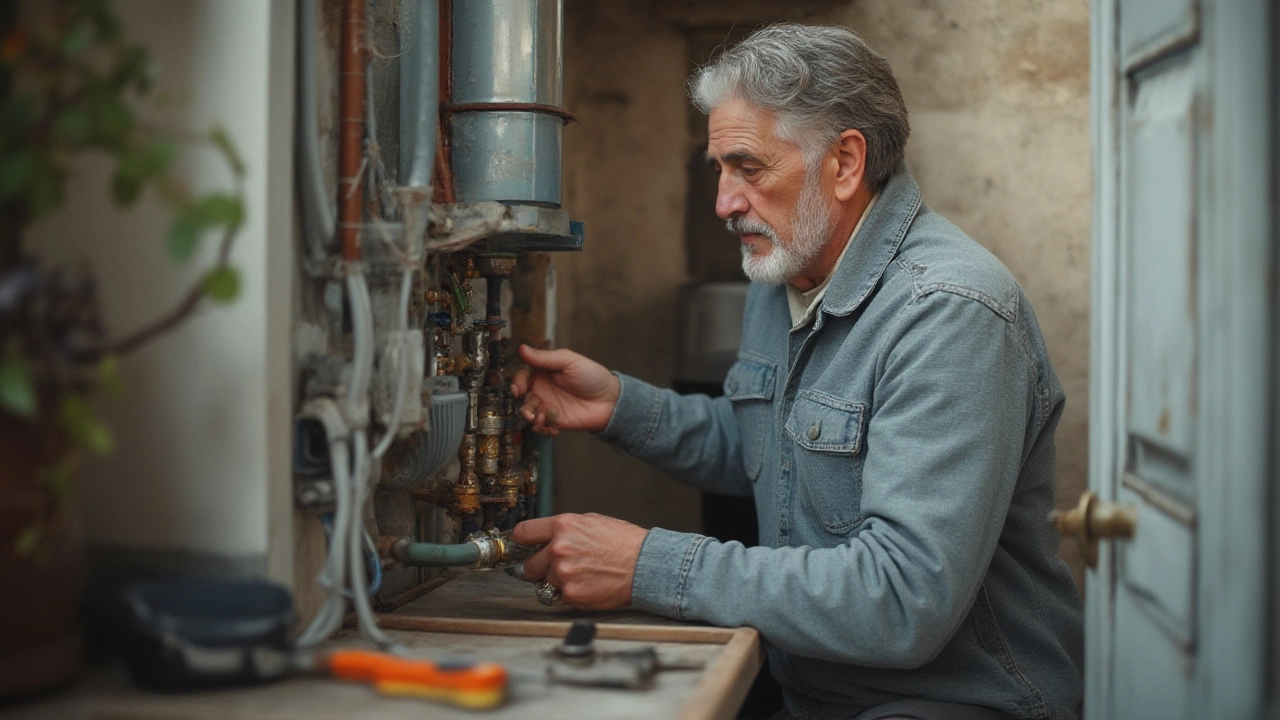
“Unless you’re confident with both plumbing and electrical skills, you’re better served leaving water heater repairs to a professional.”
Sometimes, calling a pro upfront is less costly than cleaning up expensive mistakes later.
The Right Tools and Tips for Smart DIY Repairs
If you’re set on doing a repair, come prepared like a pro. Water heaters don’t forgive shortcuts or forgetting an essential part halfway through. Here’s what should be in your tool kit:
- Adjustable wrenches (preferably two—tank and fitting sizes vary)
- Screwdrivers (both flathead and Phillips)
- Multimeter (for electric units; checks voltage and continuity)
- Pipe dope or thread tape (to prevent leaks on fittings)
- Garden hose (for draining tanks; replace if you reuse it elsewhere!)
- Work gloves and safety glasses
- Water heater repair manual or schematic from your specific brand/model
Before you start, always double check: is the power really off? On electric models, test at the circuit breaker with your multimeter. For gas models, shut the gas off at both the appliance and the meter. Water heaters store a surprising amount of pressure—even after you shut off the main valve, open a hot water faucet somewhere else in the house to relieve built-up pressure before loosening anything.
- If you’re replacing a part (like a heating element), bring the old one to the hardware store. Different wattages and sizes look nearly identical at a glance.
- If you’re flushing sediment, set up the hose before opening valves—hot water will rush out fast.
- When reassembling, don’t overtighten bolts or fittings. Many tanks are glass-lined and can crack from just a bit too much muscle.
- After any repair, test for leaks by pressurizing the system slowly while watching for drips. Don’t close the access panels until you’re sure.
You might be surprised at how detailed many manufacturer websites are—Rheem, AO Smith, Bradford White all offer PDF guides, maintenance schedules, and troubleshooting charts. Stick to those as much as possible instead of using hacky solutions from random videos.
And if something seems off—a burnt smell, strange noises, or the water doesn’t heat up after a supposed fix—shut it down and call in a technician. Sometimes the best fix is knowing when to stop.
When to Dial a Pro: Warning Signs and Red Flags
Tempted by the thrill of a hands-on fix? Hold up if you notice certain symptoms. Some repairs are beyond the skills—and tools—of most DIYers. If your tank is leaking from the bottom (not just from a valve), it’s toast. Internal cracks or corrosion can’t be patched. Likewise, if the pilot light won’t stay lit—even after changing the thermocouple—the gas valve may be bad. This isn’t a home repair job unless you’re certified.
Discolored water that smells like rotten eggs could mean bacterial contamination inside the tank, or even a failing anode rod. Special disposal and disinfection are often needed. Water heaters making loud popping or rumbling might be so packed with sediment that the elements are burning out. Stripping out serious limescale means more than a simple flush—and in hard water areas, it’s a recurring headache.
Another huge red flag: electrical shorts or breaker trips after a repair. Water and electricity are a dangerous mix. It’s not worth it just to dodge a service charge. Also, if you’ve fixed a leak or replaced a valve more than twice in a year, that tank’s at the end of its rope. Don’t throw good time and money after bad—installing a new unit is safer.
And let’s talk about code. Cities and towns set the bar for water heater installation—gas lines need up-to-date flex connectors, expansion tanks, seismic straps in earthquake-prone zones, and more. If your fix doesn’t meet local rules, not only can insurance deny claims, you could face fines. Home inspectors will find out, too, when you go to sell.
Here’s a quick checklist signaling it’s time for a professional:
- Visible corrosion or leaking tank base
- Repeated breaker trips or blown fuses
- Pilot won’t stay lit
- Gas smell or hissing
- Odd electrical smells
- No improvement after basic fixes
By calling a licensed plumber or a certified technician, you also get access to warranty claims you might otherwise lose by DIY. Many manufacturers void their coverage if a non-licensed person repairs the unit, so double check before unscrewing any panels.
The peace of mind from a safe, code-compliant repair can be worth every penny, especially with something your whole family relies on every day.