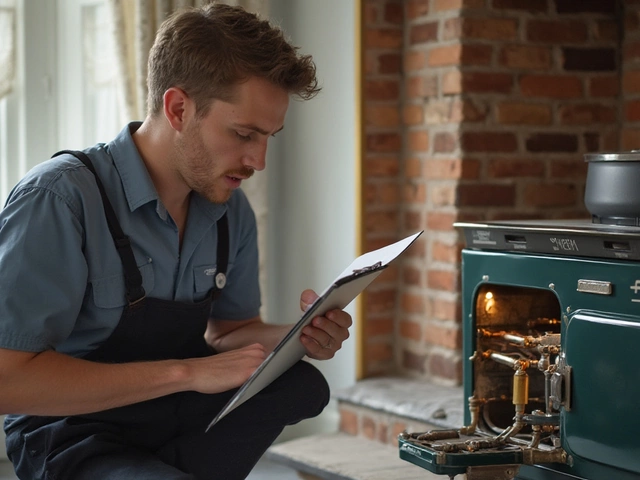
Diagnose Oven Issues: Simple Steps to Get Your Oven Working Again
When your oven stops heating or behaves oddly, it’s tempting to call a technician straight away. But a lot of problems can be identified – and sometimes fixed – with a few quick checks. Below you’ll find the most common reasons ovens fail and a practical troubleshooting guide you can follow before you pick up the phone.
Common Reasons an Oven Won’t Heat
First, understand where the heat comes from. In electric ovens the heating element (or two elements) does the work; in gas ovens the igniter and gas valve are key. If either part stops doing its job, the oven won’t heat.
- Power supply problems – a tripped circuit breaker or a loose plug can cut power instantly.
- Faulty heating element – a broken or burnt‑out element looks dark, has cracks, or shows a break in continuity when you test it with a multimeter.
- Bad igniter (gas ovens) – the igniter may glow weakly or not at all, preventing gas from lighting.
- Thermostat or temperature sensor failure – if the sensor sends the wrong reading, the control board thinks the oven is already at the right temperature.
- Control board glitches – error codes on the display often point to a specific component that needs attention.
- Door seal issues – a cracked gasket lets heat escape, causing the oven to run longer or never reach temperature.
Step‑by‑Step Troubleshooting Guide
Grab a notebook and follow these steps. You’ll need a screwdriver, a multimeter (optional but handy), and a flashlight.
1. Check the power. Open your breaker box and make sure the oven’s circuit isn’t tripped. If you have a separate fuse, verify it’s intact. Plug another appliance into the same outlet – if it works, the outlet is fine.
2. Look for obvious damage. Turn off the oven and let it cool. Inspect the heating element for blisters, cracks, or a blackened appearance. For gas ovens, glance at the igniter – it should be clean and white, not gray or broken.
3. Run a quick self‑test. Many ovens have a “self‑diagnostic” mode. Press and hold the “Start” button for a few seconds (check your manual) and see if an error code appears. Write down the code; it often points directly to the faulty part.
4. Test the heating element. If you have a multimeter, set it to ohms. Disconnect the element’s wiring, touch the probes to the terminals, and look for a reading between 10‑30 Ω. No reading means the element is broken and needs replacing.
5. Check the thermostat/sensor. Locate the temperature sensor (usually a thin metal rod near the back wall). Use a multimeter to measure resistance; it should increase as the oven warms. A constant low reading signals a bad sensor.
6. Examine the door gasket. Run a finger around the seal. If you feel gaps or see cracks, the gasket should be swapped out. A tight seal keeps heat in and prevents the oven from over‑working.
7. Listen for the igniter. In a gas oven, turn the oven on and listen for a clicking sound followed by a steady glow. No click or a weak glow means the igniter is likely dead.
8. Decide when to call a pro. If you’ve checked power, element, igniter, sensor, and door seal and the oven still won’t heat, the control board or gas valve may be at fault. Those parts require a qualified technician.
By running through these checks, you’ll either solve the problem yourself or have a clear idea of what needs fixing when you talk to a repair service. It saves time, cuts down on unnecessary calls, and gives you confidence that you’ve done everything you can safely.
Remember, safety comes first. Always unplug the oven or turn off the gas supply before opening panels. If you ever feel unsure, pause and call a professional – it’s better to wait than to risk injury.
Now you’re equipped to diagnose oven issues like a pro. Keep this guide handy for the next time your oven misbehaves, and you’ll get back to baking, roasting, and cooking without a long wait.


