Microwave Fuse Diagnostic Tool
Phase 1: Symptom Assessment
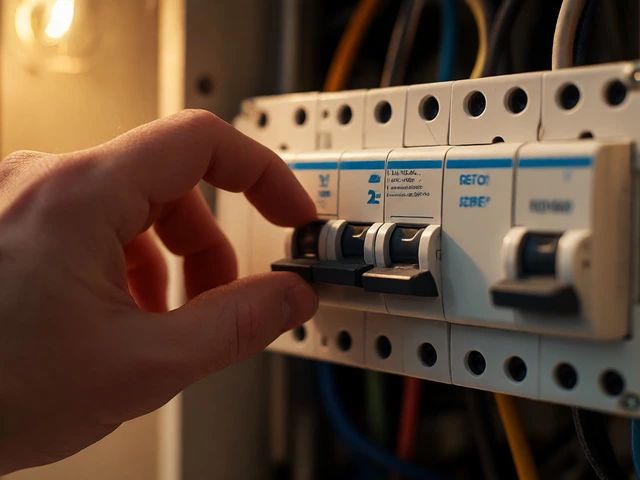
Select the symptoms your microwave is currently exhibiting.
Phase 2: Safety & Testing Protocol
WARNING: High Voltage Risk
Follow these steps strictly in order. Do not skip the capacitor discharge step.
Your microwave suddenly stops heating. You press start, the turntable spins, but your coffee stays cold. Or worse, you hear a loud pop, smell burning plastic, and the unit goes completely dead. Before you toss it into the recycling bin or call for an expensive replacement, there is one small component that might be the culprit: the thermal fuse. Knowing how to tell if your microwave fuse is blown can save you hundreds of dollars and keep food out of the landfill.
A blown fuse is actually good news in a bad situation. It means the microwave’s safety system did its job by cutting power before a fire started. However, diagnosing this issue requires more than just looking at the appliance. You need to understand what causes fuses to blow, how to safely inspect them, and when it is time to walk away from the repair.
Understanding the Role of the Thermal Fuse
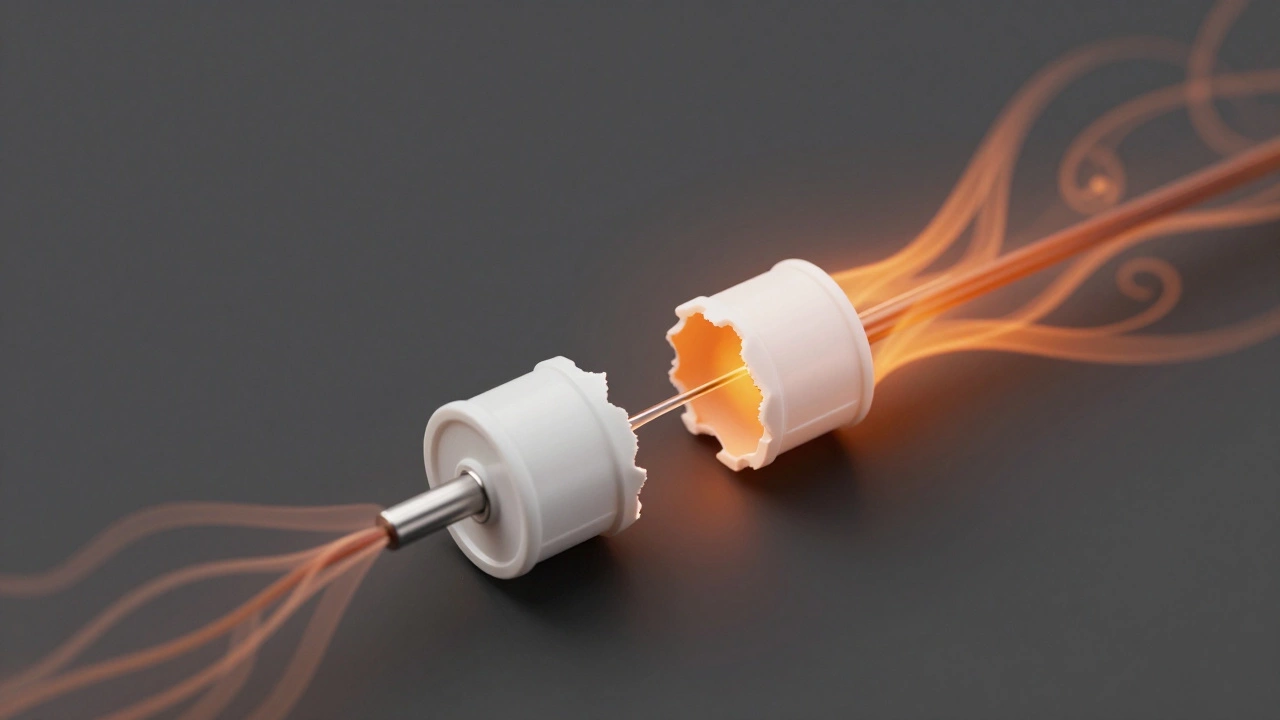
To diagnose the problem, you first need to know what you are looking for. Unlike the electrical fuses in your home breaker box, microwaves typically use a thermal fuse, which is a safety device designed to cut power when internal temperatures exceed safe limits. This component acts as a guardian against overheating. If the magnetron (the part that generates heat) fails or the cooling fan stops working, the temperature inside the cavity spikes. The thermal fuse detects this rise and melts its internal link, permanently breaking the circuit.
There are generally two types of fuses involved in microwave operation:
- The Thermal Fuse: Located near the magnetron or waveguide. It responds to heat. Once it blows, it cannot be reset; it must be replaced.
- The High-Voltage Fuse: Some models have a ceramic tube fuse that protects the high-voltage circuit. This also melts under excessive current but is less common in modern consumer units compared to the thermal cutoff.
If either of these components fails, the microwave will lose power entirely. No lights, no beep, no spin. It looks like a brick. But is it really the fuse? Or is it something else?
Common Symptoms of a Blown Microwave Fuse
Before you open up the casing, observe the behavior of the appliance. A blown fuse presents specific symptoms that differ from other common failures like a broken door switch or a faulty control board.
| Symptom | Blown Thermal Fuse | Door Switch Failure | Control Board Issue |
|---|---|---|---|
| Total Power Loss | Yes (Dead unit) | No (Lights often work) | Variable (Display may flicker) |
| Smell of Burning | Likely (Plastic/Metal) | No | No |
| Loud Pop Sound | Possible | No | No |
| Turntable Spins | No | No | Possibly |
If your microwave has absolutely no response-no digital display, no interior light, and no hum-it is likely a power interruption. Check your wall outlet first. Plug in a lamp or phone charger to ensure the socket works. If the outlet is fine, the issue is internal. A previous incident involving smoke, sparks, or a burnt smell strongly points to a blown thermal fuse triggered by an overheating event.
Safety First: Why You Must Discharge the Capacitor
Here is where most DIY repairs go wrong. Microwaves contain a high-voltage capacitor that stores lethal electrical charges even when unplugged. This capacitor can hold enough energy to kill you instantly if touched with bare hands or metal tools. It does not discharge itself quickly. You must manually drain it before touching any internal components, including the fuse.
If you do not feel comfortable performing this step, stop here and call a professional. There is no shame in prioritizing safety over saving $50 on parts. For those who proceed, you will need a heavy-duty insulated screwdriver with a wooden handle and a resistor (typically 10k-20k ohms, 5-10 watts) to safely short the terminals. Using a simple wire or metal screwdriver without a resistor can create dangerous arcs and damage the diode or transformer.
- Unplug the microwave from the wall outlet.
- Remove the outer casing screws to access the interior components.
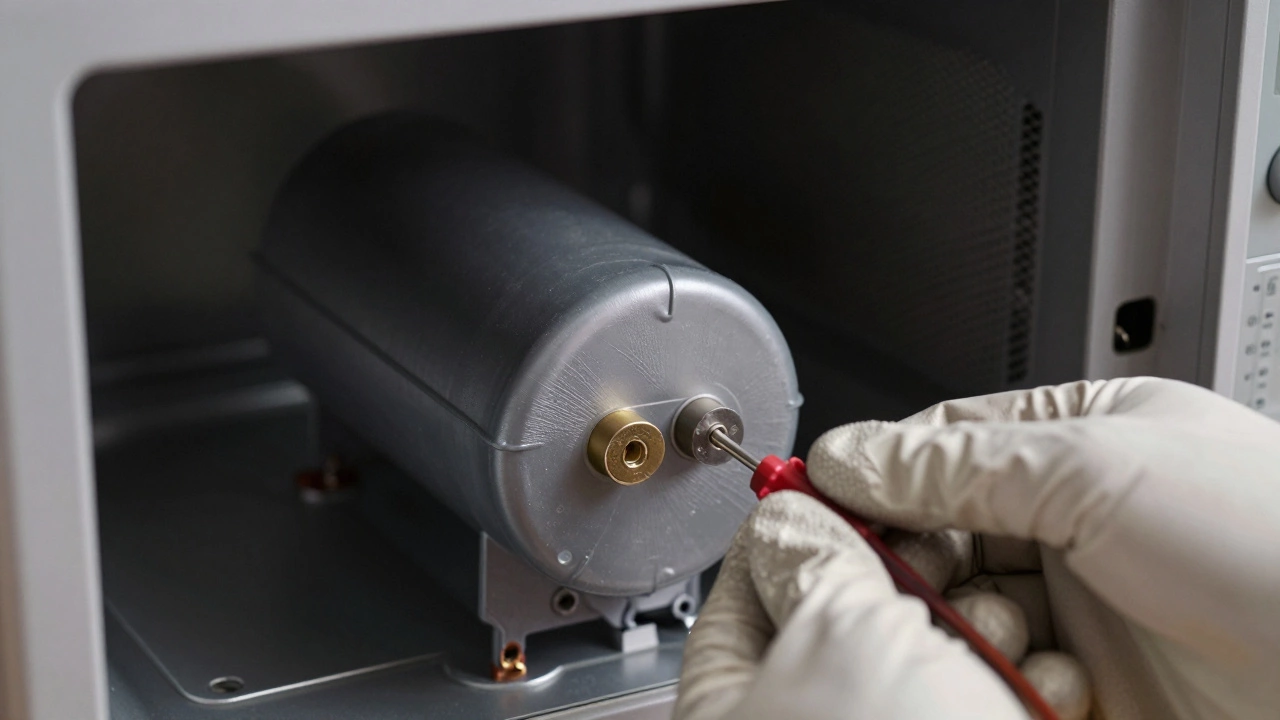
- Locate the high-voltage capacitor. It usually looks like a large cylindrical metal can with two terminals on top.
- Connect one end of your resistor to the ground terminal (chassis) and the other to each of the capacitor’s high-voltage terminals simultaneously.
- Wait 30 seconds. You may hear a small crackle or see a tiny spark. This confirms the charge is draining.
- Verify the discharge using a multimeter set to DC voltage. Readings should be near zero.
How to Test the Microwave Fuse with a Multimeter
Once the capacitor is safely discharged, you can locate the thermal fuse. It is typically mounted on the side of the magnetron housing or near the air vent path. It looks like a small white or black plastic cylinder with two wires attached. Sometimes it is clipped onto a metal bracket.
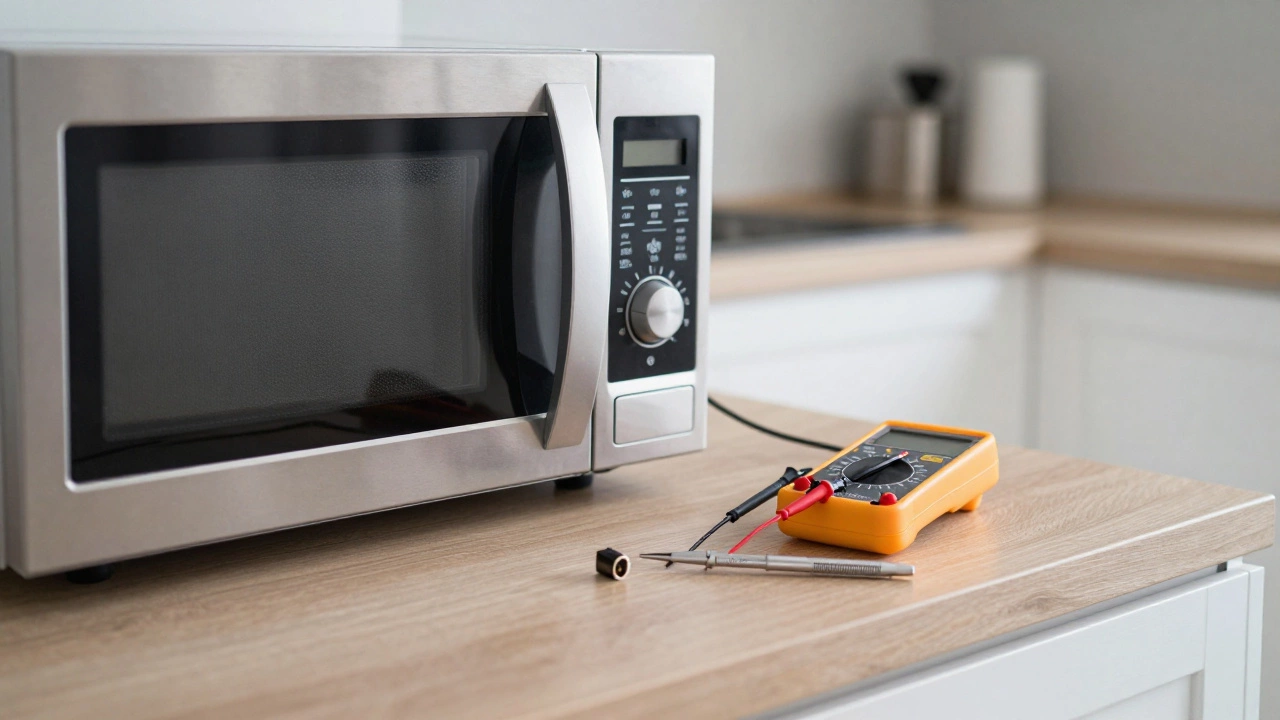
To test it, you need a digital multimeter set to continuity mode or resistance (ohms). Here is the step-by-step process:
- Disconnect the Wires: Carefully detach the two wires connected to the thermal fuse. You may need needle-nose pliers if they are tight. Take a photo beforehand so you remember how to reconnect them.
- Set the Multimeter: Turn your dial to the continuity setting (often marked with a sound wave symbol) or the lowest resistance setting (Ohms).
- Touch the Probes: Place one probe on each of the fuse’s metal terminals. Do not touch the probes together while doing this.
- Read the Result:
- Continuity Beep / Low Resistance (0-5 Ohms): The fuse is intact. Current flows through it. The problem lies elsewhere (likely the door switches or control board).
- No Beep / Infinite Resistance (OL or 1): The fuse is blown. The circuit is open. This confirms your suspicion.
If the meter reads "OL" (Open Loop), the internal filament has melted. The fuse is dead. You can visually inspect it too; sometimes the plastic casing is discolored or cracked, but a visual check is never definitive. Always trust the multimeter.
Replacing the Blown Fuse: What You Need to Know
Finding a blown fuse is only half the battle. Replacing it is straightforward, but you must address the root cause. Thermal fuses do not blow randomly. They blow because something got too hot. If you simply swap the fuse without fixing the underlying issue, the new fuse will blow again within minutes, potentially causing a fire.
Common causes for a blown thermal fuse include:
- Faulty Cooling Fan: The fan cools the magnetron. If it jams or burns out, heat builds up rapidly.
- Damaged Waveguide Cover: The mica sheet inside the oven can burn through, allowing arcing to occur, which generates intense localized heat.
- Magnetron Failure: An aging magnetron can draw excessive current and overheat.
- Vent Blockage: Grease and dust clogging the exhaust vents prevent heat from escaping.
When ordering a replacement, match the specifications exactly. Look for the temperature rating (e.g., 140°C or 284°F) and the amperage. Using a fuse with a higher temperature rating defeats the safety purpose and risks melting the plastic housing or starting a fire. Use the exact same part number listed on the old fuse or in your model’s service manual.
When to Call a Professional Technician
While testing a fuse is a manageable task for a confident DIYer, microwave repair involves high voltages and complex electronics. Consider hiring a licensed technician if:
- You are unsure about discharging the capacitor.
- The fuse tests fine, but the microwave still doesn’t work (indicating a more complex issue like a failed control board or transformer).
- You see scorch marks, melted plastic, or burnt wiring inside the unit.
- The microwave is under warranty (opening it voids the coverage).
In Adelaide and surrounding areas, many appliance repair services offer diagnostic fees that are waived if you proceed with the repair. This can be a cost-effective way to get expert eyes on the problem without committing to a full fix immediately.
Preventing Future Fuse Failures
Once you have replaced the fuse and resolved the overheating cause, take steps to protect your investment. Regular maintenance can extend the life of your microwave significantly.
- Clean the Vents: Every few months, wipe down the exterior vents and the interior walls. Grease buildup insulates heat, forcing components to work harder.
- Check the Mica Sheet: Inspect the waveguide cover inside the oven. If it is charred or missing, replace it immediately to prevent arcing.
- Avoid Running Empty: Never run the microwave without food or water inside. The energy has nowhere to go, reflecting back into the magnetron and causing rapid overheating.
- Listen for Changes: If the fan sounds louder or different, address it early. A struggling fan is a precursor to a blown fuse.
Knowing how to identify a blown microwave fuse empowers you to make informed decisions about repair versus replacement. With careful attention to safety and a systematic approach to diagnosis, you can often bring your appliance back to life without spending a fortune.
Can I reset a blown microwave fuse?
No, you cannot reset a thermal fuse. Once the internal link melts due to excessive heat, the circuit is permanently broken. The only solution is to replace the fuse with a new one of the exact same specifications.
Where is the thermal fuse located in a microwave?
The thermal fuse is typically found near the magnetron, often clipped onto the metal housing or close to the air vent pathway. It is a small cylindrical component with two wires attached. You must remove the outer casing of the microwave to access it.
Is it safe to test a microwave fuse without discharging the capacitor?
Absolutely not. The high-voltage capacitor stores lethal charges even when the microwave is unplugged. Touching internal components without discharging the capacitor first can result in severe electric shock or death. Always discharge the capacitor using a proper resistor before testing any parts.
What happens if I replace a blown fuse with a higher-rated one?
Using a fuse with a higher temperature or amperage rating is dangerous. The fuse is designed to melt at a specific threshold to prevent fires. A higher-rated fuse may not blow when it should, allowing the microwave to overheat, melt plastic components, or start an electrical fire.
Why did my microwave fuse blow if I didn't smell anything burning?
Sometimes a fuse blows due to a slow build-up of heat from a failing cooling fan or blocked vents, which may not produce a strong odor. Other times, a manufacturing defect or age-related degradation of the magnetron can cause overheating without obvious signs until the fuse trips.
How much does it cost to replace a microwave fuse?
The part itself is inexpensive, usually costing between $10 and $30 AUD. However, if you hire a professional technician, labor costs will add to the total. In many cases, if the microwave is older, the total repair cost may approach the price of a new unit, making replacement a more economical choice.
Can a blown fuse cause a microwave to spark?
A blown fuse itself does not cause sparking; rather, sparking (arcing) often causes the fuse to blow. Arcing occurs when electricity jumps across gaps due to damaged waveguide covers, metal objects inside, or corroded connections. The resulting heat triggers the thermal fuse to cut power.