Electric Stove Element Diagnostic Tool
Answer the questions below to get a clear verdict on whether your element needs replacing, or if the problem lies elsewhere.
You’re standing in your kitchen, staring at a pot of water that refuses to boil. The burner glows faintly, maybe even looks normal from a distance, but the heat just isn’t there. This is one of the most common frustrations homeowners face with electric stove elements is a coiled metal component that converts electricity into heat for cooking on the hob or inside the oven cavity. Unlike gas burners that produce an immediate flame, electric elements rely on resistance heating. When they fail, the symptoms can be subtle-like uneven heating-or obvious, like a completely dead zone on your cooktop. Knowing how to diagnose a faulty element saves you money and prevents unnecessary repairs. You don’t need to be an engineer to spot the warning signs. By checking for visual damage, testing continuity, and observing performance patterns, you can determine if it’s time for a replacement. Here’s what to look for when your electric stove acts up.
Visual Clues That Point to a Failing Element
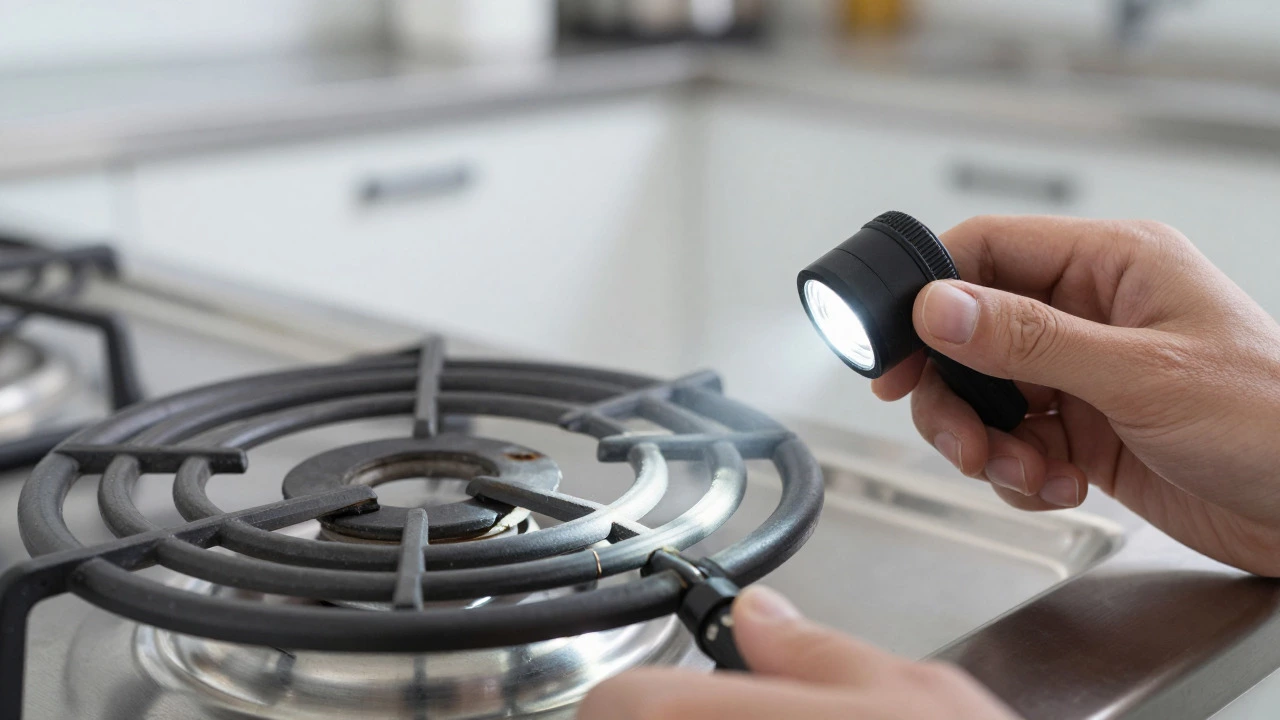
The first step in diagnosing any appliance issue is simply looking at it. While some failures are internal, many bad elements leave visible traces. Start by inspecting the surface of the burner coil or the bake/broil bar inside the oven.
- Cracks or breaks: Look closely at the metal coil. Any gap, crack, or sharp bend indicates a break in the circuit. Even a small hairline fracture can stop current flow entirely.
- Burnt spots: Dark black marks or scorching usually mean the element has overheated due to poor contact or a short circuit. These spots weaken the metal over time.
- Corrosion or rust: If you see orange-brown patches, moisture has likely seeped into the terminals or the coil itself. Rust increases resistance, causing the element to run hot in some areas and cold in others.
- Deteriorated terminals: Check where the wires connect to the element. Loose, green, or frayed terminal connections prevent proper power delivery, leading to intermittent heating.
Performance Symptoms: How It Feels When Cooking
Sometimes, the element looks fine, but the cooking experience tells a different story. Pay attention to how your food reacts during the preparation process. These behavioral cues often reveal problems before physical damage becomes apparent.
- Slow preheating: If your oven takes significantly longer than usual to reach temperature, the heating element might be losing efficiency. A healthy element should bring a standard oven to 180°C within 15-20 minutes. If it takes 30+ minutes, suspect the element or the thermostat.
- Uneven heating zones: Place a sheet of aluminum foil on the burner. If one side heats up quickly while the other stays cool, the coil may have a partial break. In ovens, check if the top rack cooks faster than the bottom; this could indicate a failing broil element or a convection fan issue, but the element is the primary suspect.
- Intermittent operation: Does the burner turn on, then off, then on again? This flickering suggests a loose connection or a cracked coil that expands and contracts as it heats, breaking the circuit intermittently.
- No glow at all: If you set the knob to high and see no red glow after 30 seconds, the element is likely dead. Remember, some modern induction or ceramic hobs don’t glow, but traditional coil and radiant elements must emit light when active.
Testing Continuity: The Definitive Diagnostic Step
Visual checks and performance tests give you strong clues, but only a multimeter provides proof. Testing for continuity measures whether electricity can flow through the element. If the circuit is open (infinite resistance), the element is bad. If it shows low resistance (typically between 10 and 100 ohms for most household elements), it’s likely good. Here’s how to do it safely:
- Unplug the stove: Safety first. Disconnect the power source to avoid shock. For built-in units, flip the breaker labeled "Cooker" or "Range" off.
- Access the element: Remove the burner assembly or open the oven door to access the bake/broil element. You may need to remove screws or brackets to detach the wires.
- Disconnect the wires: Carefully unclip or unscrew the two wires connected to the element terminals. Keep track of which wire goes where for reassembly.
- Set your multimeter: Switch it to the continuity setting (often marked with a sound wave symbol) or the lowest resistance (ohms) setting.
- Touch probes to terminals: Place one probe on each terminal of the element. Read the display.
Common Misdiagnoses: What Else Could Be Wrong?
Before you buy a new part, rule out other potential culprits. Many users replace elements unnecessarily because the real issue lies elsewhere. Here are three frequent false positives:
- Broken Infinite Switch: This switch controls the power flow to the element based on the knob position. If the switch is faulty, the element never receives power, mimicking a dead element. Test the switch separately if the element passes the continuity test.
- Thermal Fuse Blown: Some ovens have a thermal fuse that cuts power if temperatures get too high. If this blows, neither the bake nor broil elements will work. Check the fuse for continuity as well.
- Control Board Failure: On digital stoves, the electronic control board sends signals to the relays that power the elements. A failed relay on the board can stop power delivery without damaging the element itself.
When to DIY vs. Call a Professional
Replacing an electric stove element is generally a beginner-friendly repair. It involves basic disassembly, wire splicing, and screw tightening. If you’re comfortable using a screwdriver and a multimeter, you can likely handle it yourself. The cost of a replacement element usually ranges from $20 to $60, saving you the labor fee of a technician. However, call a professional if:
- Your stove is under warranty (DIY repairs may void it).
- You encounter complex wiring or unfamiliar components.
- The problem persists after replacing the element, suggesting a deeper electrical issue.
- You feel unsure about working with 240-volt circuits.

Preventing Future Element Failures
Once you’ve fixed the issue, take steps to extend the life of your new element. Proper maintenance can add years to its lifespan.
- Avoid heavy pots: Dropping heavy cast iron skillets onto the coil can dent or crack it. Use flat-bottomed pans and lift them gently.
- Clean spills immediately: Sugar or starch spills can caramelize and stick to the coil, causing hot spots and corrosion. Wipe up messes while the stove is cool.
- Check terminals regularly: Every six months, inspect the wire connections for tightness. Loose connections generate heat, which degrades the element over time.
- Use correct voltage settings: Ensure your home’s electrical supply matches the stove’s rating. Voltage fluctuations can stress the element prematurely.
Frequently Asked Questions
Can I use a stove with a slightly damaged element?
It’s not recommended. A cracked or corroded element creates uneven heating, which can ruin food and increase fire risk. The metal weakens at damage points, making complete failure likely soon. Replace it to ensure safe and consistent cooking.
How long does an electric stove element last?
With regular use, most elements last between 5 and 10 years. Heavy daily use, large pot impacts, or poor ventilation can shorten this to 3-5 years. Ovens tend to have shorter lifespans than hobs due to higher operating temperatures.
Do I need to match the exact part number for replacement?
Yes. Element size, shape, and wattage must match your stove model. Using a wrong-sized element can cause fitment issues or overheating. Check your user manual or measure the old element carefully to find the correct replacement part.
Why does my burner glow blue instead of red?
Blue glow usually indicates excessive heat or a voltage issue. Standard electric coils glow orange-red. If yours is blue, check for voltage spikes or a short circuit. Turn off the stove and investigate, as this can signal a dangerous condition.
Is it cheaper to fix or replace the whole stove?
For a single element failure, repair is almost always cheaper. Replacing one element costs less than $100 including parts. Only consider replacing the stove if multiple components (control board, multiple elements, switches) are failing simultaneously or if the unit is over 10 years old.