Water Heater Element Diagnostic Tool
Test Inputs
Diagnosis
Awaiting InputEnter your multimeter readings above and click "Analyze Element" to see if your heating element is good, bad, or needs further inspection.
You turn on the shower, and instead of that comforting blast of heat, you get a lukewarm drizzle. Or maybe your electricity bill has quietly crept up because the heater is running non-stop but not actually warming anything. Before you call a plumber or start tearing apart the tank, there’s a good chance the culprit is a heating element that has burned out. It’s one of the most common failures in electric water heaters, and honestly, it’s often easier to diagnose than people think. You don’t need a degree in electrical engineering-just a basic understanding of how these things work and a few simple tools.
Most modern residential electric water heaters use two elements: an upper one and a lower one. They are essentially large resistors wrapped around a metal sheath, submerged directly into the water inside the tank. When electricity flows through them, they heat up and transfer that energy to the water. Over time, minerals from hard water build up on the surface (scale), or the internal coil simply breaks due to thermal stress. Once that connection is broken, the circuit opens, and no current flows. The result? Cold water, or at best, half-hot water.
The Classic Symptoms of a Dead Element
How do you know it’s the element and not the thermostat or the power supply? Start with the obvious signs. If you have an electric system, the behavior of the water temperature tells you a lot about which component failed.
- No hot water at all: This usually means both elements have failed, or more likely, the upper element has failed and isn’t passing power down to the lower one. In many systems, the upper thermostat controls the upper element first; once that water is hot, it switches power to the lower element. If the upper element is dead, the cycle stops early.
- Short-lived hot water: If you get hot water for ten minutes and then it goes cold, the lower element might be working while the upper one is dead, or vice versa. You’re only heating a portion of the tank.
- Lukewarm water everywhere: If the water is never quite hot enough, scale buildup might be insulating the elements, preventing efficient heat transfer. While this isn't a "dead" element in the electrical sense, it’s a failing one functionally.
- Tripped breaker: A shorted element can trip the circuit breaker immediately after resetting. If the breaker holds but the water stays cold, the element is likely open-circuited (broken wire inside).
In Adelaide, where our water hardness varies by suburb, scale buildup is a massive factor. If you live in areas with harder water, expect elements to fail sooner. Regular flushing helps, but eventually, physics wins.
Safety First: Before You Touch Anything
This part is non-negotiable. We are dealing with high-voltage electricity and pressurized water. Mistakes here can be fatal or cause significant property damage.
- Turn off the power: Go to your switchboard and flip the breaker dedicated to the hot water system. Don’t just turn off the wall switch; kill the breaker. Verify it’s off using a voltage tester.
- Wait for the water to cool: If the tank was recently running, the water could be near boiling. Let it sit for a couple of hours if possible.
- Wear protective gear: Safety glasses and insulated gloves are smart choices. If you drain the tank, wear boots because hot water spills happen.
Once the power is confirmed off, you can proceed with testing. Never assume the breaker is off just because the lights are out. Always test before touching wires.
Tools You Need for Diagnosis
You don’t need fancy equipment. A standard multimeter is the primary tool. You’ll also need a screwdriver set (usually Phillips head) to remove the access panels and insulation covers.
| Tool | Purpose | Cost Estimate (AUD) |
|---|---|---|
| Digital Multimeter | Measures resistance (Ohms) and continuity | $30 - $80 |
| Voltage Tester | Confirms power is truly off | $15 - $40 |
| Phillips Screwdriver | Removes panel screws | Already owned |
| Insulated Gloves | Protection during inspection | $20 - $50 |
Step-by-Step: How to Test the Element
Here is the core diagnostic process. It’s straightforward if you follow the steps logically.
1. Access the Elements
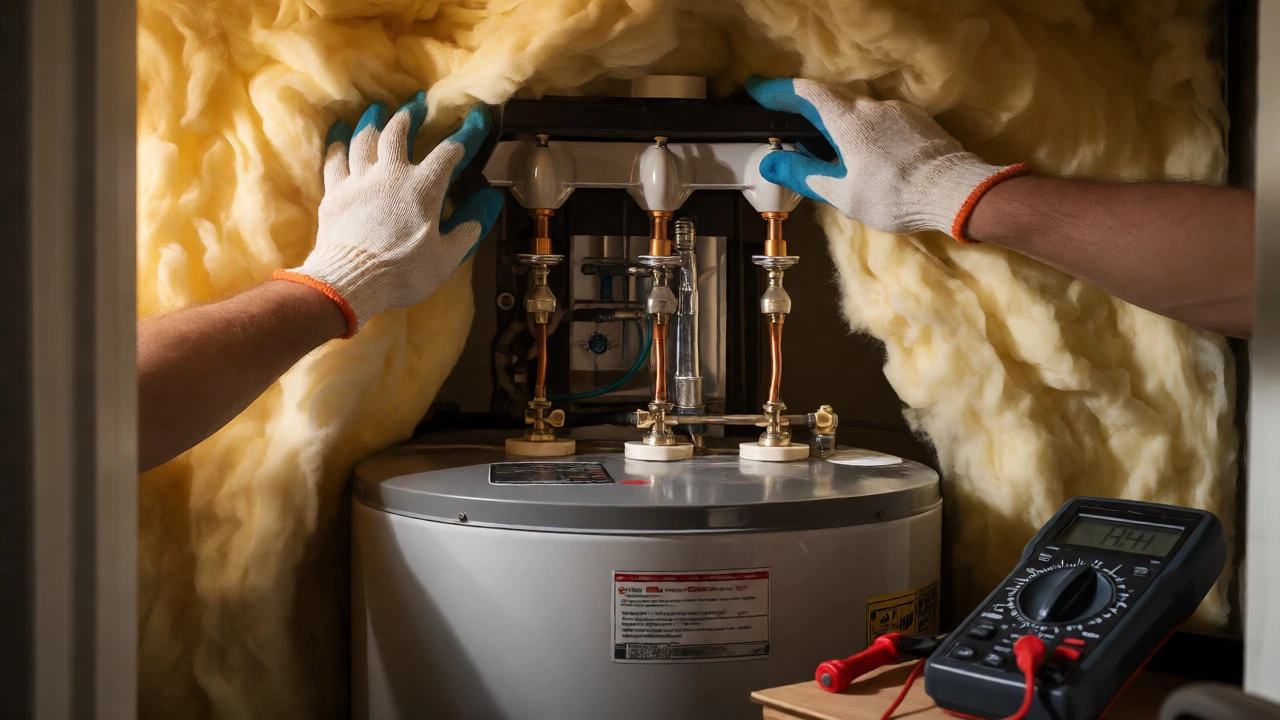
Electric water heaters typically have two access panels on the side-one near the top, one near the bottom. Remove the screws holding the plastic covers. Underneath, you’ll find fiberglass insulation and a cardboard or plastic safety shield. Pull back the insulation carefully to expose the thermostat and the heating element terminals. You will see two wires connected to each element via ceramic blocks or spade connectors.
2. Disconnect the Wires
Take a photo first so you remember which wire goes where. Then, disconnect the wires from the element terminals. Do this for both the upper and lower elements. You need to isolate the element from the rest of the circuit to get an accurate reading.
3. Set Your Multimeter
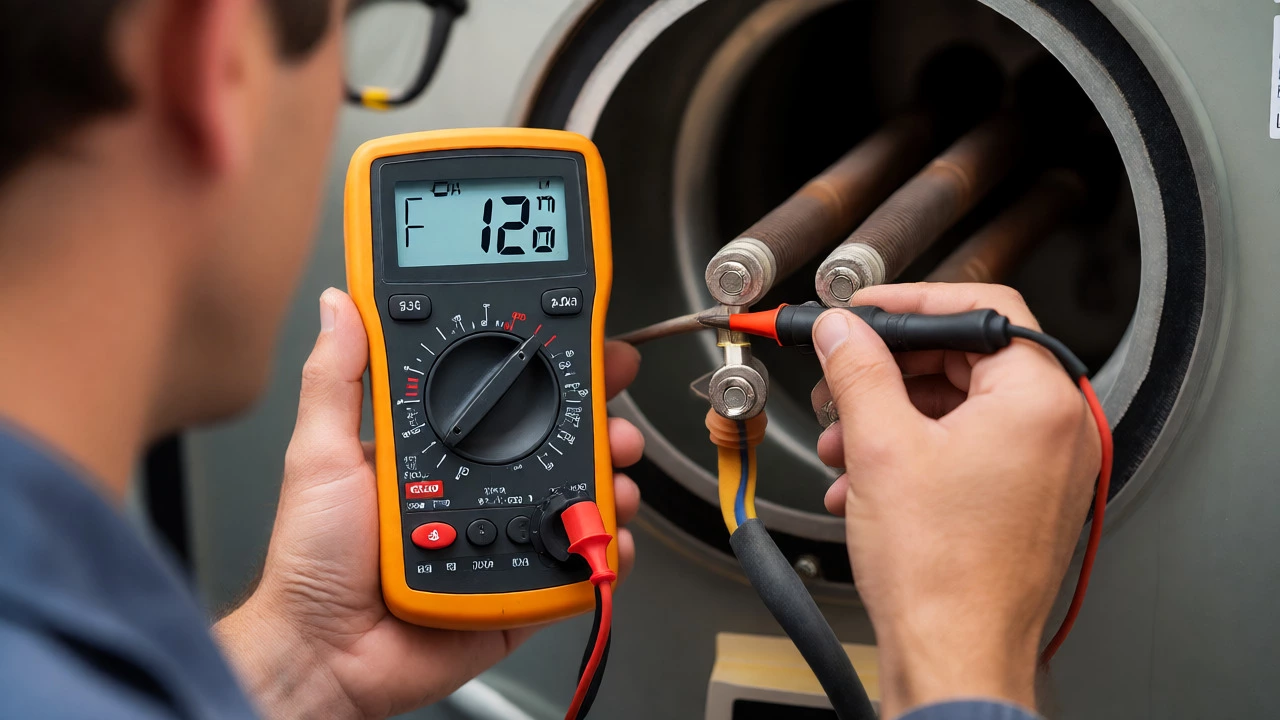
Set your multimeter to measure resistance (Ohms). Look for the Omega symbol (Ω). Most digital meters have a range setting; if yours doesn’t auto-range, set it to the lowest Ohms setting (often 200Ω or 2kΩ).
4. Measure Continuity (Resistance)
Touch one probe to one terminal of the element and the other probe to the second terminal. You are measuring the resistance of the heating coil itself.
- Good Reading: Between 10 and 16 Ohms for a standard 4500-watt element. Lower wattage elements (like 3000W) will show higher resistance (around 16-20 Ohms). The key is that it should be a low, finite number.
- Bad Reading (Open Circuit): If the meter displays "OL," "1," or infinity, the circuit is broken. The wire inside the element has snapped. This element is dead and must be replaced.
- Bad Reading (Short Circuit): If the reading is close to zero (e.g., 0.1 Ohms), the element is shorted internally. It’s dangerous and needs replacement.
5. Check for Ground Faults
A less common but critical failure mode is when the element shorts against the tank ground. Keep one probe on a terminal and touch the other probe to the bare metal of the element flange (the hex nut part that bolts into the tank). The reading should be infinite (OL). If you get any resistance reading (especially low numbers like 100 Ohms or less), the insulation has failed, and current is leaking to the tank body. This trips GFCI breakers and causes shock hazards. Replace the element immediately.
Common Pitfalls and False Positives
Sometimes, the element tests fine, but the water is still cold. Why?
The Thermostat is the Culprit: Thermostats fail more often than elements. If your element shows 12 Ohms (good), check the thermostat. Use the multimeter to check for continuity across the thermostat terminals when the water is cold. It should show continuity (close to 0 Ohms). If it shows OL, the thermostat is broken and not sending power to the element.
High Limit Reset Button: Many thermostats have a small red button labeled "Reset." If the water overheated (due to a stuck relay or faulty sensor), this button pops out, cutting power. Press it firmly. If the water heats up afterward, you didn’t have a bad element-you had an overheat event. However, investigate why it overheated, as repeated resets shorten lifespan.
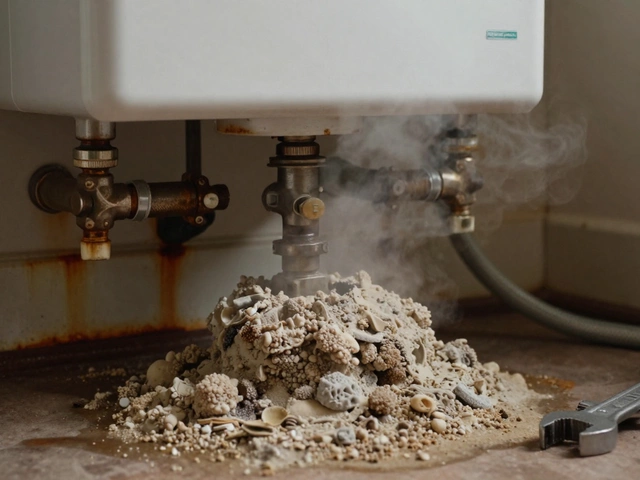
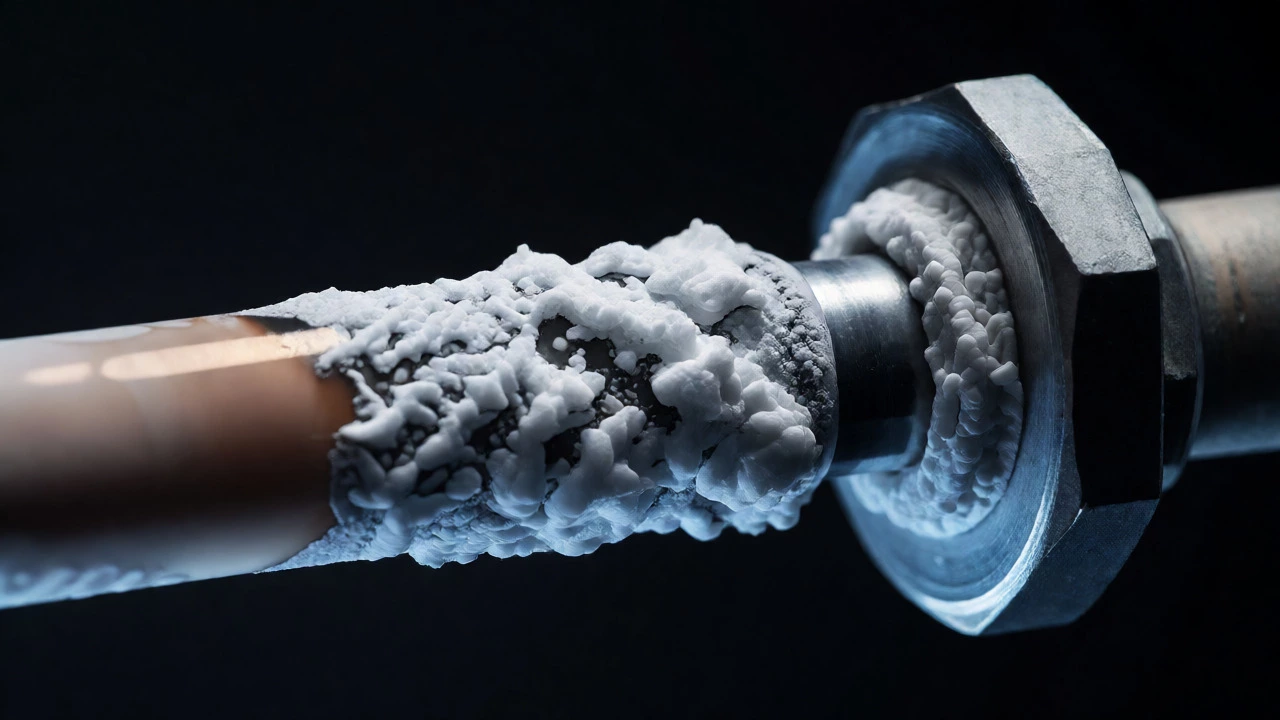
Scale Insulation: If the element reads correctly but the water takes forever to heat, inspect the physical element. If it looks like a white rock formation, that’s calcium carbonate scale. It acts as an insulator. You can sometimes clean it off with vinegar, but often it’s better to replace the element entirely, as cleaning rarely restores full efficiency.
When to Call a Professional
DIY is great for saving money, but some scenarios require a licensed plumber or electrician, especially in Australia where regulations vary by state. In South Australia, for instance, working on fixed wiring often requires a licensed electrician.
- If you are uncomfortable removing the access panels or handling live circuits (even when tested off).
- If the tank itself is leaking around the element seal. Replacing the gasket requires draining the tank, which can be messy and risky if the valve sticks.
- If the problem persists after replacing the element. This suggests issues with the wiring harness, main breaker, or control board.
- If your unit is older than 10 years. At this point, repairing individual components may not be cost-effective compared to upgrading to a new, more efficient model.
Replacing an element is generally a 30-minute job for a handy homeowner. The parts themselves are cheap-usually between $30 and $60 AUD for a quality brand like Rheem or Dux. Compare that to a service call fee of $150+, and the DIY route makes sense for most competent handymen.
Maintenance Tips to Extend Element Life
Once you’ve replaced the bad element, how do you keep the next one alive longer?
- Anode Rod Inspection: The sacrificial anode rod protects the tank from corrosion, but it also affects mineral balance. Check it every 2-3 years. If it’s fully consumed, replace it.
- Annual Flushing: Drain a few gallons from the bottom of the tank once a year to remove sediment. Sediment settles at the bottom, covering the lower element and causing it to overheat and burn out prematurely.
- Temperature Settings: Keep the thermostat at 60°C (140°F). Higher temperatures accelerate scale buildup and increase pressure stress on components.
By staying proactive, you can avoid the sudden cold shower surprise. Diagnosing a bad hot water heater element is a skill worth having. It empowers you to make informed decisions, save money, and ensure your home remains comfortable.
Can I replace a hot water heater element myself?
Yes, if you are comfortable working with basic tools and following safety protocols. You must turn off the power at the breaker and drain the tank partially or fully depending on the element location. Ensure you match the voltage, wattage, and size of the old element exactly.
What does a bad heating element look like?
Visually, a bad element might show heavy white scale buildup, blistering, or cracks in the metal sheath. However, many failed elements look perfectly normal externally. Electrical testing with a multimeter is the only reliable way to confirm failure.
Why did my new heating element fail quickly?
Rapid failure is often caused by dry firing (turning power on before the tank was full of water), excessive sediment insulating the element causing overheating, or using a low-quality element. High mineral content in water also significantly reduces lifespan.
Is it cheaper to repair or replace the water heater?
For units under 8-10 years old, repairing elements or thermostats is usually cheaper. For older units, frequent repairs add up, and newer models are more energy-efficient. Calculate the cost of repairs versus the price difference of a new unit over its expected remaining life.
Do gas water heaters have elements?
No, gas water heaters use a burner at the bottom of the tank to heat the water. They do not have electric heating elements. If a gas heater isn't producing hot water, check the pilot light, thermocouple, or gas valve instead.