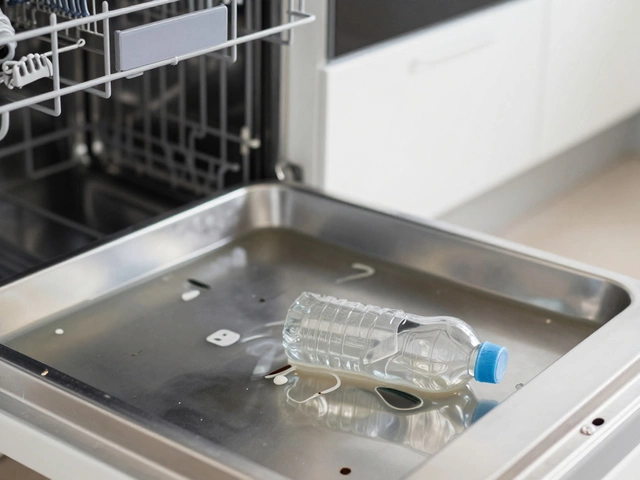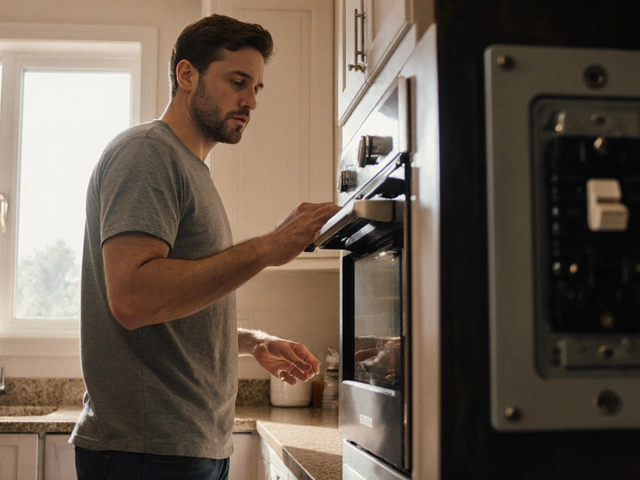
Refrigerator Troubleshooting Assistant
1. Check Thermostat Settings
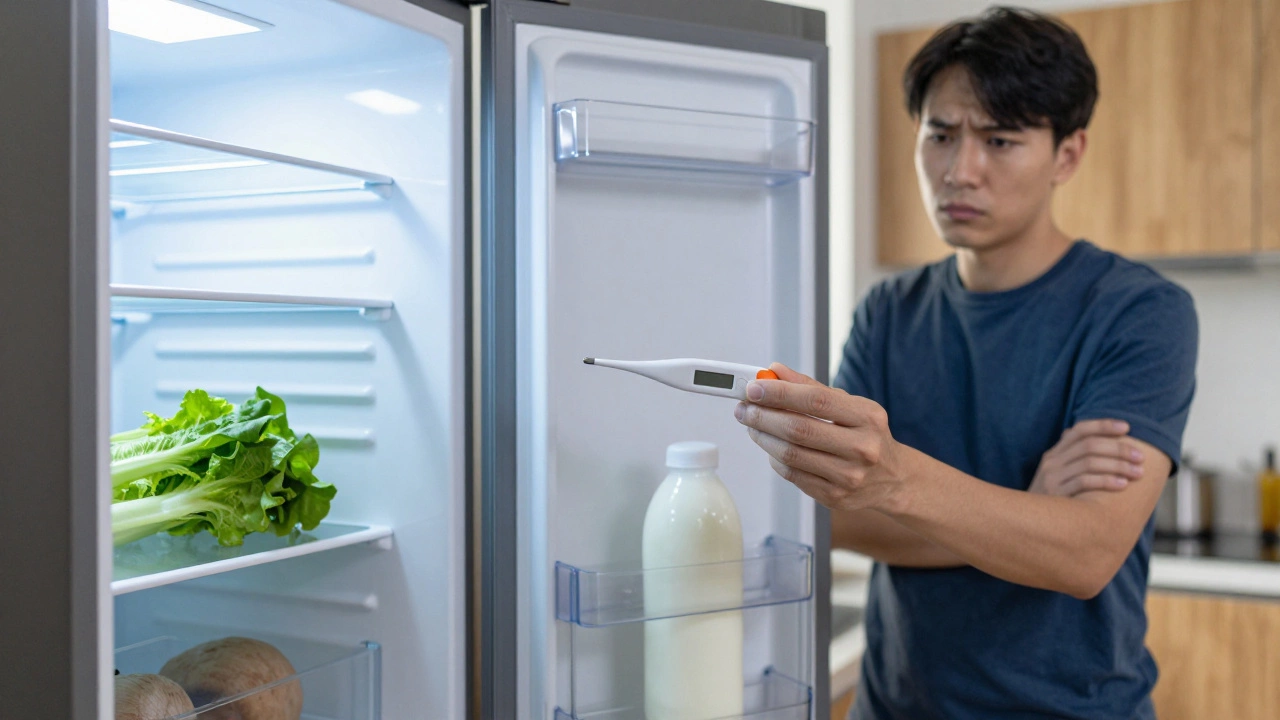
Ensure the dial isn't accidentally set too high (warm). Fridge should be 3°C–5°C.
2. Clean Condenser Coils
Check back or bottom kickplate for dust/hair buildup. Vacuuming these helps heat release.
3. Inspect Door Seals (Gaskets)
Perform the "dollar bill test." If it slides out easily, the seal is weak.
4. Air Circulation & Vents
Rearrange food so vents aren't blocked. Ensure the freezer isn't overpacked.
5. Evaporator Fan & Ice Buildup
Listen for humming in the freezer. Check for thick ice blocking vents (Defrost system failure).
Diagnosis Result
Your food is wilting, the milk is warm, and you’re staring at a freezer full of ice cream that’s turning into soup. It’s one of the most stressful household emergencies. A refrigerator is a vital appliance for preserving perishable food through controlled cooling. When it stops working, the clock starts ticking on your groceries. Before you call a technician or throw away expensive ingredients, there are several things you can check yourself. Often, the issue isn’t a broken compressor but something as simple as a blocked vent or dirty coil.
This guide walks you through the most common reasons why your fridge isn’t cooling and how to fix them. We’ll start with the easiest checks and move toward more complex mechanical issues. By the end, you’ll know whether you have a quick DIY fix or if it’s time to bring in a professional.
Check the Thermostat Settings First
It sounds obvious, but we often overlook the basics when panic sets in. The first thing to do is verify that the thermostat hasn’t been accidentally bumped or changed. If someone moved the dial while cleaning or organizing, the temperature might be set too high. Most refrigerators should operate between 3°C and 5°C (37°F-41°F) in the fresh food section and -18°C (0°F) in the freezer.
- Digital Displays: Look for the current setting. If it says “High” or a number above 5, turn it down.
- Analog Dials: These usually range from 1 to 5 or 1 to 9. Higher numbers mean colder temperatures. If yours is on 1 or 2, try turning it up to 3 or 4.
After adjusting the settings, wait at least six hours to see if the temperature drops. Don’t open the door repeatedly during this time, as that lets warm air in and confuses the sensor.
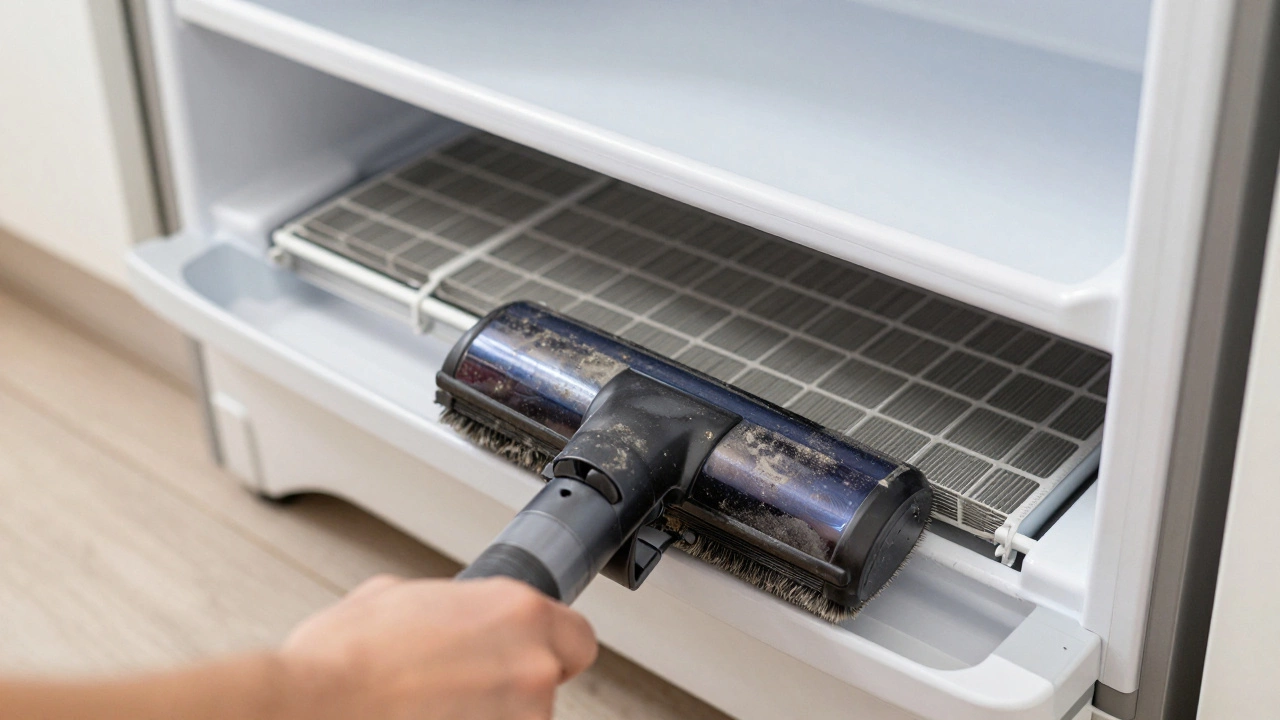
Clean the Condenser Coils
If the thermostat is correct, the next most likely culprit is dirty condenser coils. These coils release heat from inside the fridge to the room. They are located either on the back of the unit or behind a kickplate at the bottom front. Over time, dust, pet hair, and grime build up on these coils, acting like an insulating blanket. This forces the compressor to work harder and longer, eventually leading to overheating and failure to cool.
You don’t need special tools to clean them. A vacuum cleaner with a brush attachment or a specialized coil brush works well. Here’s how to do it:
- Unplug the refrigerator: Safety first. Always disconnect power before performing maintenance.
- Locate the coils: Check the back panel or remove the toe-kick grille at the bottom.
- Vacuum or brush: Gently remove all debris. Be careful not to bend the delicate fins.
- Replace the cover: Plug the fridge back in and monitor the temperature.
If your coils haven’t been cleaned in over a year, this step alone might solve your problem. In hot climates like Adelaide summers, where ambient temperatures rise, clean coils are even more critical for efficient operation.
Inspect the Door Seals (Gaskets)
A refrigerator relies on a tight seal to keep cold air in and warm air out. If the rubber gaskets around the doors are cracked, torn, or loose, warm air leaks in constantly. This makes the compressor run non-stop, which can lead to freezing issues in some models or simply an inability to reach the set temperature in others.
To test the seals, perform the "dollar bill test." Close the door on a dollar bill (or any piece of paper) so that half of it sticks out. Pull the bill gently. If it slides out with little to no resistance, your seal is weak. Repeat this test at various points around the door.
If the seals are dirty, wipe them with warm soapy water. Sometimes, grease and food residue prevent a proper seal. If they are damaged, you can replace them. Order a new gasket using your model number, which is usually found on a sticker inside the fridge or on the side wall. Installation typically involves snapping the new seal into place, though some models require screws.
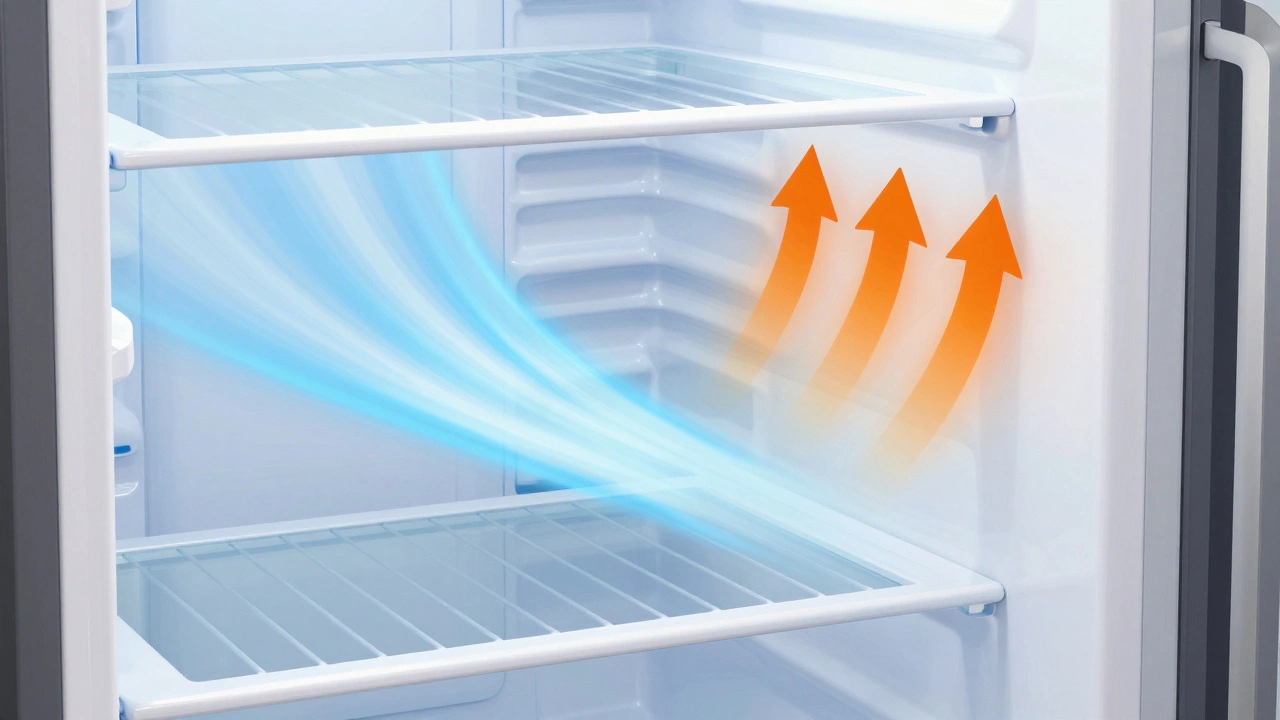
Ensure Proper Air Circulation
Modern refrigerators use fans to circulate cold air from the freezer to the fridge compartment. If air vents are blocked, the cooling system can’t distribute temperature evenly. You might notice that the freezer is cold, but the fridge is warm. This is a classic sign of restricted airflow.
Check the following areas for blockages:
- Food Placement: Make sure items aren’t shoved directly against the back wall or covering the air vents inside the fridge.
- Overpacking: A fridge that is stuffed to the brim doesn’t allow air to move freely. Leave space between items.
- Ice Buildup: In frost-free models, excessive ice in the freezer can block vents. If you see thick ice buildup, the defrost system may be failing (more on that below).
Rearrange your shelves and ensure nothing is obstructing the internal vents. This simple adjustment can restore proper circulation immediately.
Listen for the Evaporator Fan
The evaporator fan is located in the freezer compartment. Its job is to blow cold air from the evaporator coils into the rest of the fridge. If this fan motor fails, the freezer might still get cold (due to direct contact with the coils), but the fridge section will stay warm.
Here’s how to check it:
- Open the freezer door: Listen closely. You should hear a humming sound from the fan.
- Observe movement: If possible, look past the shelves to see if the fan blade is spinning.
- Check for ice: If the fan is stuck by ice, it won’t spin. This points to a defrost issue rather than a motor failure.
If the fan is silent and not spinning, it might be dead. Replacing an evaporator fan motor is a moderate DIY task. You’ll need to remove the back panel of the freezer, unplug the old motor, and install the new one. Ensure you buy the exact replacement part for your model.
Diagnose Defrost System Failures
If your fridge has ice buildup on the back wall of the freezer or around the evaporator coils, the defrost system is likely at fault. Frost-free fridges automatically melt ice periodically. If this cycle fails, ice accumulates and blocks airflow, causing the fridge to stop cooling.
The defrost system consists of three main parts:
- Defrost Heater: Melts the ice. If it’s broken, ice builds up.
- Defrost Thermostat/Bimetal: Turns the heater on and off. If it fails, the heater might never turn on.
- Defrost Control Board: Sends the signal to start the defrost cycle. If it malfunctions, the cycle never begins.
To check the heater, you can use a multimeter to test for continuity. If the heater shows no continuity, it needs replacement. Similarly, test the thermostat. If both are good, the control board might be the issue. Diagnosing and replacing these components requires some technical skill. If you’re uncomfortable with electrical testing, this is a good time to call a professional.
When to Call a Professional Technician
Sometimes, the problem lies deeper within the refrigeration system. Issues like a faulty compressor, a leak in the refrigerant lines, or a bad start relay require specialized tools and knowledge. Attempting to repair these yourself can be dangerous and void warranties.
Signs that you need a pro include:
- Loud buzzing or clicking noises: This often indicates a failing compressor or start relay.
- Warm compressor housing: If the compressor at the back bottom of the fridge is extremely hot to the touch, it may be short-cycling or failing.
- No cooling despite clear vents and clean coils: If you’ve done all the above steps and the fridge still doesn’t cool, the refrigerant might be low due to a leak.
In Adelaide, many local appliance repair services offer diagnostic visits. Get quotes from at least two technicians. Ask if they charge for the diagnosis separately or if it’s waived if you proceed with the repair. Always ensure the technician is licensed and insured.
How long does it take for a refrigerator to cool down after being unplugged?
After plugging a refrigerator back in, it typically takes 24 hours to reach the optimal temperature. However, you should notice a significant drop in temperature within 6 to 12 hours. Avoid putting large amounts of warm food in during this period.
Why is my freezer cold but my refrigerator is warm?
This is usually caused by poor air circulation. Check if the air vents inside the fridge are blocked by food. Also, inspect the evaporator fan in the freezer; if it’s not spinning, cold air isn’t being pushed into the fridge section. Ice buildup blocking the vents is another common cause.
Can a clogged drain line cause a refrigerator not to cool?
Indirectly, yes. A clogged defrost drain can cause water to pool and freeze on the evaporator coils. This ice buildup restricts airflow and prevents proper cooling. Clearing the drain line with warm water or a pipe cleaner can resolve this issue.
Is it worth repairing an old refrigerator that isn’t cooling?
If the repair cost exceeds 50% of the price of a new energy-efficient model, it’s often better to replace it. Older units also consume more electricity. Consider the age of the fridge; if it’s over 10-15 years, replacement is usually the more economical choice in the long run.
What should I do with perishable food while fixing the fridge?
Transfer perishables to a cooler with ice packs immediately. Keep the fridge and freezer doors closed as much as possible to retain cold air. A full freezer can stay cold for about 48 hours if unopened, while a fridge lasts only about 4 hours. Discard any food that has been above 5°C for more than two hours.