Extractor Fan Replacement Difficulty Calculator
This calculator helps you determine if you can safely replace your extractor fan yourself or if you should hire a professional. Based on your answers, you'll receive a difficulty score and tailored advice.
Your Difficulty Score
Ever walked into your kitchen and been hit with a wall of greasy air after cooking? Or noticed that your extractor fan’s been making a noise like a dying vacuum cleaner? If you’ve been wondering whether you can just swap it out yourself, the answer is usually yes-but not always. Replacing an extractor fan isn’t rocket science, but it’s not a simple screw-in light bulb either. It’s a job that sits right in the middle: doable for most homeowners with a little patience, but risky if you skip the basics.
What Makes an Extractor Fan Easy or Hard to Replace?
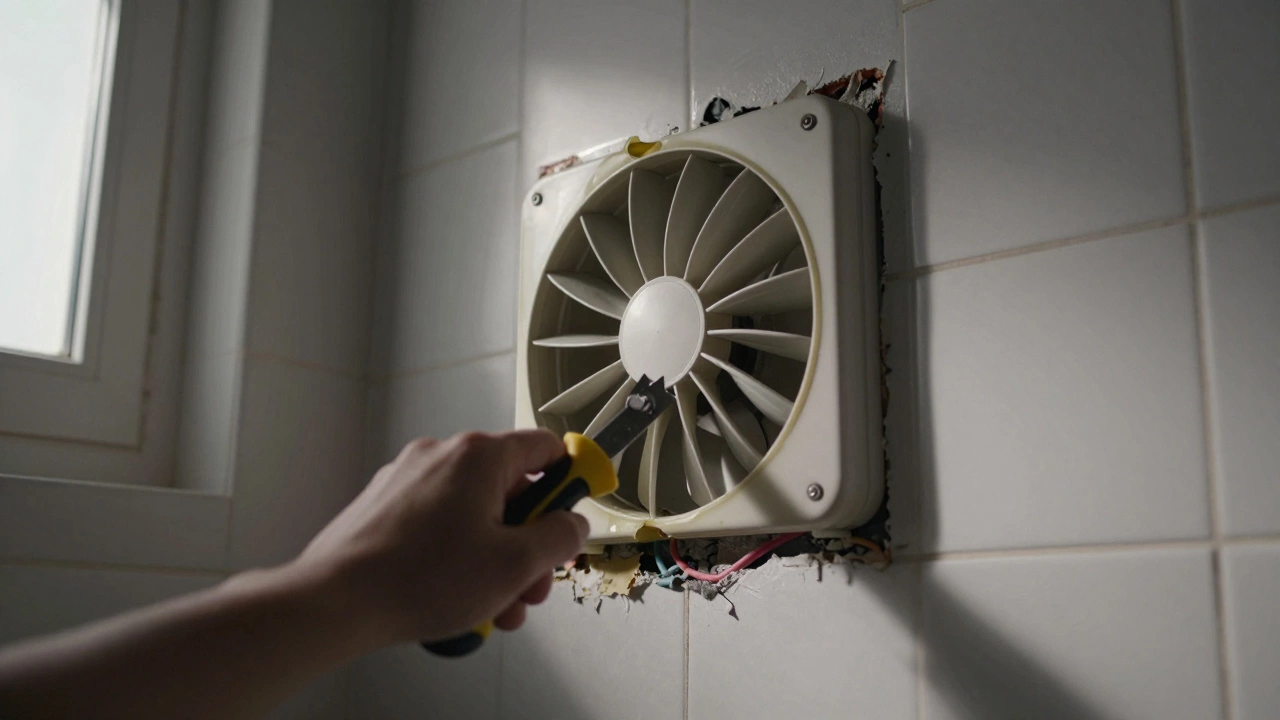
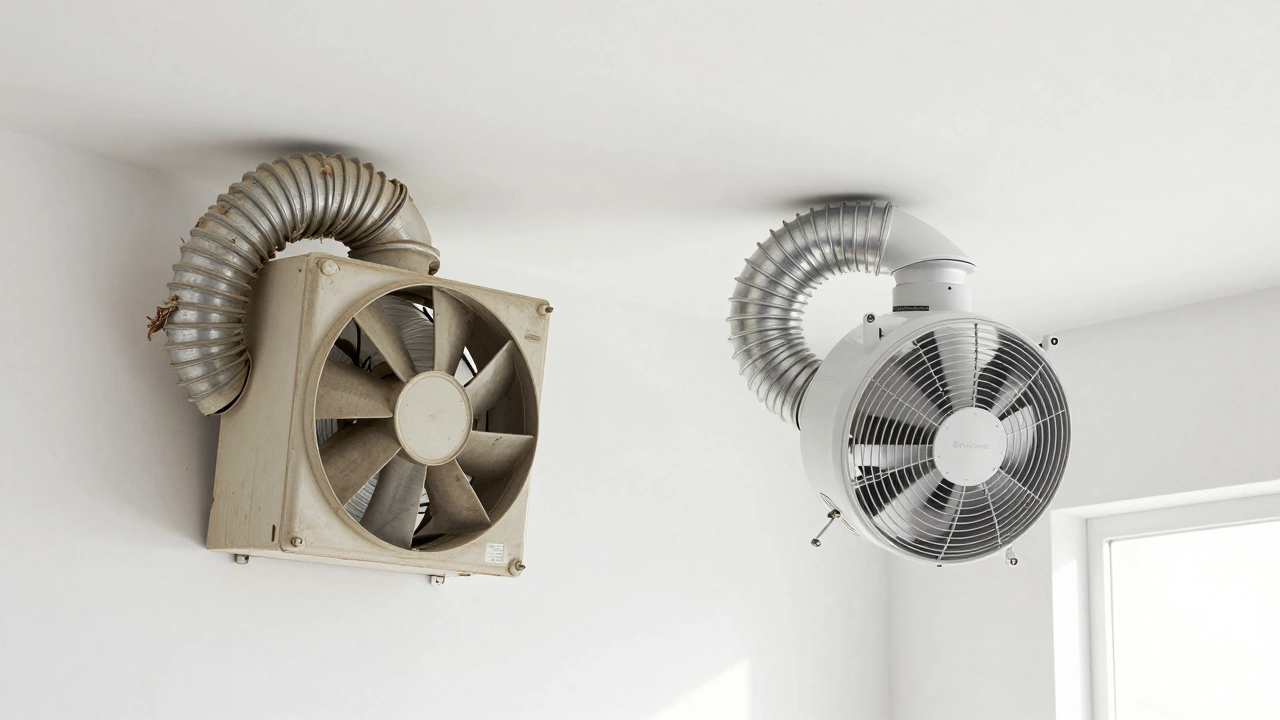
Not all extractor fans are created equal. The difficulty of replacing one depends on three things: where it’s installed, how old it is, and what kind of ducting it uses. In Australia, especially in places like Adelaide where homes are often built with compact kitchens, you’ll mostly run into two types: ceiling-mounted and wall-mounted fans. Both are common in newer builds, but older homes might have a hidden unit tucked behind a cabinet or in the ceiling cavity.A ceiling-mounted fan is usually the easiest to swap. It’s often held in place by spring clips or a few screws, and the wiring is accessible from the room below. Wall-mounted fans? A bit trickier. They’re usually bolted into the wall, and if your ducting runs through the cavity behind the tiles or bricks, you might need to cut into the wall to access it. That’s where things go from DIY to professional territory.
Older fans-say, from the 90s or early 2000s-are another story. They often use outdated wiring standards, like two-core cables without an earth, or they’re wired directly into the mains without a plug. If you’re replacing one of these, you’re not just swapping a unit-you’re potentially upgrading your electrical setup. That’s not something to guess at.
The Tools You Actually Need
Forget the fancy gadget kits. For most extractor fan replacements, you only need a handful of tools:- Phillips and flathead screwdrivers
- A voltage tester (non-contact is fine)
- Wire strippers (if you need to cut and reconnect wires)
- A utility knife (for cutting old sealant or insulation)
- Masking tape and a small ladder or step stool
You don’t need a power drill, a multimeter, or a ducting cutter. Most modern extractor fans come with pre-wired connectors that just plug in. Brands like Extract-Air is a popular Australian brand of extractor fans designed for residential kitchens and bathrooms. Also known as Extract-Air Ventilation, it offers models with built-in timers and humidity sensors that automatically turn on when moisture is detected. and Broan is a North American brand widely used in Australian homes due to its quiet operation and energy-efficient motors. Also known as Broan-NuTone, it’s known for durable construction and compatibility with standard 150mm ducting. have made replacement much simpler over the last decade. Their fans often come with snap-in connectors and mounting brackets that fit existing holes.
Step-by-Step: How to Replace an Extractor Fan
Here’s how most replacements go, based on real jobs done in Adelaide homes over the last three years:
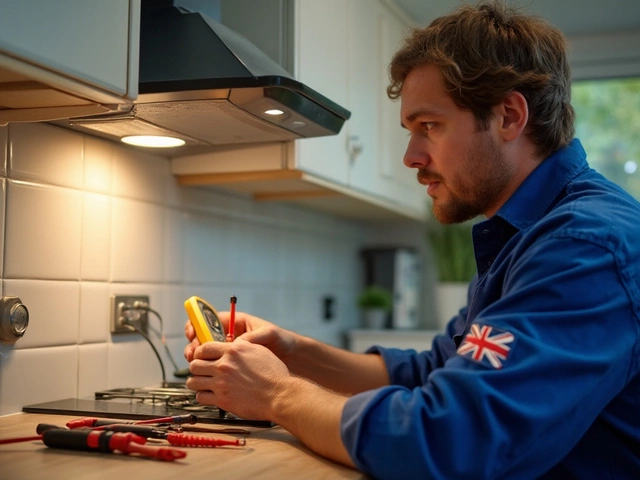
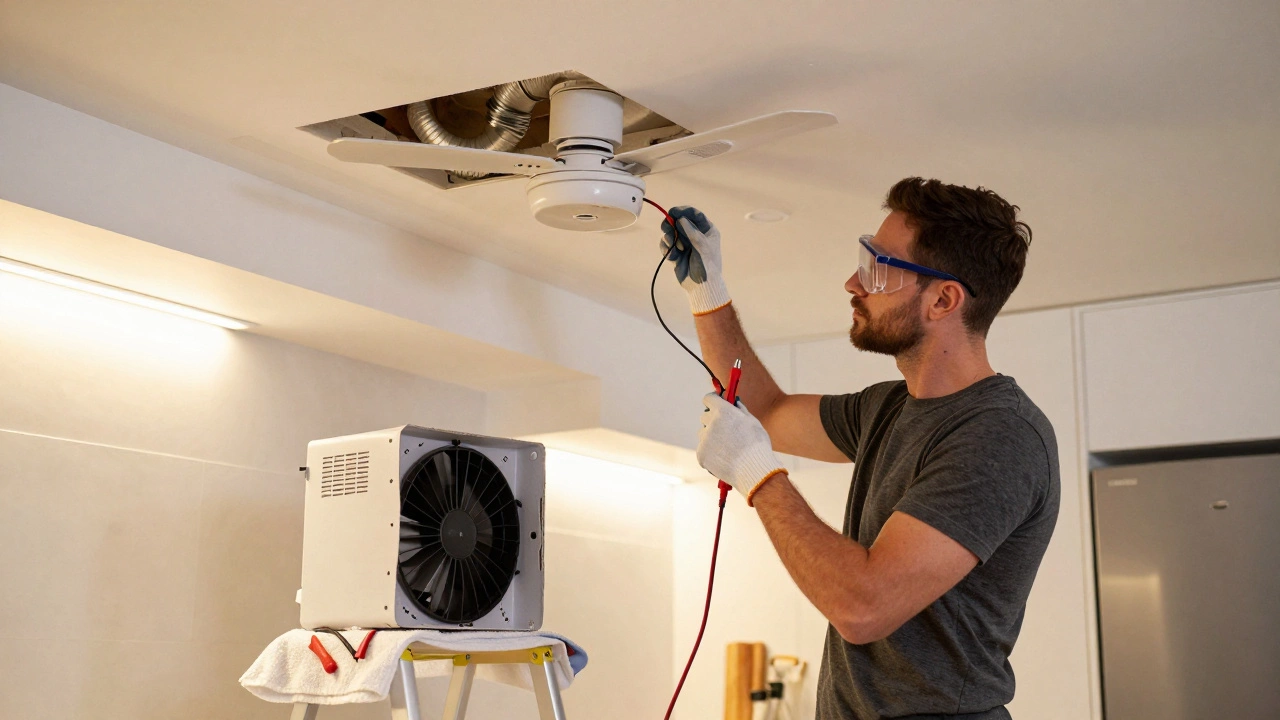
- Turn off the power. Go to your switchboard and flip the breaker for the kitchen or bathroom. Don’t just rely on the wall switch. Use your voltage tester to double-check there’s no current running to the fan.
- Remove the cover. Most fans have a plastic or metal grille held by clips or screws. Pop it off or unscrew it. Some older models have a rubber seal-carefully peel it away.
- Disconnect the wiring. Take a photo of the wiring before you touch anything. Most modern fans use push-fit connectors (L, N, E). Unscrew or unclip them. If wires are twisted together with wire nuts, unscrew them gently and cap them with new ones.
- Remove the old unit. Unscrew the mounting brackets or release the spring clips. The fan might be glued or sealed with silicone-use the utility knife to cut through it. Don’t yank it out; you might damage the duct.
- Check the duct. Look inside the duct opening. Is it blocked with grease? Is it crushed or kinked? If the duct is damaged, you’ll need to replace it too. A 150mm rigid duct is standard in Australia. Flexible ducting is cheaper but less efficient.
- Install the new fan. Slide the new unit into place. Most come with pre-drilled holes that match old ones. Secure it with screws or clips. Reconnect the wires exactly as they were. Match L to L, N to N, and E to E.
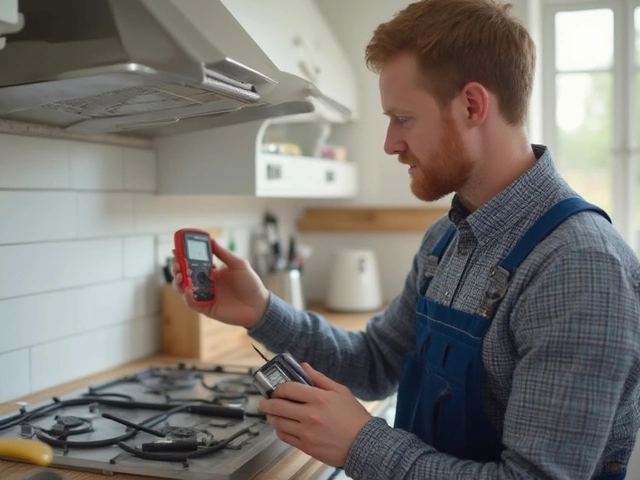
- Test it. Turn the power back on. Turn the fan on at the switch. Listen for odd noises. Check the airflow-hold a tissue near the grille. It should pull it firmly toward the fan.
- Seal and finish. Reattach the cover. Use a bead of silicone around the edge if it’s a bathroom fan to prevent moisture leaks.
When You Should Call a Professional
There are three red flags that mean don’t touch it yourself:
- Your home has no earth wire. If the old fan’s wiring has only two wires-black and red-and no green/yellow-you’re dealing with pre-1990s wiring. Replacing the fan without upgrading the circuit is unsafe.
- The duct runs through a cavity with insulation or asbestos. If you’re in a home built before 2000 and you see grey, fibrous material in the ceiling, stop. Asbestos was common in insulation. Disturbing it is dangerous.
- The fan is wired into a lighting circuit. Some older homes use the same circuit for lights and fans. If the fan turns off when you turn off the bathroom light, you’re dealing with a shared circuit. You need an electrician to rewire it properly.
Also, if you’re replacing a fan in a bathroom, Australian standards require it to be rated for wet areas (IPX4 minimum). Not all fans sold online meet this. Stick to brands sold by Australian electrical suppliers like Brivis is a leading Australian HVAC and ventilation manufacturer, known for integrated home systems and compliance with AS/NZS 3000 wiring standards. Also known as Brivis Ventilation, it’s commonly installed in new builds across South Australia. or Whirlpool is a global appliance brand with certified extractor fans designed for Australian humidity and kitchen conditions. Also known as Whirlpool Exhaust Fans, its models often include moisture sensors and energy-saving modes..
Cost Comparison: DIY vs Professional
A basic extractor fan from Bunnings or Reece costs between $60 and $150. A professional installation? Around $200 to $400, depending on complexity. That includes labor, materials, and a safety certificate.
But here’s the catch: if you mess up the wiring, you risk a fire. If you damage the ducting, you’ll get mold. If you install a non-compliant fan in a bathroom, you could fail a home inspection later. The savings from DIY aren’t worth the risk if you’re not confident.
Most homeowners who replace their own fan successfully spend about 90 minutes on it. The ones who call an electrician? They usually say they wished they’d done it themselves-but only after they’d spent $350 and waited two weeks for a booking.
What to Look for in a New Fan
Don’t just grab the cheapest one. Look for these features:
- 150mm duct size. Standard in Australia. Avoid 100mm or 125mm-they’re weaker and noisier.
- IPX4 rating. Required for bathrooms. Means it’s splash-proof.
- Decibel rating below 45 dB. Anything louder than that will be annoying.
- Timer or humidity sensor. A fan that runs for 10 minutes after you leave the bathroom? That’s a game-changer for moisture control.
- Energy star rating. Look for at least 3 stars. Older fans can use 60 watts; modern ones use 12.
Brands like Extract-Air is a popular Australian brand of extractor fans designed for residential kitchens and bathrooms. Also known as Extract-Air Ventilation, it offers models with built-in timers and humidity sensors that automatically turn on when moisture is detected. and Broan is a North American brand widely used in Australian homes due to its quiet operation and energy-efficient motors. Also known as Broan-NuTone, it’s known for durable construction and compatibility with standard 150mm ducting. are reliable. Avoid no-name brands on eBay or Amazon-they often fail within a year.
Common Mistakes People Make
- Ignoring the duct. You can have the fanciest fan, but if the duct is kinked or blocked, it won’t work. Always clean or replace the duct.
- Forgetting the seal. A gap around the fan lets moisture into the ceiling. Use silicone-don’t use tape.
- Buying the wrong size. Measure the hole before you buy. Many people assume all fans fit the same hole. They don’t.
- Not turning off the power. I’ve seen two cases this year where people got shocked because they flipped the wall switch but not the breaker.
- Using flexible ducting in long runs. Flexible ducting creates drag. Use rigid metal ducting if the run is over 2 meters.
One homeowner in Norwood replaced their fan last year. They didn’t check the duct and ended up with mold behind the ceiling. It cost $2,800 to fix. The fan itself was $89.
Can I replace an extractor fan myself if I have no electrical experience?
If you’ve never touched a wire before, it’s risky. You don’t need to be an electrician, but you need to understand how to turn off the power, identify live wires, and match connections. If you’re unsure, hire someone. A qualified electrician can do it in under an hour and give you a safety certificate.
How long does a replacement extractor fan last?
A good-quality extractor fan lasts 8 to 12 years with regular cleaning. Cheaper models may only last 3 to 5 years. The motor is usually the first thing to fail. If your fan is over 10 years old, it’s time to replace it regardless of whether it still works.
Do I need a permit to replace an extractor fan?
In South Australia, you don’t need a permit if you’re replacing the fan with an identical model and not altering the wiring. But if you’re changing the circuit, adding a timer, or installing a fan in a new location, you’ll need a licensed electrician to do the work and issue a Certificate of Compliance.
Why is my new extractor fan so noisy?
Noise usually comes from one of three things: a kinked duct, loose mounting, or a fan that’s too powerful for the duct size. Check the ducting first-rigid metal ducts are quieter than flexible ones. Also, make sure the fan is securely fastened. If it’s rattling against the housing, add foam padding.
Can I install an extractor fan where there wasn’t one before?
You can, but it’s not a simple DIY job. You’ll need to cut a hole in the ceiling or wall, run ducting to the outside, and wire it into the circuit. This requires structural and electrical work. Always hire a licensed tradesperson for this. It’s not worth the risk of water leaks or fire.
If you’ve been putting off replacing your extractor fan because you thought it was too hard, the truth is: it’s not. With the right tools, a little care, and a clear plan, most homeowners can do it in an afternoon. Just don’t cut corners on safety. And if you’re even a little unsure? Call a professional. It’s cheaper than fixing a fire-or a mold problem.