Oven Element Troubleshooting: Quick Fixes for a Cold Oven
When your oven refuses to heat, the first thing most people suspect is the element. It’s the metal coil that glows red and transfers heat to the oven cavity. If it’s gone bad, you’ll end up with a cold oven and a frustrated dinner plan. The good news is that checking the element is something most homeowners can do with a few tools and a bit of caution.
Common Reasons Your Oven Element Fails
Elements are built to last, but they can crack, burn out, or get loose over time. The most common culprits are:
- Burnt spots or breaks. Look for any visible gaps, blackened areas, or a broken coil.
- Loose connections. The wires that feed power to the element can come loose, especially if the oven has been moved.
- Power surges. A sudden spike can fry the element even if it looks fine.
- Age. After several years of heating cycles, the metal can thin out and fail.
Identifying these signs early saves you from a full‑scale replacement later. If you see any of the above, move on to testing.
Step‑by‑Step Troubleshooting Checklist
1. Safety first. Unplug the oven or turn off the circuit breaker. Never work on a live appliance.
2. Remove the element. Most ovens have a screw or two at the back of the coil. Unscrew them, pull the element out, and disconnect the wire connectors. Take a photo of the wiring before you detach anything – it makes re‑assembly a breeze.
3. Visual inspection. Hold the element up to the light. Any cracks, white spots, or broken sections mean it’s time for a new part.
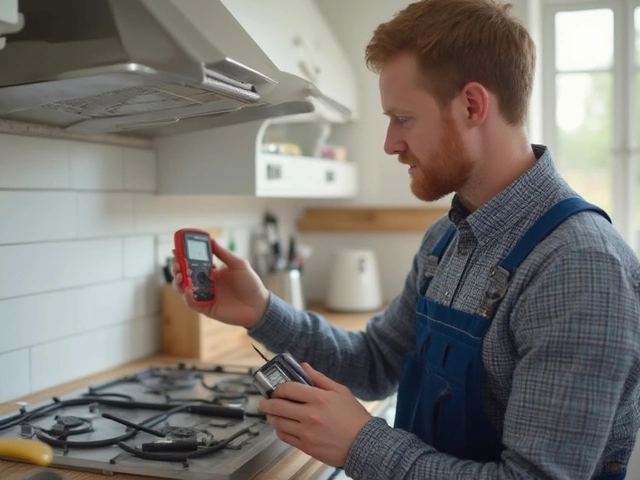
4. Continuity test. Set a multimeter to the ohms (Ω) setting. Touch the probes to the element’s terminals. A working element reads between 30‑70 Ω. Infinity or a wildly high reading indicates a broken coil.
5. Check the connections. While the element is out, look at the wire terminals for corrosion or burnt marks. Clean any residue with a small brush and reseat the connectors firmly.
6. Re‑install or replace. If the element passes the continuity test and looks intact, screw it back in, reconnect the wires, and restore power. If it fails, order a replacement that matches your oven’s make and model.
7. Test the oven. Turn the oven on to a low temperature and watch the element glow. If it heats up, you’re good to go. If not, the fault may be in the thermostat, control board, or wiring – time to call a pro.
Most homeowners find the element is the culprit, and swapping it out costs far less than a full service call. Keep a spare element on hand if you do a lot of baking; it can save you a weekend wait.
Remember, working with electricity always carries risk. If you’re ever unsure about a step, give a qualified technician a call. A quick call can prevent damage to the oven or, worse, an injury.
Now you’ve got a clear plan: safety, removal, visual check, continuity test, and reinstall. Follow these steps the next time your oven stays cold, and you’ll either fix the problem yourself or know exactly what a professional needs to replace. Happy cooking!