Kitchen Fan Maintenance: Simple Steps to Keep Your Extractor Working
Cooking creates steam, grease and smells that can ruin a kitchen if they’re not vented away. Your extractor fan does the heavy lifting, but like any moving part it needs regular care. A few minutes every few months can stop noisy blades, reduce odors and save you from a costly repair.
Why Clean the Fan? – The Basics
When you fry or boil, grease particles lodge on the fan blades and in the ductwork. Over time the build‑up blocks airflow, making the motor work harder. That extra strain can cause the fan to wobble, overheat or even burn out. A clean fan runs quieter, pulls more air and uses less electricity.
Quick DIY Maintenance Checklist
1. Turn off power. Switch off the circuit breaker or unplug the unit. Safety first – you don’t want a surprise spin while you’re working.
2. Remove the cover. Most kitchen fans have a clip‑on or screw‑on cover. Pop it off and set it aside.
3. Soak the filter. If your fan uses a mesh or carbon filter, soak it in hot, soapy water for 10‑15 minutes. For stubborn grease, add a splash of dishwashing liquid or a teaspoon of baking soda.
4. Brush the blades. Use a soft brush or an old toothbrush to scrub the blades and the interior of the housing. A damp cloth works for light grime; for heavy grease, a little vinegar on the cloth helps break it down.
5. Rinse and dry. Rinse the filter and any removable parts with clean water, shake off excess, then let them air‑dry completely before re‑installing.
6. Check the duct. Look down the vent pipe for visible blockages. A flexible brush or a vacuum hose can pull out dust and crumbs that have traveled down the duct.
7. Re‑assemble and test. Put the cover back on, restore power and turn the fan on. You should notice smoother operation and less noise.
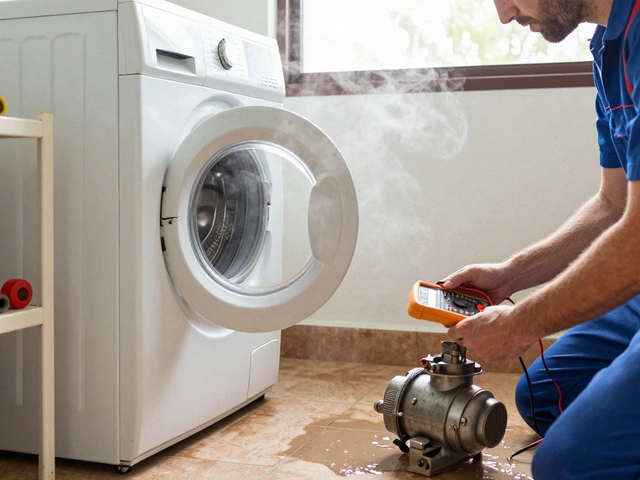
If you hear rattling, see reduced airflow, or notice a burnt smell, the motor or bearings might be worn. Those issues need a professional’s eye. Trying to fix a motor yourself can be dangerous and may void any warranty.
Regular maintenance also helps you spot early signs of trouble. Look for cracks in the filter, loose screws or any wobble when the fan runs. Tightening a few screws or replacing a cheap filter can extend the fan’s life by years.
For households that cook daily, schedule a quick clean every 2‑3 months. If you only bake occasionally, a six‑month interval is fine. Set a reminder on your phone – a short 10‑minute task is worth the peace of mind.
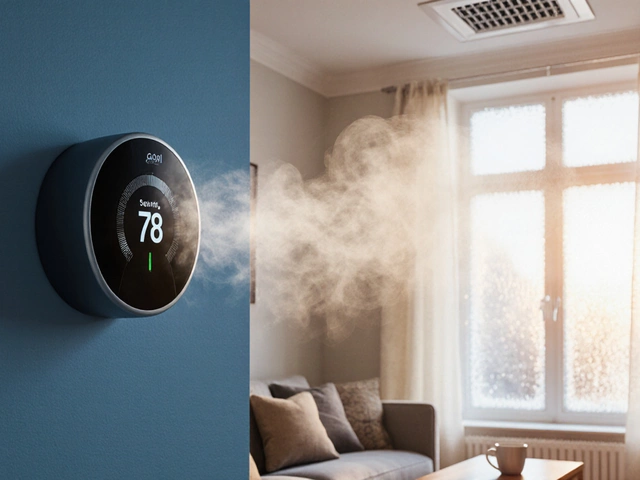
When in doubt, give Rugby Appliance Repair Services a call. Our technicians have the tools to deep‑clean ducts, replace worn motors, and ensure your kitchen stays fresh without you lifting a heavy toolbox.
Bottom line: a clean extractor fan is a happy fan. A few easy steps now save you noise, higher bills, and the headache of a broken fan later. Keep the routine simple, stay safe, and enjoy a fresher kitchen every day.