Hob Element Replacement: Quick Fix for a Cooking Nightmare
We’ve all been there – you turn on the hob and half the burners stay cold. A bad element is the usual suspect. Instead of living with a half‑working cooktop, you can swap the part yourself or know exactly when a professional is needed. Below is a plain‑spoken guide that covers the signs, the cost, the tools, and the step‑by‑step process.
When to Replace Your Hob Element
First, make sure the element is really the problem. If a burner won’t heat, flick the knob to the highest setting and listen. A crackling sound, weak glow, or no glow at all usually means the element has failed. Other clues are a burnt smell or uneven heating across the ring.
Age matters too. Most glass‑top hobs last 8‑12 years before the elements start to wear out. If your hob is older and you’ve had multiple repairs, replacement may be cheaper than repeatedly fixing individual parts.
Safety is a deal‑breaker. A cracked element can shatter the glass surface, leading to costly repairs. If you see any cracks, chips, or the glass feels loose, stop using it and arrange a replacement right away.
DIY Replacement Steps
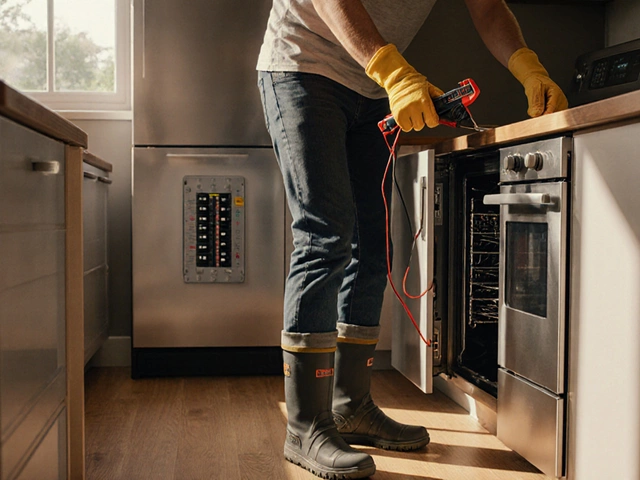
Got the right part? Here’s what you’ll need: a screwdriver set, a pair of pliers, a replacement element that matches your hob model, and a clean cloth. Turn off the power at the consumer unit – never rely on the switch alone.
1. Remove the hob surface. Most hobs have a removable glass top that lifts off with a little gentle prying. Keep the screws in a safe spot.
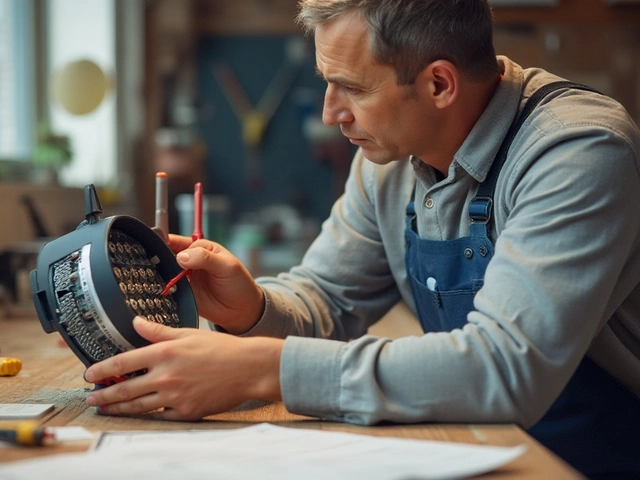
2. Locate the faulty element. It’s usually held in a metal bracket with a connector plug.
3. Detach the connector. Press the clip and pull the plug straight out. Don’t yank – the wires can break.
4. Unscrew the element. Use the appropriate screwdriver and take out the screws or clips that secure it.
5. Fit the new element. Place it in the same spot, tighten the screws, and reconnect the plug until you hear a click.
6. Replace the glass top. Align it carefully and screw it back in place.
7. Restore power and test. Turn the breaker back on and try each burner. All should heat evenly.
If anything feels stiff or the plug won’t snap in, stop and call a qualified repair tech. For induction hobs, the process is similar but you may need to reset the system after replacement.
Cost wise, a single element runs between £30 and £80, depending on brand and hob type. Add £20‑£40 for a professional call‑out if you’re not comfortable with the DIY route. Many local services, like Rugby Appliance Repair Services, offer same‑day visits and can have your hob back in action within a few hours.
To keep your hob happy, clean the surface regularly, avoid sliding heavy pots, and don’t use abrasive cleaners that can damage the element’s contacts. A quick wipe after each use goes a long way.
Bottom line: replacing a hob element is a doable task if you follow the safety steps and have the right part. When in doubt, a local pro can save you time and prevent accidental damage. Either way, you’ll be back to cooking your favourite meals without a cold spot on the hob.