Extractor Fan Troubleshooting: Quick Fixes and Pro Tips
When dealing with extractor fan troubleshooting, the process of identifying and fixing problems in kitchen or bathroom ventilation fans. Also known as vent fan diagnosis, it helps keep cooking odors, steam, and mold at bay while saving energy.
Effective extractor fan servicing, regular cleaning and part checks is the foundation of reliable ventilation. Kitchen ventilation, the system that moves air out of cooking areas relies on a well‑maintained fan to prevent grease buildup and lingering smells. Meanwhile, electrical safety, proper handling of wiring and power sources is a non‑negotiable rule because fans are often installed near water and heat. Understanding how these entities intersect makes the troubleshooting journey smoother and avoids costly mistakes.
Common Issues and How to Diagnose Them
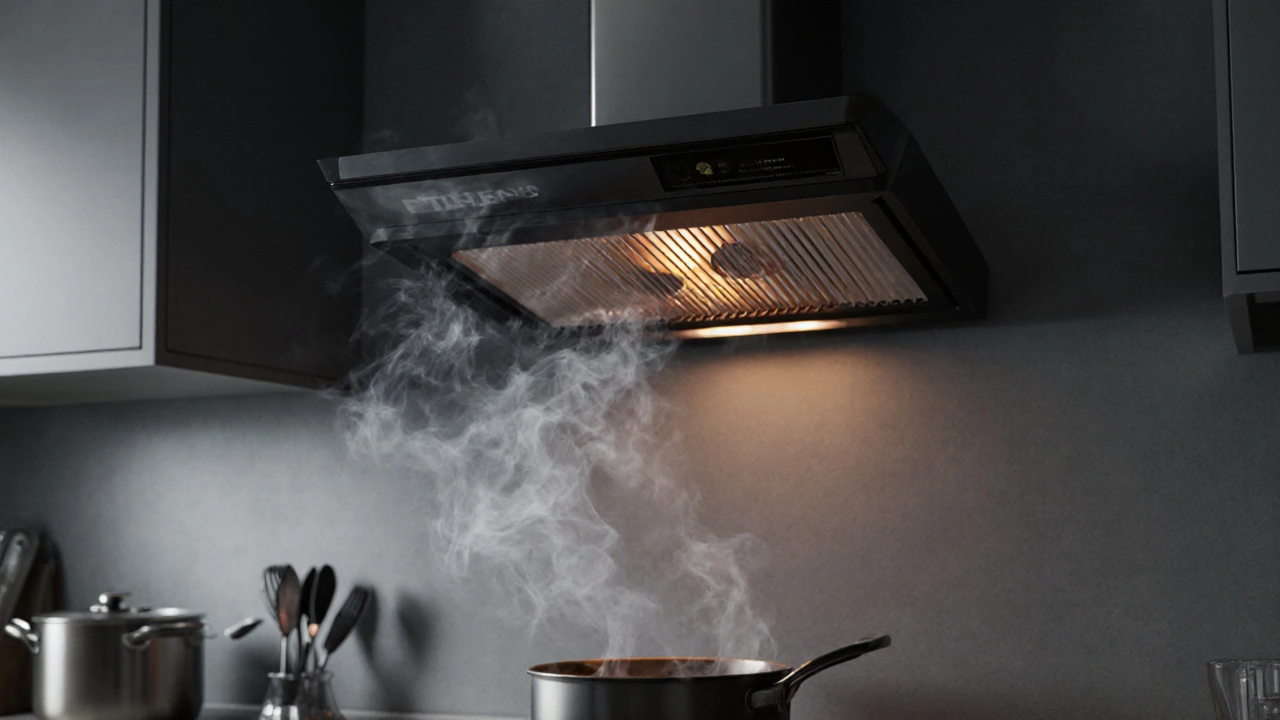
Most extractor fan complaints fall into three categories: excessive noise, weak suction, and failure to start. Noise usually points to dirty blades or a loose motor mount. To check, turn off the power, remove the cover, and wipe the blades with a damp cloth. If the fan still rattles, tighten the mounting screws or inspect the motor for worn bearings.
Weak suction often means the vent duct is clogged or the fan’s internal filter is saturated. Detach the duct, clear any debris, and replace the filter if it looks dark or greasy. A clogged duct can also cause the fan to overheat, triggering thermal protection and shutting it off. In that case, a quick blow‑out with a shop‑vac clears the blockage.
When the fan won’t start at all, the first step is to verify power supply. Test the wall socket with a multimeter or plug another device in. If power is present, the fan’s switch or capacitor may be faulty. Swapping the switch with a known‑good one can confirm the issue. Replacing a bad capacitor restores the motor’s start‑up torque and eliminates intermittent stalls.
All three scenarios share a simple rule: always cut the electricity before opening the unit. This ties back to electrical safety, which demands a verified dead circuit before you touch wires or motors. Using a non‑contact voltage tester gives peace of mind and prevents shocks.
Beyond the basics, seasonal factors can affect performance. In winter, colder air is denser, so fans may seem louder but actually move more air. In summer, heat can soften grease, making it stick to blades and ducts. Adjusting cleaning frequency to match the season keeps suction steady year‑round.
Another subtle problem is a misaligned vent grille. If the outer cover doesn’t line up with the duct, airflow escapes back into the room, creating the illusion of low performance. Realign the grille and seal any gaps with high‑temperature silicone to restore proper direction.
For those comfortable with a screwdriver, checking the fan’s voltage rating on the motor label ensures you haven’t swapped it with a lower‑powered replacement. Matching voltage and amperage avoids premature wear and maintains the design’s airflow specifications.
When troubleshooting feels overwhelming, remember that many issues have a low‑cost fix. A fresh filter, a cleared duct, or tightened screws often solve the problem without a service call. Reserve professional help for motor replacement, wiring repairs, or persistent overheating.
Below, you’ll find a curated set of articles that dive deeper into each of these areas. From step‑by‑step cleaning guides to detailed explanations of motor components, the collection equips you with the knowledge to tackle most extractor fan hiccups on your own. Whether you’re a DIY enthusiast or just want to know when to call a pro, these resources cover the whole spectrum of fan maintenance and repair.