Extractor Fan Installation: Easy DIY Guide
Want fresh air without hiring a pro? Installing an extractor fan yourself is doable in an afternoon if you follow the right steps. This guide walks you through everything – from gathering tools to testing the finished job – so you can enjoy a drier kitchen or bathroom without the hassle.
What You’ll Need Before You Start
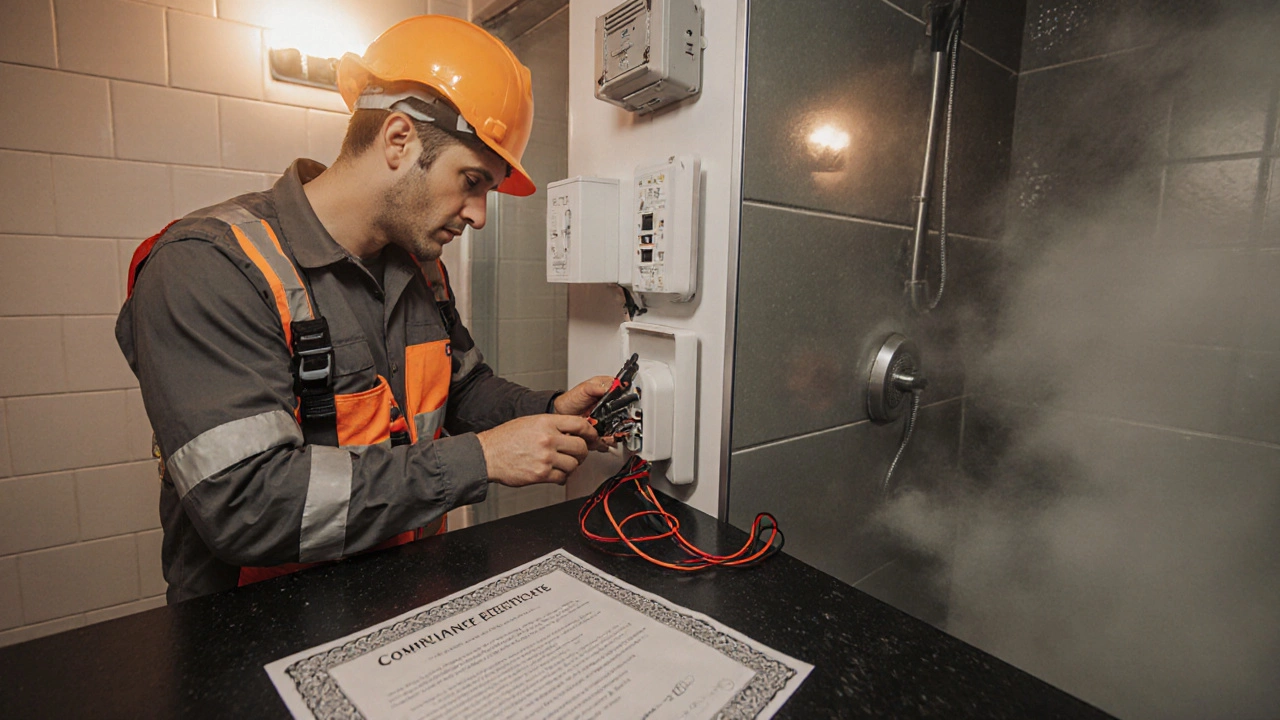
First, check you have the basics. A drill with bits, screwdrivers, a utility knife, a wire stripper, and a voltage tester are essential. You’ll also need the fan unit, mounting brackets, a flexible duct, and sealant or foil tape for the vent connection. If the fan is electric, make sure the circuit is turned off at the breaker – safety first!
Measure the opening where you plan to mount the fan. Most residential fans fit a 100 mm or 150 mm hole, but double‑check the specs on your model. Having the correct size avoids extra cutting and ensures a snug fit.
Step‑by‑Step Installation Process
1. Mark and cut the opening. Hold the fan’s outer frame against the wall or ceiling and trace the cutout. Use a drywall saw or a hole‑saw attachment on your drill to make a clean circle. Take care not to cut any hidden wiring or plumbing.
2. Fit the mounting brackets. Most fans come with two brackets that slide into the cutout. Secure them with the supplied screws, making sure they sit flush against the surface. If the wall is plasterboard, use anchors for extra grip.
3. Connect the wiring. Strip the ends of the fan’s power cable and the house wiring. Match the colours – usually live (brown), neutral (blue), and earth (green/yellow). Twist the wires together, cap them with a connector, and tuck the connections into the back box. Double‑check with a voltage tester that there’s no live current before you finish.
4. Attach the duct. Fit the flexible duct to the fan’s outlet and run it to the nearest external vent or roof flash. Secure the joint with foil tape to prevent air leaks. Keep the duct as short and straight as possible for optimal airflow.
5. Seal and finish. Apply a bead of silicone sealant around the fan’s outer rim to stop drafts and moisture. Screw the fan’s front cover into place, then restore power at the breaker.
6. Test the fan. Switch it on and feel for steady airflow at the vent. Listen for any unusual noises – a wobbling blade often means the fan isn’t level. Adjust the mounting if needed, then enjoy the fresh air.
That’s it! You’ve turned a damp, smelly space into a well‑ventilated room without calling a contractor. If you run into any issues – like a fan that won’t start or a duct that seems blocked – you can troubleshoot by checking the power connection, ensuring the duct isn’t crushed, and cleaning the fan’s filter if it has one.
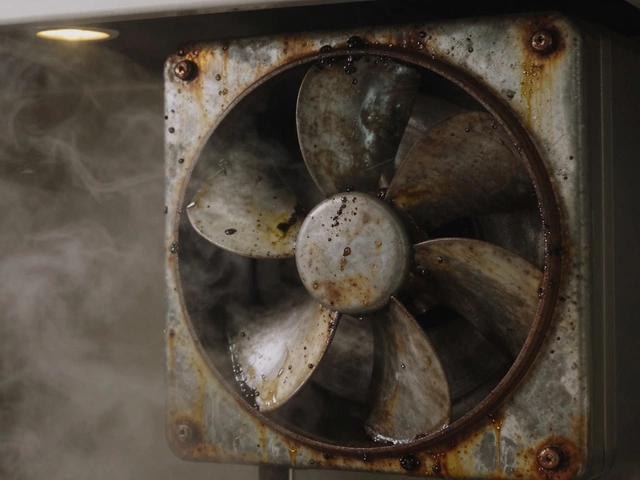
Remember, regular maintenance keeps the fan running efficiently. Clean the filter every few months and inspect the duct for dust buildup. A quick check once a year can extend the life of your fan and keep your home comfortable.
Now you can breathe easier knowing you installed the extractor fan yourself. Got questions? Drop a comment and let us know how it went!