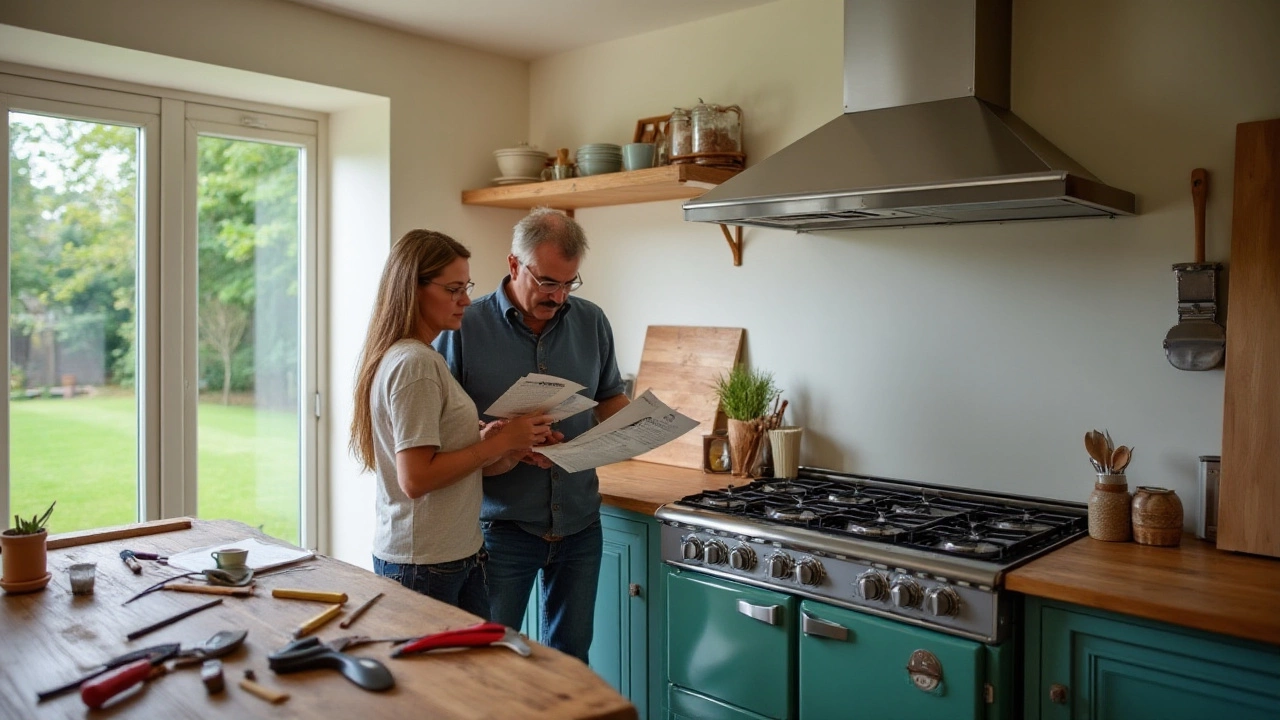
DIY Installation Made Simple: What You Need to Know
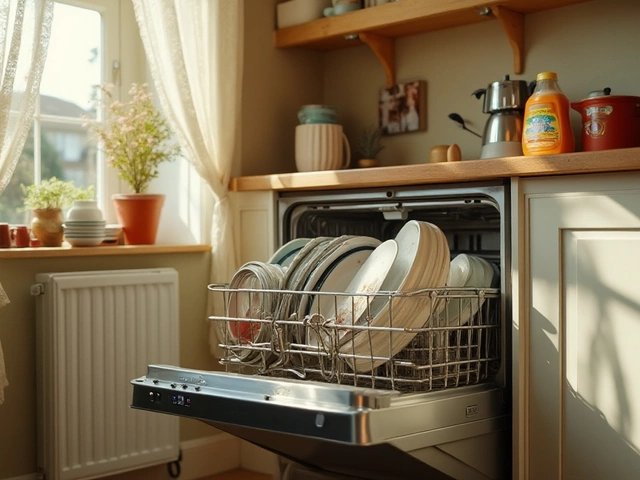
Thinking about fitting a new dishwasher, extractor fan or electric oven yourself? You don’t have to be an electrician to get it right, but you do need a plan. Below you’ll find the basics that keep projects safe, cheap and trouble‑free.
When to DIY and When to Call a Pro
Start by asking three questions: Is the job listed in the appliance’s manual as a “user‑install”? Do you have the right tools and a clear wiring diagram? And, most importantly, does the work involve mains electricity or gas?
If the answer is “yes” to the first two and “no” to the third, you’re probably good to go. Anything that plugs into a dedicated circuit, needs a new line, or involves gas connections should be left to a qualified electrician or plumber. The cost of a mistake far outweighs the savings of a DIY fix.
Essential Tools and Safety Gear
Before you start, gather these basics: a cordless drill with a set of bits, a multi‑meter, screwdrivers (flat and Phillips), adjustable pliers, a spirit level, and a pair of insulated gloves. Keep a fire‑extinguisher nearby – you’ll thank yourself if a short occurs.
Turn off the breaker for the circuit you’ll be working on and double‑check with the multi‑meter. A quick visual inspection for frayed cords or cracked casings can save hours of troubleshooting later.
Once you’ve got the safety box checked, follow these steps for most appliance installs:
- Read the manual. It tells you the exact clearances, wiring colour codes and any special brackets you need.
- Measure twice, cut once. Mark where the appliance will sit, check floor leveling and make sure there’s enough space for doors or drawers to open fully.
- Prep the connections. Strip wire ends cleanly, match colours (live = brown, neutral = blue, earth = green/yellow) and use twist‑on connectors. Don’t force a wire into a terminal – it should slide in easily.
- Secure the unit. Use the supplied brackets or wall plugs, tighten bolts just enough to hold the appliance snugly without cracking the casing.
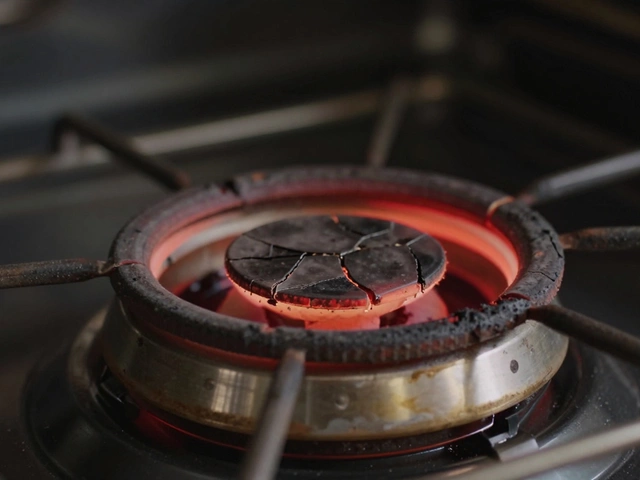
- Test before you finish. Switch the breaker back on, run a short test cycle (heat for ovens, water for dishwashers) and watch for any irregular noises or error codes.
If anything feels off – sparks, tripping breakers, or a lingering smell of burning – shut it down immediately and call a professional.
DIY installation can be rewarding and saves a few pounds, but the line between confident and careless is thin. Use our checklist, respect the safety rules, and you’ll have a working appliance without a call‑out fee. Need more detailed guides? Browse our collection of step‑by‑step posts for specific appliances, from extractor fans to glass hobs. Happy installing!