DIY Fan Repair: Keep Your Kitchen and Bathroom Ventilated
If your extractor fan is humming, rattling, or not blowing air at all, you don’t have to call a pro right away. Most fan problems are simple enough to fix with a screwdriver, a bit of patience, and the right safety steps. This guide walks you through the most common issues, what tools you need, and when it’s smarter to let a professional take over.
What Makes an Extractor Fan Stop Working?
Fans fail for three main reasons: a blocked fan blade, a faulty motor, or an electrical connection that’s gone loose. A build‑up of grease, dust, or even spider webs can jam the blades and cause a noisy or stalled fan. Over time the motor’s bearings wear out, leading to a weak airflow or a burnt‑out smell. Finally, the wiring inside the housing can loosen, especially if the fan has been bumped or the housing screws have vibrated loose.
Step‑by‑Step DIY Fixes
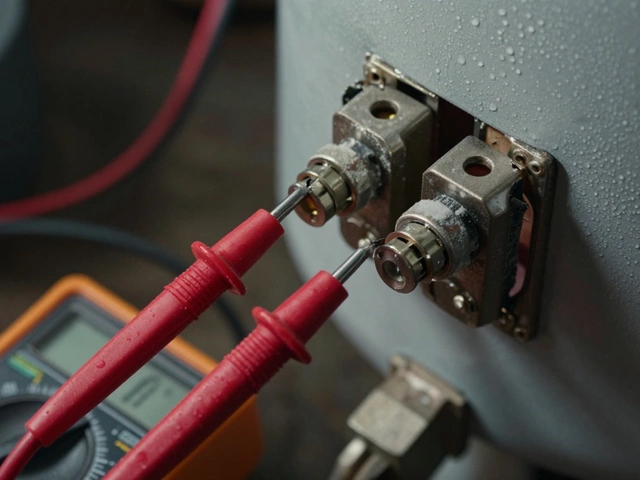
1. Safety first. Turn off the circuit breaker for the fan and test the switch to be sure the power is off. A quick tip: use a non‑contact voltage tester to double‑check.
2. Remove the cover. Most extractor fans have a removable grille held by clips or a few screws. Pop it off and set it aside. You’ll see the fan blade and motor housing.
3. Clean the blade. Use a damp cloth or a soft brush to wipe away grease and dust. For stubborn grime, a little dish soap on the cloth works wonders. Make sure the blade spins freely; give it a gentle turn by hand.
4. Inspect the motor. Look for any burnt marks, a loose wire, or a squeaky bearing. If the motor makes a humming noise but the blade doesn’t spin, the motor is likely the culprit.
5. Replace a bad motor. Most fans use a standard 120 V motor that can be bought at a hardware store. Note the model number on the old motor, then buy an identical replacement. Disconnect the wiring, unscrew the old motor, and snap the new one in place. Re‑attach the wires exactly as they were.
6. Test before re‑installing. Switch the breaker back on and flip the fan switch. If air flows and the fan runs smoothly, you’re good to go. If not, double‑check the wiring or consider that the fan housing might be cracked, which can affect airflow.
7. Re‑attach the cover. Snap the grille back on, tighten any screws, and restore power permanently.
That’s it – most fan failures are solved in under an hour.
When to call a pro. If you find a cracked housing, a burnt‑out motor that smells like melted plastic, or if the circuit breaker trips every time you turn the fan on, it’s time to get an electrician or professional technician involved. Those signs often mean a deeper electrical issue that can be dangerous to handle yourself.
Regular maintenance keeps fans running longer. Wipe the grille once a month, run the fan for a few minutes after each shower or cooking session, and give the motor a quick visual check every six months. Simple habits save money and keep moisture out of your cupboards and walls.
So next time your kitchen or bathroom feels stuffy, you now have a clear plan: turn off the power, clean, check, replace if needed, and test. DIY fan repair isn’t rocket science, and with the right tools you’ll keep your home breathing easy without waiting for a service call.