Ever stepped out of a hot shower only to notice your bathroom mirror is still fogged up, even with the fan running? That’s a hint your extractor fan is losing the battle. Replacing a worn-out bathroom extractor fan isn’t some big mystery, but it's not always plug-and-play either.
Most bathroom fans are just sitting above the ceiling or in a wall vent. You’ll need to get cosy with some basic tools and figure out what’s hiding behind the grille. The good news? For a lot of modern homes, switching out a similar fan can be a simple unscrew-and-rewire deal. Expect more of a puzzle if yours is older or wired in ways that make zero sense.
You don't have to be a pro, but you definitely want to stay safe. Always shut off power at the breaker, not just the wall switch. And if your fan is attached to ducting or vents leading to the outside, check those, too—clogged vents are a hidden reason for fan failure.
- Why Replace Your Bathroom Extractor Fan?
- How Hard Is It, Really?
- What Tools and Materials Will You Need?
- Step-by-Step Replacement Tips
- When to Call an Expert
Why Replace Your Bathroom Extractor Fan?
Let’s be honest: a busted bathroom extractor fan is more than just an annoying noise in the ceiling. These fans pull out steam, smells, and moisture, keeping mold at bay and your bathroom fresh. When one fails, stuff gets damp, and things can start smelling musty fast.
If you’re noticing that the mirror won’t clear, paint is peeling, or there’s a stubborn damp patch on your ceiling, your extractor fan probably isn’t doing its job. Some alarms are more obvious. A clunky fan, new buzzing or grinding sounds, or a unit that won’t even switch on are all clear warning signs it’s time to make a swap.
Old fans don’t just perform badly—they eat up more electricity and won’t clear the air as efficiently as new models. Modern bathroom extractor fans are usually a lot quieter, use less energy, and often have built-in timers or humidity sensors.
Here are a few big reasons to get that fan changed out:
- Prevent mold and damp. A working fan pulls moisture out, protecting your walls, ceiling, and health.
- Save electricity. New models are way more energy-efficient and help cut down power bills.
- Less noise. Sick of the fan roaring like a jet? Upgrading to a modern one is like putting the volume on mute.
- Better air quality. Odours, steam, and allergens get moved out quickly.
According to UK Energy Saving stats from 2023, a new extractor fan can knock up to 60% off the power used compared to a fan from the 1990s.
| Fan Age | Noise (dB) | Estimated Power Use (per year) |
|---|---|---|
| 25+ years | 47 | 63 kWh |
| Modern | 24 | 25 kWh |
If you’re already dealing with damp patches or mold, sort it out before it really kicks off. A fresh extractor fan replacement could save you the pain of expensive repairs or redecorating down the line.
How Hard Is It, Really?
Replacing a bathroom extractor fan sounds intimidating, but it’s not rocket science—especially if you’re swapping out a like-for-like model. For most homes built in the last 25 years, the whole process takes about one to two hours if you already have the right part. Most of the time, it’s just unscrewing the old fan, disconnecting a couple of wires, and hooking up the new one. If your fan’s the same size as the old one, it slides right into place. No drywall cutting, no fighting with stubborn wires. That’s the easy win.
But let’s not sugarcoat it. The process can get tricky if:
- The new extractor fan is a different size from the old one.
- Your bathroom has really old or weird wiring (sometimes there’s not even a proper earth wire).
- There’s no isolator switch, so turning off the fan at just the wall switch doesn’t actually kill the power (which is risky).
- You’re working in a really tight ceiling space—it’s awkward and tough to reach above your head.
One survey from 2023 found that about 60% of UK homeowners who tried to install a fan themselves did so successfully. The ones who had issues usually ran into surprises with wiring or found out their replacement fan didn’t fit right. Here’s a quick comparison to put things in perspective:
| Job Complexity | DIY Success Rate | Average Time |
|---|---|---|
| Like-for-like replacement | 85% | 1-2 hours |
| Different size/complex fitting | 45% | 2-4 hours |
So, is replacing a bathroom extractor fan a breeze? Sometimes, yes. But if your wiring looks more like spaghetti or you need to chip away at drywall, you may want to tag in an expert. If your fan is just a standard model, and you’ve got basic DIY confidence and patience, you’re probably good to go. Just keep a torch, patience, and possibly a buddy handy for those tough overhead jobs.
What Tools and Materials Will You Need?
If you’re ready to swap out that noisy old bathroom extractor fan, having the right stuff on hand makes all the difference. Forget fancy gear—you usually don’t need specialized tools, but skipping the basics can lead to a lot of swearing and maybe a busted ceiling.
Here’s what most folks will need for a smooth extractor fan replacement job:
- Screwdrivers: Both Phillips and flathead, since you never know what screws you’ll run into.
- Drill: Not always needed, but handy for removing stubborn fans or putting up a new mounting bracket.
- Wire stripper/cutter: You’ll want clean, safe connections when you rewire the new fan.
- Voltage tester: Critical for checking wires before you touch anything. Safety first.
- Dust mask or goggles: If your ceiling’s old or crumbly, you’ll thank yourself later.
- Ladder or step stool: Most bathrooms aren’t built for basketball players, so you’ll need to reach the ceiling easily.
- Duct tape or foil tape: For reattaching the duct. Leaky ductwork can turn a new fan into a useless one.
On top of tools, make sure you grab the actual replacement bathroom extractor fan. Bring your old fan’s model number to the hardware store or snap a photo—fans come in so many sizes and shapes, guessing rarely works.
You might need a bit of extra wiring or a new duct connector if your old gear looks ratty. Don’t cheap out on these—new wiring means less hassle later, and a well-sealed duct keeps that lovely steam from building up where it shouldn’t.
If you’re curious about what most people spend, here’s a quick look:
| Item | Average Cost (UK) |
|---|---|
| Basic extractor fan | £20–£40 |
| Tools (if needed) | £10–£40 |
| Wire/tape/extra parts | £5–£20 |
Just remember, trying to save money on the wrong things—like skipping the voltage tester—can get expensive (or dangerous) fast. Grab the right tools, don’t rush, and your DIY fan repair will go way smoother.
Step-by-Step Replacement Tips
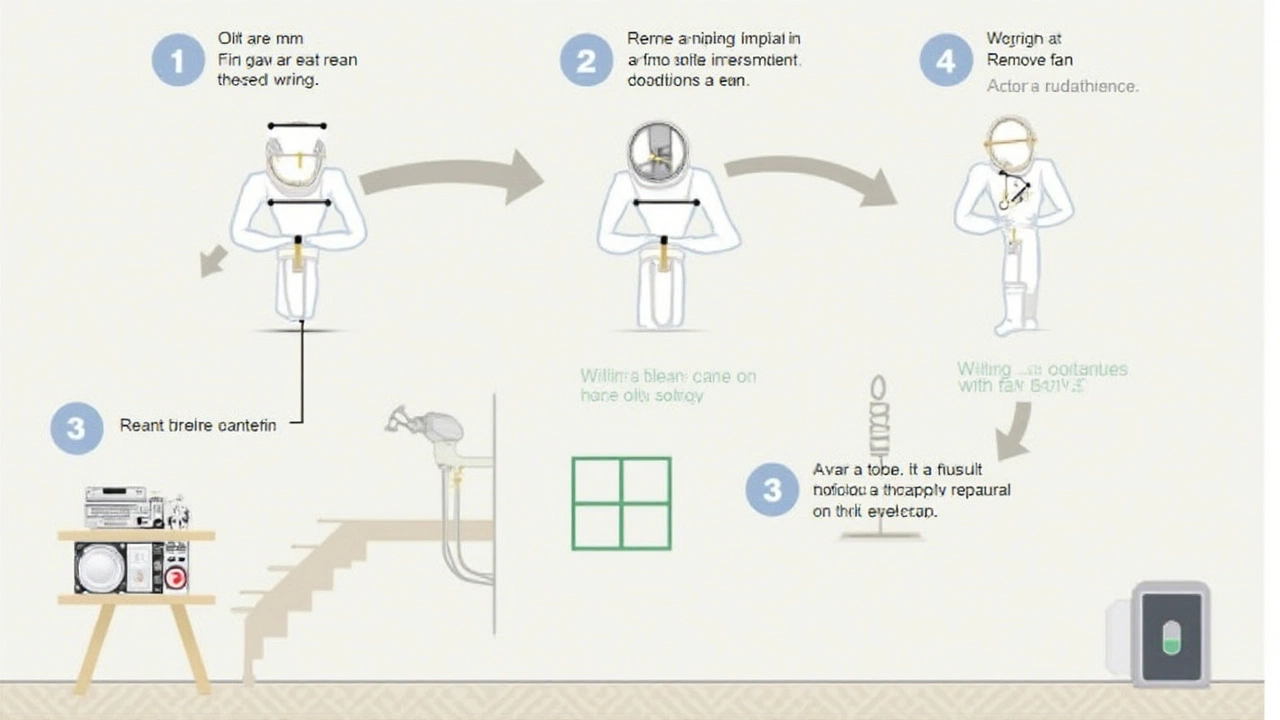
Ready to roll up your sleeves? Swapping out a bathroom extractor fan doesn’t have to be a pain, and you don’t need to be some master electrician, either. Here’s how you get the job done without making a mess—or frying your nerves.
- Kill the Power
Find your breaker box and shut off the power to the bathroom. Don’t just trust the wall switch—fans can be wired weirdly. Test the fan and the light just to be sure everything’s off. - Remove the Old Fan Cover
Most covers pop off with a gentle tug or a screwdriver. Some have small metal clips; pinch these to pull the cover free. Set the cover aside and look at what’s underneath. - Unscrew and Disconnect
There’s usually a couple screws holding the fan unit up. Remove those, then carefully pull the fan body down. Unplug any wire connectors or, for hardwired units, loosen the wire nuts and pull the wires apart. Jot down where each wire goes or snap a photo on your phone. Not all extractor fan replacement jobs use the same wiring colors! - Deal with the Ducting
Most bathroom fans are vented through a flexible hose or duct that leads outside. Gently detach the duct from the old fan. If there’s loads of dust or you spot a bird’s nest, now’s the time to clear it. - Fit the New Fan
Attach the duct to your new fan—most slide over a fitting and clamp tight. Next, connect the wires, matching the notes or photo you took earlier. Use wire nuts, not tape, for a tight connection. Push the wires in, slot the fan into place, and screw it back up to the ceiling or wall. - Test Before Covering Up
Switch the power back on and flip the fan switch. Listen for the sound of the new fan firing up. If nothing happens, double-check your wiring. When you’ve got airflow, pop the cover back on, and you’re done.
Here's a quick cheat sheet on tools and what they're actually used for:
| Tool | Use |
|---|---|
| Screwdriver | Removing and attaching the fan and cover |
| Wire strippers | Prepping old or new wires for connectors |
| Flashlight | Seeing into dim corners of the ceiling |
| Wire nuts | Securing wire connections |
If you hit anything super odd—like way too many wires, hidden brackets, or mold—stop and consider calling a pro. But for most DIY fan repair jobs, a careful approach and a bit of patience go a long way.

When to Call an Expert
Sometimes a bathroom extractor fan replacement turns into more than you bargained for. Sure, swapping a basic unit for another of the same size and voltage is a common DIY job. But there are real signs it’s time to step aside and bring in a pro.
If you find any of these issues, get someone qualified involved:
- You see complicated wiring, like more than the simple live/neutral/earth setup, or wires are frayed or corroded.
- Your extractor fan replacement would require new ductwork or re-routing existing ventilation—that’s way more than a screwdriver and a YouTube video can handle.
- The fan is powered from the lighting circuit and you’re not familiar with UK Part P electrical safety rules (or code-compliance in your country).
- You’re working in a bathroom with old or questionable wiring, especially if circuit breakers trip when you turn the fan on.
- There’s visible mold or signs of water damage around the fan—that may mean your problem is bigger than you think.
About 60% of home ventilation issues come from problems you can’t see—like blocked ducts or poor electrical connections. And if you mess with the wiring without knowing what you’re doing, you can cause power outages or even risk a fire.
| Situation | DIY OK? | Call an Expert? |
|---|---|---|
| Replacing fan, same size/model | ✔️ | |
| Major wiring changes or upgrades | ✔️ | |
| Mold or water-damage repair needed | ✔️ | |
| Simple cleaning or grille swap | ✔️ | |
| New ductwork or vent to outside | ✔️ |
It’s really about knowing your own limits. If the job looks like a quick fix but anything seems dodgy, or you feel out of your depth, it’s smarter and cheaper to get an expert in straight away. Sometimes, a half-hour visit from an electrician can save hours of frustrating (and expensive) mistakes.