DIY Extractor Fan Repair: Fix Your Fan Yourself
When tackling extractor fan repair, the process of fixing a kitchen or bathroom ventilation fan that has lost power, makes noise, or fails to move air. Also known as fan troubleshooting, it lets homeowners restore fresh air without waiting for a tradesperson.
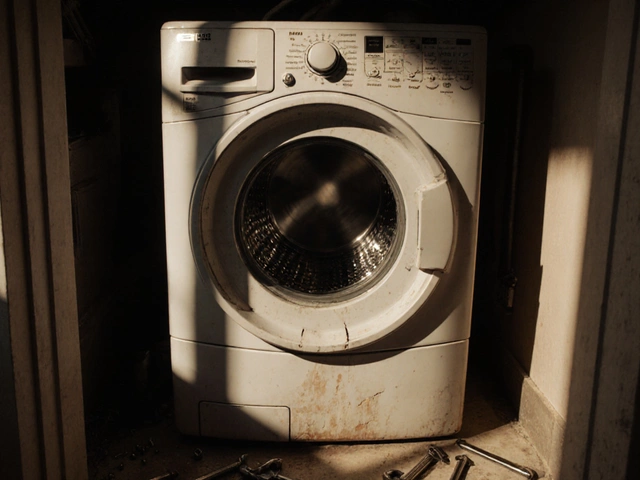
Most problems trace back to the extractor fan motor, the core component that spins the blades and drives airflow. When the motor stalls, hums, or burns out, the whole system stops working. Replacing a motor is a common DIY task; you’ll need a screwdriver, a new motor that matches the fan’s voltage, and a basic understanding of wiring. Knowing the motor’s wattage and connector type helps you pick the right replacement and keep the fan humming smoothly.
Extractor fan repair isn’t just about the motor. Home ventilation, the overall flow of fresh air through a house, relies on working fans to remove moisture and odors and prevent mold. A clogged filter, loose duct, or faulty switch can also choke airflow. Cleaning the filter, tightening duct clamps, and testing the wall switch are quick checks that often solve the issue before you open the fan housing.
When to Try DIY and When to Call an Electrician
The line between DIY and professional work is drawn by safety and code compliance. Electricians, licensed tradespeople who handle wiring and electrical inspections are required when you encounter damaged wiring, need to upgrade the circuit, or the fan is hard‑wired into a ceiling. If the fan is plugged into a standard socket and the motor is the only failing part, you can usually replace it yourself while following basic safety steps: turn off the breaker, verify no voltage with a tester, and reconnect the wires exactly as they were.
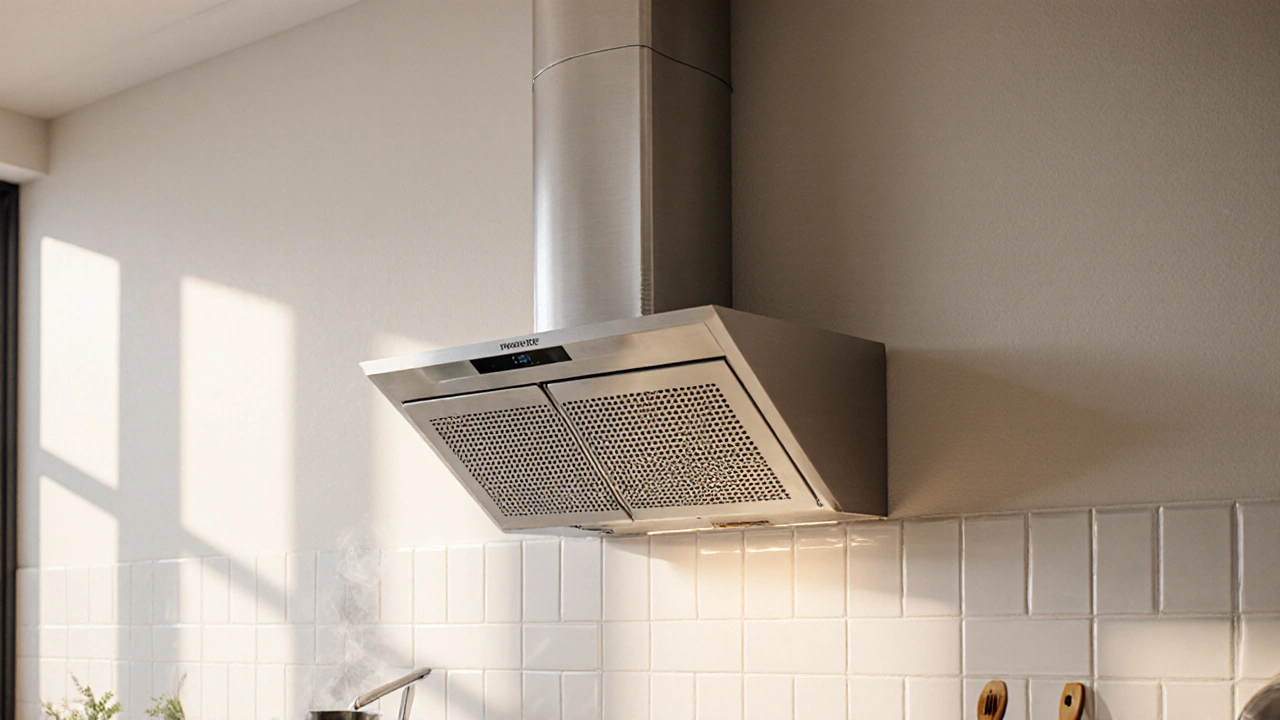
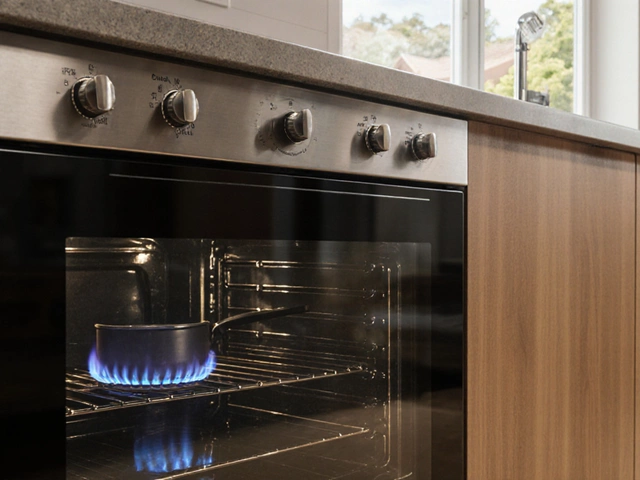
Another common scenario is a kitchen extractor fan, the vent above a stove that pulls away cooking fumes and steam that smells of burnt grease. Grease buildup can cause the motor to overheat, so a thorough cleaning of the fan blades and housing often restores performance. If the fan still runs hot after cleaning, it’s a sign the motor has reached the end of its life and needs swapping.
DIY work also benefits from a simple checklist: 1) power off, 2) inspect for visible damage, 3) clean filters and ducts, 4) test the switch, 5) replace the motor if needed, 6) re‑assemble and test. Following this routine saves time and reduces the chance of missteps that could lead to a short circuit.
For homeowners who love to roll up their sleeves, mastering extractor fan repair builds confidence in other small electrical projects, like fixing a light switch or installing a new socket. The skills overlap: you learn to read wiring colors, use a multimeter, and respect safety protocols. Over time, these abilities make you less dependent on a tradesperson for minor issues, which can cut down on service fees.
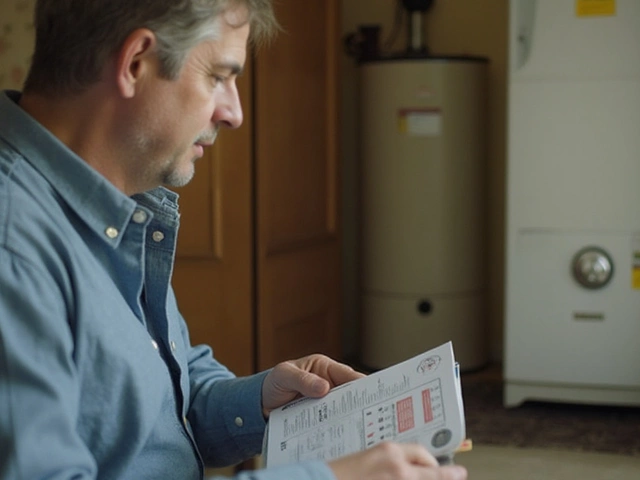
Even if you decide not to replace a motor yourself, knowing the typical failure points helps you ask the right questions when you call a professional. You can specify that you’ve cleaned the ducts, checked the switch, and only need a motor replacement. This clarity often results in a quicker, more accurate service quote.
Below you’ll find a curated set of articles that walk you through each step in detail— from diagnosing a silent fan to wiring a new motor and maintaining your ventilation system for years to come. Dive in to get the practical insights you need to keep your home’s air fresh and your fan running smoothly.