Oven Diagnosis Tool
Oven Problem Diagnosis
Select the symptom(s) your oven is showing to get targeted guidance on what might be wrong and how to proceed.
When your electric oven fails to heat, takes forever to reach the set temperature, or simply refuses to turn on, the first thought is often to call a technician. But a quick look can save time and money. Below you’ll find the exact steps to pinpoint the problem, decide if a DIY fix is safe, and know exactly when professional help is needed.
Key Takeaways
- Most heating failures are caused by a faulty heating element, thermostat, or power supply.
- Testing with a multimeter is the safest way to confirm a defective part.
- Even if the oven appears dead, the issue could be as simple as a tripped circuit breaker.
- Never ignore a burnt smell or irregular heating - it may indicate a serious electrical fault.
- If you’re unsure after the checks, call a licensed appliance repairer.
Identify the Symptom
Start by writing down exactly what’s happening. Common signs include:
- Oven won’t turn on at all.
- It turns on but stays cool.
- Temperature fluctuates wildly.
- Uneven baking or hot spots.
- Burnt or strange odors during operation.
Knowing the symptom narrows the possible culprits dramatically.
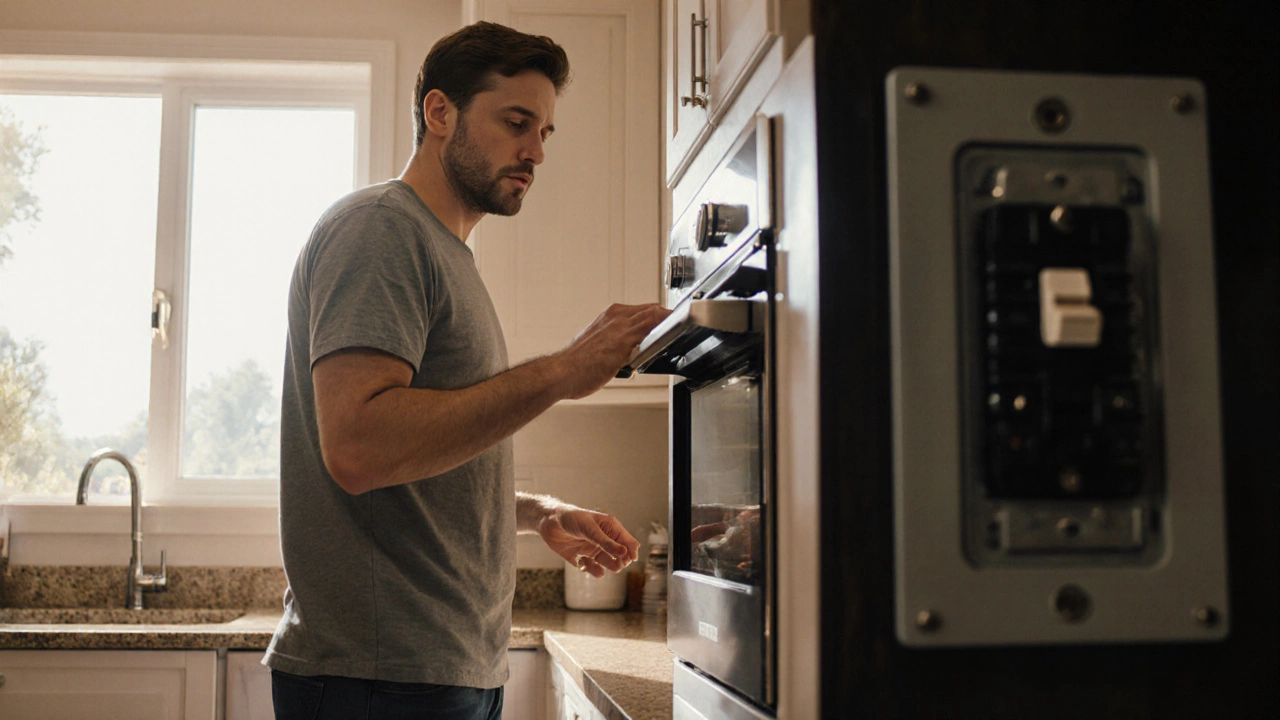
Check the Power Supply
Before opening any panel, verify that the oven is actually receiving power.
- Confirm the wall outlet shows voltage with a multimeter (should read ~230V in Australia).
- Inspect the home circuit breaker for a tripped switch or blown fuse. Reset it if needed.
- If the outlet is on a dedicated circuit, make sure the breaker rating matches the oven’s specifications (usually 20A).
When power is solid, move on to the internal components.
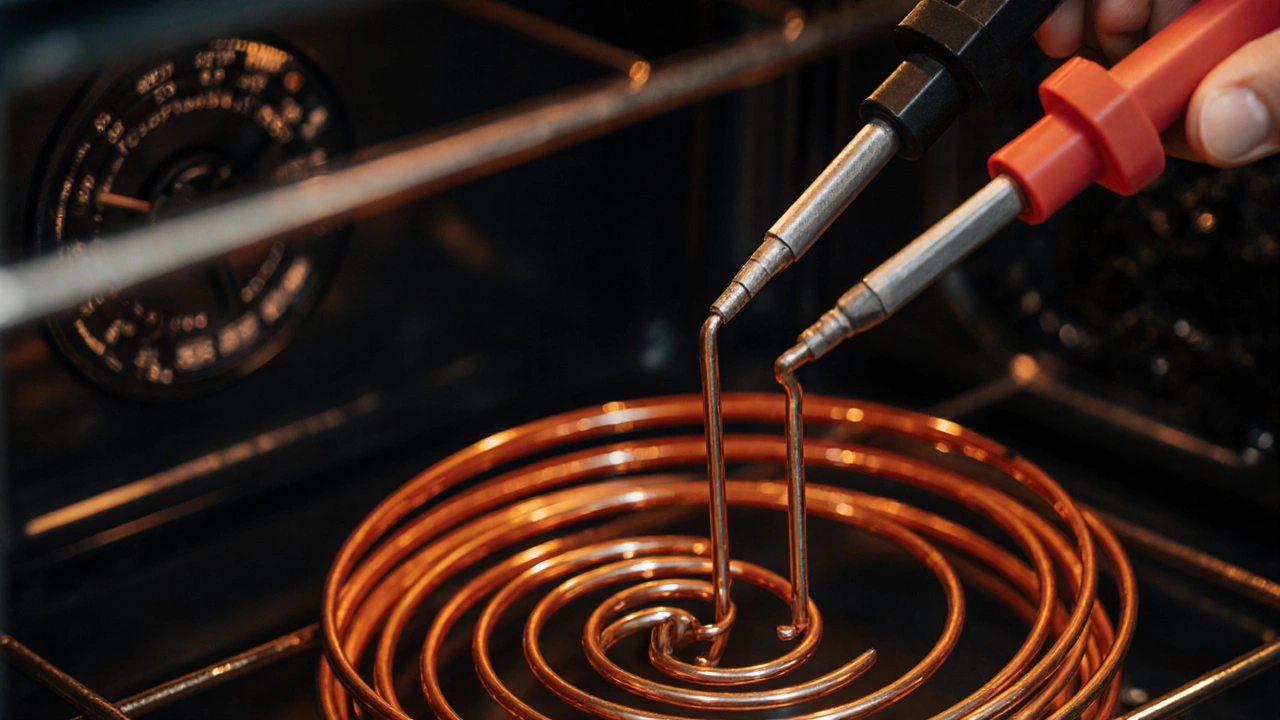
Test the Heating Element
The heating element, often called the bake element, is the most frequent point of failure. It’s a metal coil that glows red when powered.
- Turn the oven off and unplug it.
- Locate the element at the bottom (bake) or top (broil) of the cavity.
- Disconnect the wires and set a multimeter to the ohms (Ω) setting.
- Measure resistance across the element terminals. A good element typically reads between 20Ω and 40Ω. An open circuit (infinite Ω) means the element is broken.
- If the reading is out of range, replace the element.
Many manufacturers sell replacement elements for under $50, and swapping them is a straightforward DIY task.
Check the Thermostat & Temperature Sensor
The oven thermostat or modern temperature sensor (often a thermistor) tells the control board when the set temperature is reached. A faulty sensor can cause the oven to stay cool or overheat.
- Access the sensor - it’s usually a small bulb screwed into the oven wall.
- Detach the wiring harness and test resistance at room temperature (around 30°C). A typical 10kΩ thermistor should read close to 10,000Ω.
- Warm the sensor gently with a hairdryer; resistance should drop. No change indicates a dead sensor.
- Thermostats work similarly; they’re often a mechanical bimetal coil. Test for continuity with a multimeter.
Replacing a sensor is cheap (often <$20) and doesn’t require special tools.
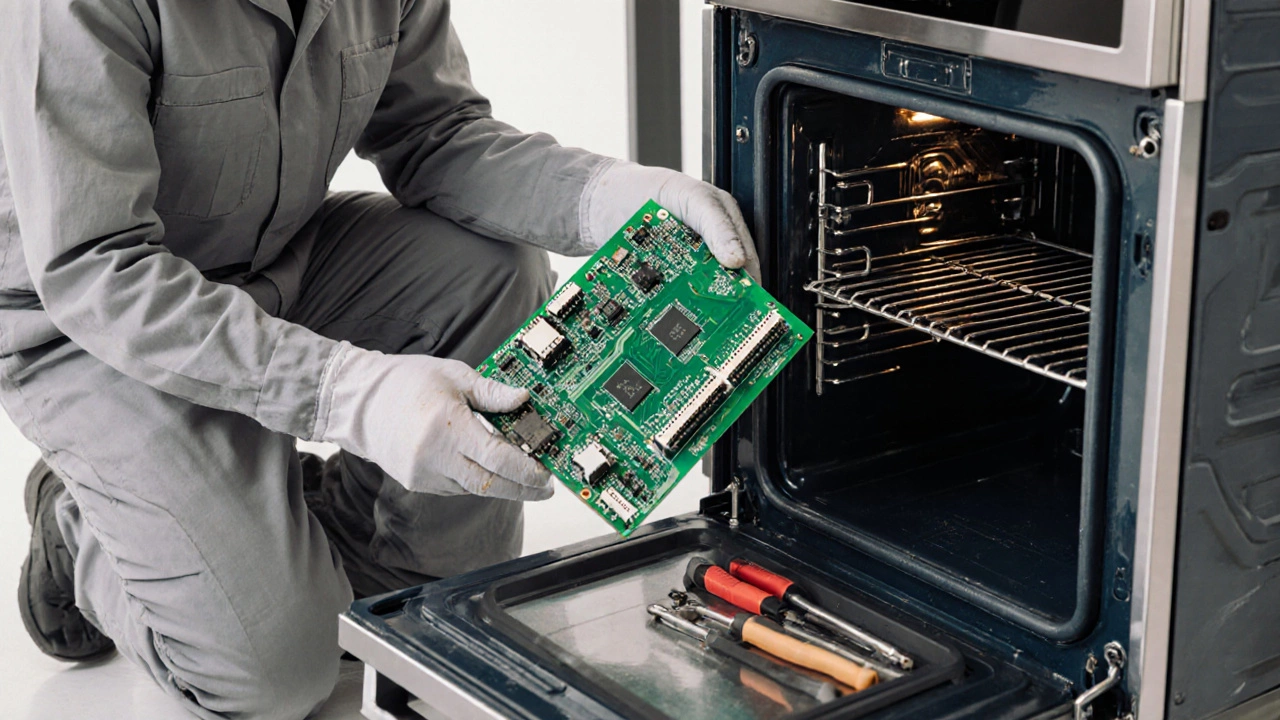
Inspect the Control Board
Modern electric ovens use an electronic control board to manage timing, temperature, and safety functions. Look for visible signs of damage:
- Burnt or discolored spots on the PCB.
- Loose connectors or corroded terminals.
- Smell of burnt plastic when the oven is on.
If you spot any of these, the board likely needs replacement. While the cost can be higher ($150‑$300), many manufacturers offer refurbished units that are reliable.
Door Seal and Convection Fan Issues
A damaged door gasket (seal) lets heat escape, making the oven seem under‑powered. Inspect the rubber seal for cracks or gaps.
- Close the door and feel for drafts. If air leaks, replace the seal.
Some ovens have a convection fan that circulates hot air. A broken fan motor causes uneven baking and longer cook times.
- Listen for a whirring sound when the fan should run.
- Test fan continuity with a multimeter; an open circuit means the motor is dead.
When to Call a Professional
If any of the following apply, it’s safer to call a licensed repairer:
- Multiple components appear faulty - diagnosing the root cause could be complex.
- Control board needs replacement and you’re not comfortable handling high‑voltage circuitry.
- Diagnosed issue involves gas‑electric combo ovens where gas lines are present.
- Your oven is still under warranty - unauthorized repairs could void it.
Professional technicians are required to comply with Australian standards (AS/NZS60335) for safety.
Quick Troubleshooting Checklist
| Symptom | Possible Cause | Test / Fix |
|---|---|---|
| Oven won’t turn on | Tripped circuit breaker, faulty power cord, dead control board | Check breaker, measure outlet voltage, inspect board for burns |
| Oven stays cool | Burnt heating element, broken thermostat | Measure element resistance, test thermostat continuity |
| Temperature too high | Defective temperature sensor, mis‑calibrated thermostat | Verify sensor resistance, replace if out of spec |
| Uneven baking | Damaged door seal, faulty convection fan | Inspect seal for gaps, test fan motor continuity |
| Burnt smell during use | Shorted heating element, melted insulation on board | Visually inspect element and board, replace damaged parts |
Pro Tips for Safe DIY Repairs
- Always unplug the oven before removing panels.
- Label wires before disconnecting them - a simple photo works wonders.
- Use a multimeter with a fresh battery for accurate readings.
- Keep replacement parts in their original packaging until installation.
- After any repair, run the oven empty at 200°C for 20minutes to confirm normal operation.
Frequently Asked Questions
Why does my oven heat but the temperature never reaches the set point?
A common cause is a failing temperature sensor (thermistor). When the sensor reads a lower temperature than the actual oven interior, the control board keeps the heating element on, but the oven may never think it’s reached the target. Test the sensor’s resistance at room temperature; replace it if the reading is out of the 10kΩ±10% range.
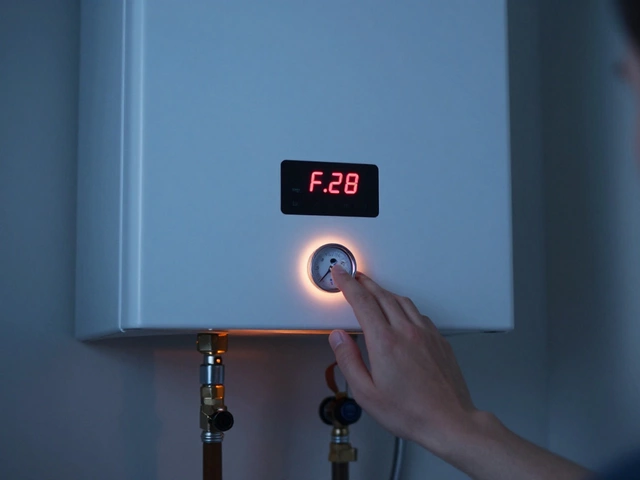
Can a tripped breaker cause the oven to show error codes?
Yes. Many modern ovens display a generic fault code when they lose power unexpectedly. Resetting the breaker often clears the code, but if it trips again, the underlying issue (such as a shorted element) needs fixing.
How often should I replace the oven door seal?
A seal typically lasts 5‑7 years with regular use. Look for cracks, stretching, or heat marks. Replacing a worn seal restores heat efficiency and can reduce energy bills by up to 10%.
Is it safe to replace the heating element myself?
If you’re comfortable working with basic tools and can safely disconnect the power, yes. The element is usually held by a few screws and connected with simple wire clips. Follow the manufacturer’s service manual for torque specifications.
My oven makes a clicking sound before it turns off. What does that mean?
That sound is often the relay on the control board engaging and then cutting power because it detects an over‑temperature condition. Check the heating element for signs of scorching and verify the thermostat isn’t stuck closed.