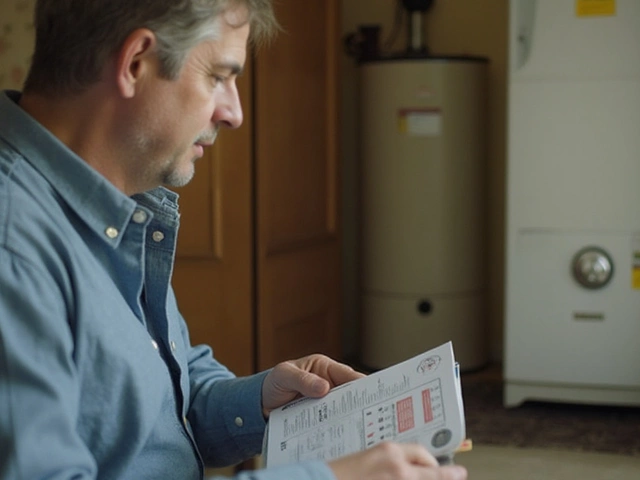
Water heaters are the unsung heroes of our daily routines, providing the warm water we rely on for showers, dishwashing, and more. But what happens when these trusty devices start acting up? Understanding what typically breaks on a water heater can be the key to keeping it running smoothly. While they might not always require an expert’s touch, knowing the ins and outs of common issues can save time, money, and frustration.
First, there's the dreaded leak. A water heater leak can spring from various sources, causing unnecessary stress if not identified early. Also, pesky thermostat issues can lead to water not heating properly, which nobody wants when stepping into a morning shower. Another frequent culprit of water heater woes is sediment build-up, slowly stealing efficiency and sometimes even damaging the tank.
However, fret not! Many of these issues are not only identifiable but can be addressed with relative ease. Whether it's tightening a loose valve or giving your water heater a much-needed flush, a little know-how can go a long way. Dive into this guide to uncover the mysteries of water heater maintenance and ensure your appliance serves you faithfully for years to come.
- Leaking and Dripping Issues
- Thermostat and Heating Element Problems
- Sediment Build-Up and Its Effects
- Practical Repair Tips
Leaking and Dripping Issues
Leaking water heaters can strike fear into the heart of any homeowner, resembling more of a nightmare than a manageable issue. Yet, addressing these plumbing issues becomes significantly easier with a bit of insight. One of the most common suspects behind water heater repair calls is a leak, often stemming from loose connections, corrosion over time, or issues with the pressure relief valve. A tiny drip here and there may not seem like a big deal, but they can quickly evolve into more severe problems if not tended to promptly. It’s crucial to regularly inspect areas such as the inlet and outlet connections. These should be snug but not over-tightened, to prevent undue stress on the pipes.
Many find the pressure relief valve tricky since it's designed as a safety measure to release excess pressure from within the tank. However, if it’s constantly dripping, this might signal the valve itself is faulty or there’s a bigger issue inside causing temperature and pressure spikes. In such cases, replacing the valve is a straightforward task that can often be done without professional help. Corrosion is another villain in the leaking saga, where rust can eat through the tank or pipes. This is particularly an area where early detection through routine checks is beneficial.
A less visible but equally concerning source of leaks is with the internal tank lining. Over time, minerals in the water supply can lead to the deterioration of the lining, making regular maintenance and the occasional draining of the tank to flush out sediment crucial. A surprising 15% of water heater leaks are attributed to this unsuspected buildup. Experts often stress the importance of checking for leaks from the bottom of the tank which might indicate a significant issue with the tank itself. As the old adage goes, prevention is better than cure, and this certainly holds true with water heater leaks.
"Regular inspection and maintenance can prolong the life of your water heater significantly," says John Doe of the Homeowners Safety Council. A wise reminder that a stitch in time saves nine, especially when shelling out for a new appliance can break the bank.
When diagnostics become challenging, listening for unusual sounds can also provide clues. For instance, a rumbling noise could indicate sediment buildup, increasing pressure within the tank and potentially leading to unexpected leaks. But detecting a leak early and taking swift action—be it tightening a valve or calling in the pros—can make all the difference. Additionally, installing a water-heater-specific drip pan is a simple, yet effective measure to mitigate water damage should a leak occur.

Thermostat and Heating Element Problems
Within the intricate workings of a water heater lies a duo often overshadowed by their more visible components: the thermostat and the heating element. Imagine them as the heart and brain of the water heating unit, tirelessly working to ensure you have hot water on demand. But when these components falter, the results can be as chilling as a midwinter shower. Understanding their roles and how to spot signs of trouble can save you from the icy surprises of a malfunctioning water heater.
The thermostat is your water heater's control center, regulating the temperature and ensuring the water stays just right for a relaxing bath or efficient dishwashing. These small devices can have a big impact when they fail. Symptoms like inconsistent water temperatures can signal a thermostat that's on the blink. It’s not uncommon, over time, for thermostats to wear out due to electrical faults or simple age, leading to a much cooler or, sometimes shockingly hotter, water scenario. Regular checks can help catch these issues early.
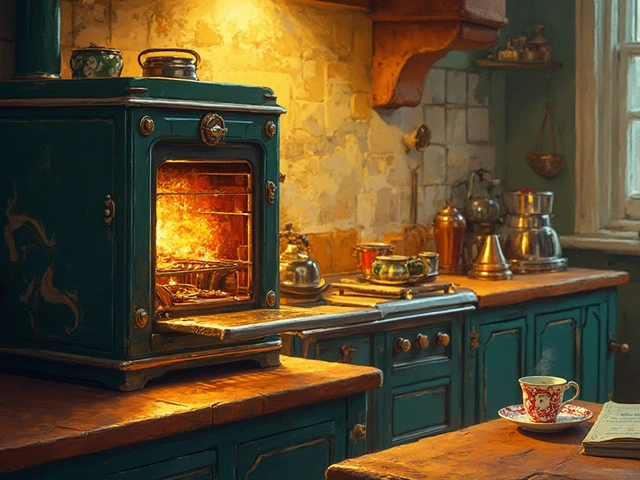
Your water heater's heating element functions somewhat like the stove's burner—responsible for heating the water directly. It's a straightforward but critical task, and when the element gives out, the drop in water temperature is unmistakable. Sometimes, mineral deposits build up on the element, insulating it from the water and reducing efficiency. In severe cases, the element can burn out, requiring replacement. Regular sediment cleaning can extend its life and keep your water heater running at peak performance.
A 2021 Home Energy Institute study found that periodic thermostat tweaks and heating element inspections can cut energy costs by 15% annually.
Diagnosing and Fixing the Issue
Fretting about fiddling with wires isn’t necessary. When it’s time for an inspection, start by checking the power. Ensure your heater is off before proceeding. If temperatures are erratic, the thermostat should be your first stop. Carefully remove the access panel, then test the thermostat with a multimeter. No reading? It’s time for a swap. Replacing a faulty thermostat isn’t difficult, but meticulous attention during installation is vital to avoid further issues.
If the problem’s with the heating element, a systematic approach is best. With power protected, drably remove the heater panels for control. Test the element similarly with a multimeter. If continuity fails, it’s a call for replacement. An important note, remember to drain the tank before removing the element. Replacement elements are largely affordable, and with appropriate instructions—often found online in the manufacturer's guidance—the switch can be straightforward. Avoiding shortcuts here will extend your heater’s lifespan and maintain its insurance validity.
Keeping a proactive eye on these components doesn’t just stave off cold showers; it stretches the longevity and efficiency of your water heating system, leading to lower utility bills and happier mornings. Consistent maintenance is less a chore than a choice, ensuring hot water when you need it most and a water heater that goes the distance with you.

Sediment Build-Up and Its Effects
Over time, sediment slowly but surely makes its way to the bottom of your water heater tank, leading to a situation where it can cause numerous problems if left unaddressed. This accumulation typically consists of minerals such as calcium and magnesium, which are prevalent in many water systems. As water heats, these minerals settle at the bottom, creating a layer that continually grows with each heating cycle. This situation is particularly common in regions with hard water, where the mineral content is significantly higher. It's a quiet enemy, as the effects often go unnoticed until something goes wrong. Once sediment accumulates enough, it can cause your heater to lose efficiency, make strange noises, or in worst-case scenarios, cause the water heater to break down entirely.
One of the more immediate symptoms of sediment build-up is a strange rumbling or popping noise occurring when the heater is engaged. This happens because the trapped water beneath the layer of sediment starts boiling, sending pockets of steam through the sediment. Not only is this disruptive, but over time, it can severely damage the tank's inner lining, shortening the water heater's lifespan. Sediment build-up also takes a toll on energy efficiency. With sediment acting as an insulating layer between the heating element and the water, the heater must work overtime, consuming more energy to maintain the desired water temperature, costing you more in energy bills.
The presence of sediment in your water heater tank can even impact the water quality. The sediment can sometimes find its way into your tap water or showers, leading to cloudy or rust-colored water, which can be a significant concern for households. In addition, this can indirectly increase wear on appliances like dishwashers or washing machines, as they struggle with mineral-laden water. In a 2022 study from the Water Quality Research Foundation, it was estimated that homeowners in areas with hard water spent 25% more on energy and maintenance costs due to issues like sediment build-up.
The Road to Prevention and Maintenance
So, what can be done about sediment build-up? Regular maintenance and flushing your water heater are key strategies to prevent this sneaky problem from escalating. It is recommended that you flush your water heater at least once a year to keep it operating efficiently. This involves draining the tank to remove accumulated sediment, allowing you to extend the life of the appliance significantly. Many modern water heaters come equipped with self-cleaning features that help reduce sediment build-up, but manual intervention is always a good insurance policy. For those less inclined to do-it-yourself maintenance, scheduling an annual inspection with a plumbing professional can also ensure your water heater remains in top-notch shape.
"Consistent maintenance and prevention strategies can significantly reduce the long-term costs of owning a water heater," suggests Jane Caldwell, a noted researcher in home appliance technologies.

Practical Repair Tips
When it comes to fixing a water heater, rolling up your sleeves and addressing minor issues yourself can be a satisfying endeavor. Identifying the problem is the first crucial step. Sometimes, a simple leak is just due to a loose valve, and a quick turn of the wrench can resolve it. Before anything, ensure the power or gas supply is off to avoid any mishaps. Many hot water tank issues stem from sediment build-up, affecting efficiency and potentially damaging the heater. Draining your tank every six months is a recommended practice to flush out sediment. Start by attaching a garden hose to the drain valve and letting the water out until it runs clear. Don't forget to close the valve tightly after.
Another common hiccup with water heater repair tasks revolves around the thermostat and heating elements. If your water isn't warming up as it should, there's a possibility these components have worn out. Replacing a thermostat is often straightforward. Begin by turning off the power and removing the access panel. With the appropriate screwdriver, disconnect the wires and install the new thermostat. Ensure all connections are tight and properly seated to avoid loose contacts that could result in improper heating performance.
Regular inspections can preempt costly repairs, so keep an eye out for rust or dampness around the tank's base, as these are telltale signs of future leaks. If rust starts to take hold, it’s often a signal that the tank may need replacement soon. Adding an anode rod can be a wise preventive measure; it acts as a sacrificial component to delay rust and prolong your heater's life. Be cautious when replacing this part—tools like a hex wrench or long socket wrench may be necessary to loosen stubborn rods.
Strange noises from your water heater, particularly popping sounds, can be unsettling. They typically indicate excessive sediment at the bottom of the tank. This sediment causes the water to boil irregularly, leading to those unsettling pops. A complete flush might be necessary if the build-up is severe. This step involves turning off the heater and ensuring the gas or power supply is secured, then fully draining the tank as described earlier. Many homeowners find success in adding a quart of vinegar to increase the cleaning efficacy during the next refilling.
"Routine maintenance is key," says David L. Deardon, a veteran plumber with over 30 years in the field. "Simple routine checks save more time and money than people realize."
For those willing to dive deeper into troubleshooting tips, acquainting yourself with your heater’s manual can shed light on component locations and specific instructions. Familiarizing oneself with these details is invaluable in preventing mistakes during repairs. Care and attention to detail can make all the difference, transforming daunting tasks into manageable ones. Remember, safety is paramount; if at any time a job seems beyond your comfort level, consulting a professional is always a wise choice.