Ever turned on your extractor fan and heard it groan like it’s about to give up? Or noticed how steam lingers in your bathroom long after a shower? If you’ve been wondering whether you can replace an extractor fan yourself, the answer is yes-most homeowners can do it safely with basic tools and a little patience. No need to call a professional unless you’re dealing with old wiring, asbestos, or a fan built into a ceiling joist without easy access. This isn’t rocket science. It’s more like changing a light fixture-with a few extra steps.
Why Replace an Extractor Fan?
- Your fan is noisy-like a dying vacuum cleaner.
- It doesn’t pull air anymore. Condensation builds up, mold grows on the walls, and your mirrors stay foggy.
- The motor burns out. You hear a hum but no spin.
- You’re renovating and want a quieter, more efficient model.
- The grille is cracked or discolored from years of grease and moisture.
Most extractor fans last 8 to 12 years. If yours is older than that and acting up, replacement is smarter than repair. New models use up to 60% less energy and run quieter. You’ll notice the difference right away.
What You’ll Need
You don’t need a toolbox full of fancy gear. Here’s what you actually need:
- Replacement extractor fan (match the size and airflow-usually 100mm to 150mm diameter)
- Screwdriver (Phillips and flathead)
- Wire strippers or side cutters
- Electrical tape
- Non-contact voltage tester
- Masking tape (to mark wires)
- Utility knife or saw (if cutting new holes)
- Measuring tape
- Work gloves and safety glasses
Pro tip: Buy a fan with a built-in timer or humidity sensor. You won’t regret it. Models like the Broan-NuTone 670 or Extracto 150 are common in Australian homes and easy to install.
Step 1: Turn Off the Power
This isn’t optional. Even if the switch is off, the wires behind it might still be live. Go to your circuit breaker and turn off the circuit that powers the fan. If you’re unsure which one, flip them all off until the fan stops humming.
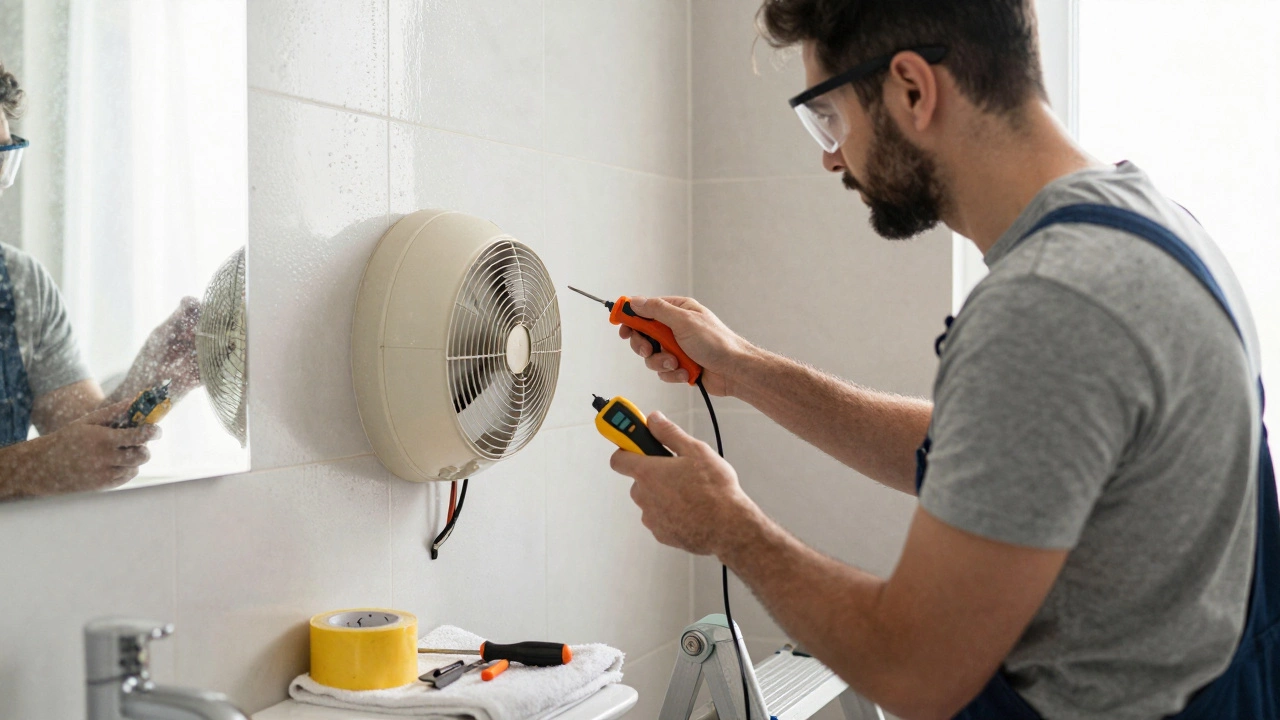
Use your non-contact voltage tester on the wires inside the ceiling or wall box. Hold it near each wire. If it beeps, the power’s still on. Keep looking. Don’t rush this step. Electricity doesn’t forgive mistakes.
Step 2: Remove the Old Fan
Take off the grille or cover. Most snap off with a gentle tug, or they’re held by two or three screws. Set them aside.
Now you’ll see the fan unit mounted to a housing. It’s usually held by spring clips or screws. Unscrew the mounting brackets. If it’s stuck, wiggle it gently. Don’t yank-the ductwork might be glued or nailed in place.
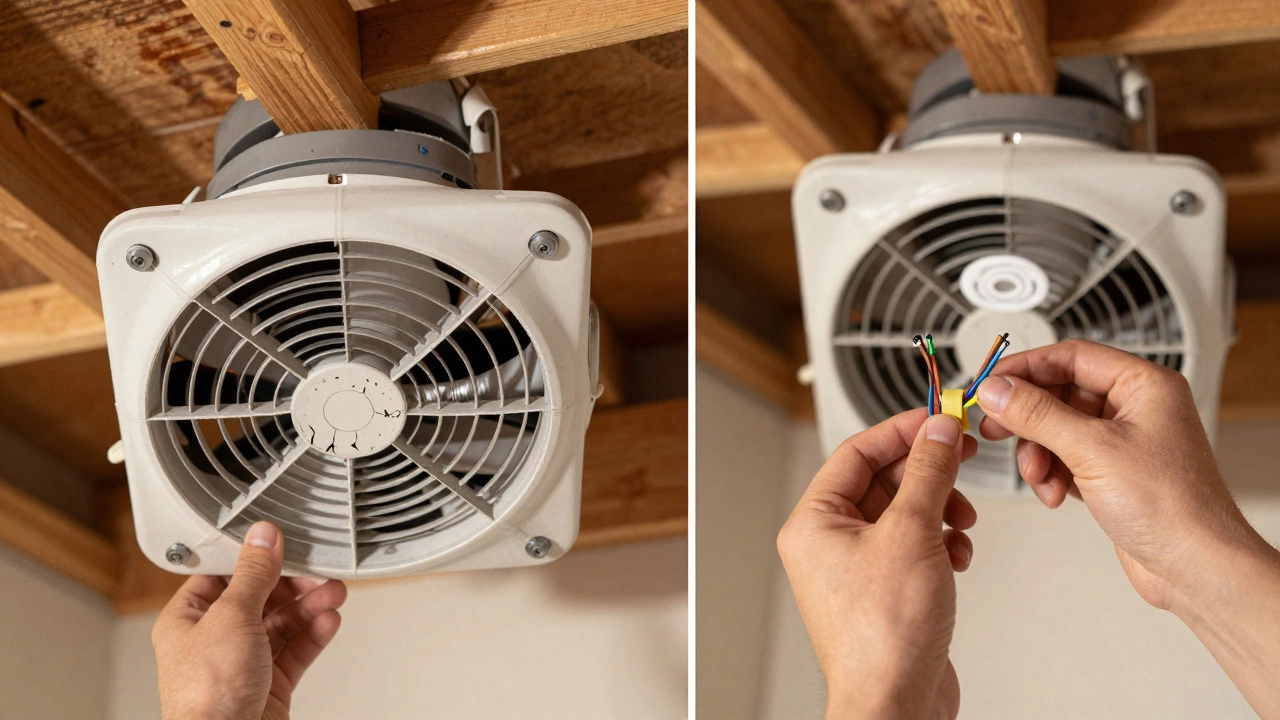
Once it’s loose, pull the fan out. You’ll see wires connected with wire nuts. Take a photo with your phone before you disconnect anything. Label each wire with masking tape: Live (brown), Neutral (blue), Earth (green/yellow). In older homes, colors might be different-don’t assume. Trust your labels, not the color.
Step 3: Check the Ductwork
Look at the flexible duct hose attached to the back of the fan. Is it crushed? Kinked? Covered in dust and grease? If so, now’s the time to replace it. A clogged duct makes even a new fan useless.
Use a utility knife to cut the old duct free. Slide the new duct over the outlet on the new fan. Secure it with a metal worm drive clamp. Don’t use zip ties-they crack over time. The duct should slope slightly downward toward the outside vent to prevent water pooling.
Step 4: Install the New Fan
Most new fans come with mounting brackets. Attach them to the housing first. Then, connect the wires. Match your labels: brown to brown, blue to blue, green/yellow to earth. Twist the wires together with pliers, then screw on a wire nut. Wrap the connection with electrical tape for extra security.
Slide the fan into the housing. Push it in until the mounting clips snap into place. If it’s a ceiling model, you might need to screw the frame into the joist. Use the holes in the fan’s housing as a guide.
Step 5: Reattach the Grille and Test
Put the grille back on. Snap it or screw it into place. Now, turn the power back on at the breaker.
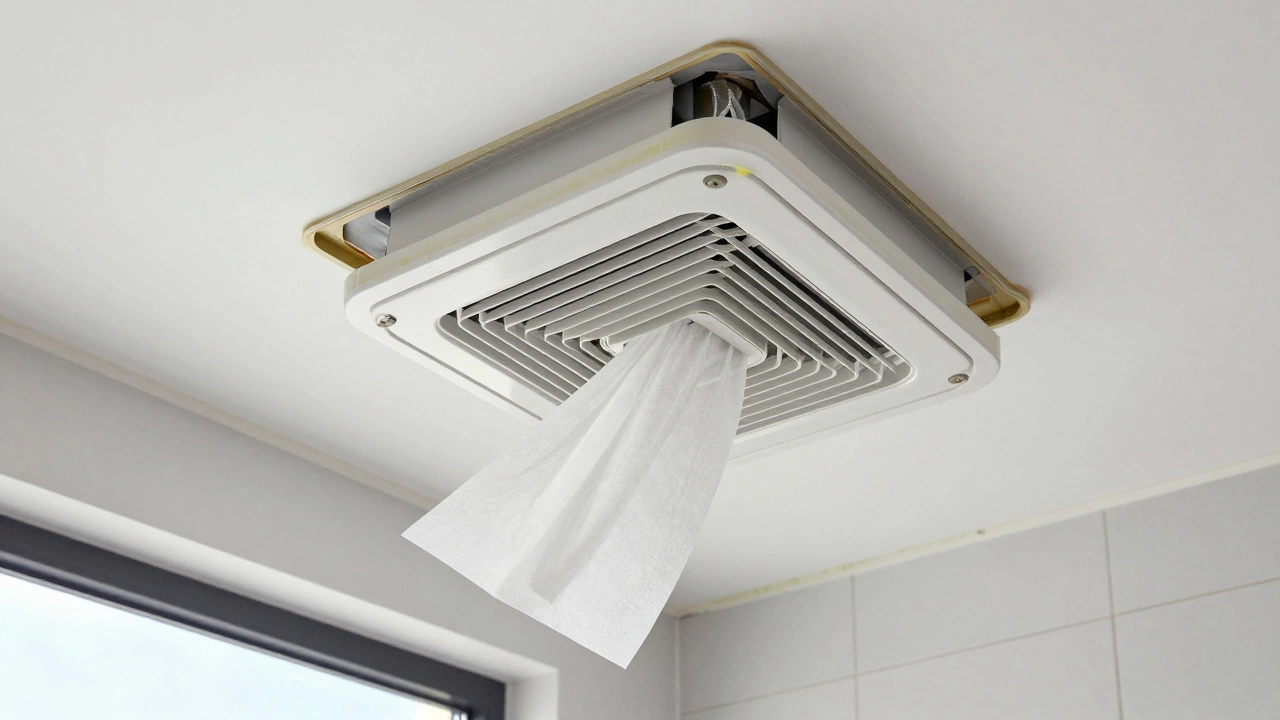
Flip the switch. Listen. Does it spin smoothly? Is there a steady airflow? Hold a piece of tissue paper near the grille. If it gets pulled in, you’re good. If it flutters or doesn’t move, double-check your wiring and duct connections.
Test the timer or humidity sensor if your new fan has one. Wait 10 minutes after turning it off-does it stay running? That’s the timer working. If it shuts off too fast, the sensor might be blocked by dust. Clean the vent grille.
Common Mistakes to Avoid
- Skipping the voltage test-this is how people get shocked.
- Using the wrong fan size. A fan too small won’t remove moisture. Too big and it’ll be noisy and waste energy.
- Not sealing gaps around the housing. Air leaks reduce efficiency. Use silicone sealant around the edges if the hole is too big.
- Forgetting to vent to the outside. Never duct into the roof space or wall cavity. That causes mold and rot.
- Buying the cheapest fan. You get what you pay for. Look for a fan with a 10-year warranty.
When to Call a Professional
You can handle most extractor fan replacements yourself. But call an electrician if:
- The wiring looks frayed, melted, or outdated (pre-1980s homes often have cloth-covered wires).
- The fan is hardwired into a circuit with no accessible switch.
- You’re replacing a fan in a ceiling with no access panel and need to cut through plasterboard.
- You suspect asbestos in the old ducting or insulation (common in homes built before 1990).
Asbestos is rare, but if you’re in an older home and the ducting crumbles when you touch it, stop. Don’t breathe the dust. Call a licensed asbestos removalist. Don’t risk your health.
What to Look for When Buying a New Fan
Not all extractor fans are created equal. Here’s what matters:
- CFM (Cubic Feet per Minute): For bathrooms, aim for 10 CFM per square meter. A 4m² bathroom needs at least 40 CFM. Kitchens need more-around 80 to 100 CFM.
- Noise level: Look for under 1.0 sone. Anything above 1.5 sone will annoy you.
- Energy rating: Choose 4-star or higher. It saves money over time.
- Timer or humidity sensor: A timer lets the fan run for 10-20 minutes after you leave the room. A humidity sensor turns it on automatically when steam rises.
- IP rating: For bathrooms, get IP44 or higher. That means it’s splash-proof.
Brands like Extracto, Broan, and Manrose are reliable and widely available in Australia. Avoid no-name brands from discount stores-they fail fast.
How Long Does It Take?
If you’ve got a clear path to the fan and the wiring’s in good shape, you can finish this in under 90 minutes. Most people take 2 to 3 hours, especially if they’re doing it for the first time. Take your time. Rushing leads to mistakes.
Will This Save You Money?
A new extractor fan costs between $80 and $200, depending on features. A professional installation might run $150 to $300. By doing it yourself, you save at least $100. Plus, you’ll cut your energy bill slightly-modern fans use less power. And you’ll prevent costly mold damage. A single mold remediation job can cost over $2,000.
Final Thought
Replacing an extractor fan isn’t glamorous, but it’s one of the most practical DIY jobs you can do. It improves your home’s air quality, prevents mold, and saves you money. If you can change a light bulb, you can do this. Just take your time, turn off the power, label your wires, and don’t skip the duct check. Your future self-standing in a dry, mold-free bathroom-will thank you.
Can I replace an extractor fan without turning off the power?
No. Never work on electrical wiring without turning off the power at the breaker. Even if the switch is off, the circuit may still be live. Always use a non-contact voltage tester to confirm the wires are dead before touching them. Skipping this step risks serious injury or death.
What if my extractor fan is wired directly into the ceiling without a switch?
This is common in older homes. You’ll need to install a wall switch or use a pull cord fan. If you’re not comfortable working with live circuits or adding a switch, hire a licensed electrician. They can safely install a switch or replace the fan with a model that has a built-in pull cord.
Can I use a fan from a different brand than the old one?
Yes. Most extractor fans use standard mounting sizes (100mm to 150mm). As long as the new fan fits the hole and the duct connection matches, the brand doesn’t matter. Check the dimensions on the product page before buying. Many modern fans come with adjustable mounting brackets to fit different openings.
Why is my new extractor fan still noisy?
Noise usually comes from poor installation. Check if the fan is mounted securely-loose units vibrate. Make sure the duct isn’t kinked or crushed. Also, verify the fan’s mounting screws aren’t touching the ceiling or wall. Add foam padding between the fan and housing if needed. Some fans also have rubber isolation mounts-use them.
Do I need to vent the extractor fan to the outside?
Absolutely. Venting into the roof space, wall cavity, or attic causes moisture buildup, which leads to mold, rot, and structural damage. Australian building codes require extractor fans to vent directly outside. Use a roof or wall termination cap to prevent rain and pests from entering the duct.
How often should I clean my extractor fan?
Clean the grille every 3 months. Remove dust and grease with warm soapy water. Every 12 months, take the fan out and clean the blades and motor housing with a soft brush. A clogged fan works harder, uses more power, and wears out faster.
Can I install a smart extractor fan myself?
Yes, if it’s a standard wired model with Wi-Fi. Smart fans still connect to the same wires as traditional ones. You’ll need a neutral wire (blue) for most smart models. If your existing wiring doesn’t have one, you’ll need an electrician to add it. Don’t try to bypass it-smart fans won’t work without neutral.