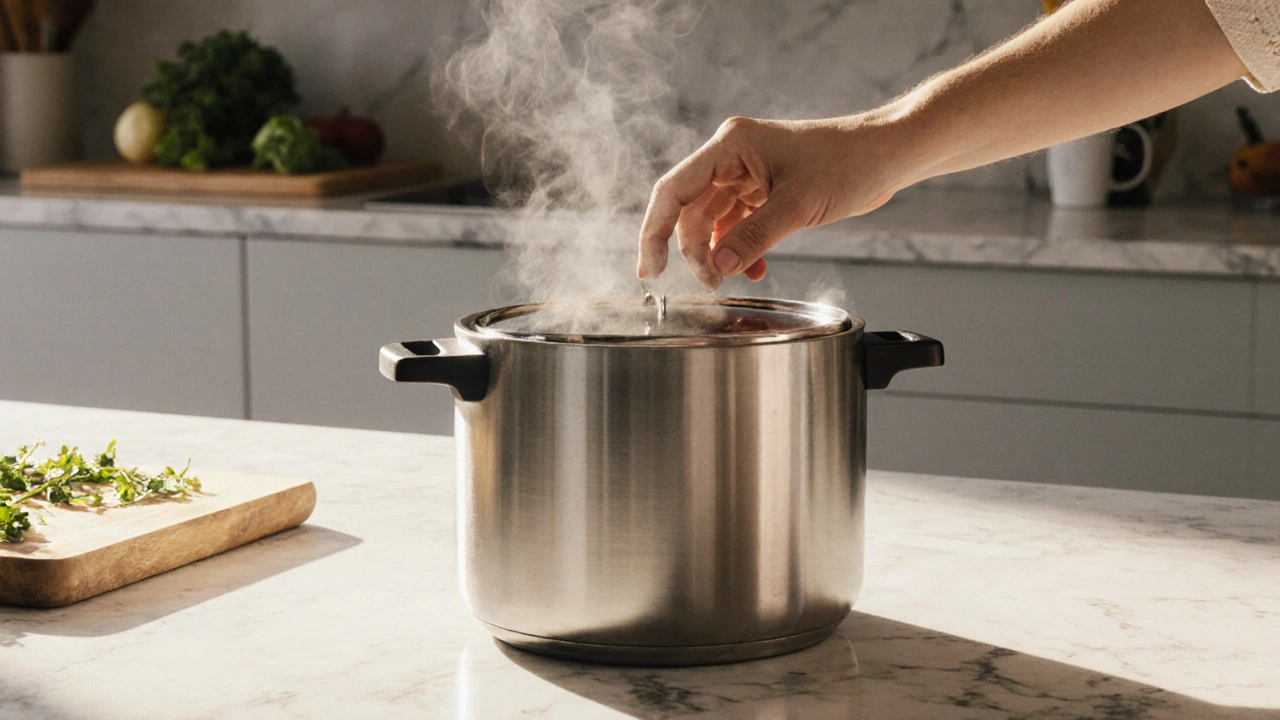
Pressure Cooker Not Sealing: Common Causes and Easy Fixes
Pressure Cooker Not Sealing, the problem where the cooker’s lid fails to lock or build pressure, often due to worn parts or incorrect setup. Also known as seal failure, it can turn a quick dinner into a stressful ordeal. pressure cooker not sealing is usually traced back to a few key components. The first is the gasket, a rubber ring that creates the airtight seal between the lid and the pot. Over time the gasket can dry out, crack, or become miss‑shaped, and any of those issues lets steam escape. A second player is the safety valve, the vent that releases excess pressure to keep the cooker safe. If food particles block the valve or the spring loses tension, the pressure never reaches the level required for sealing. Finally, the lid, the heavy top piece that must line up perfectly with the pot’s locking mechanisms, can become warped or mis‑aligned, preventing the locking pins from engaging fully. Understanding that pressure cooker not sealing encompasses gasket wear, valve blockage, and lid misalignment lets you tackle the issue systematically rather than guessing.
Diagnosing the Seal Problem
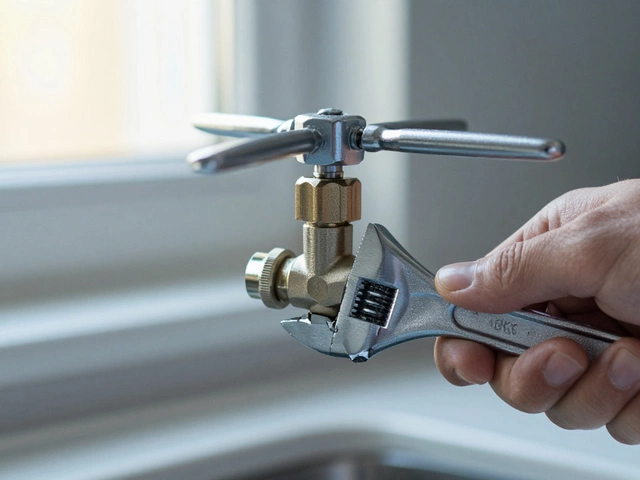
Start with a visual inspection. Pull the lid off and look at the gasket; if it feels hard, has visible cracks, or shows chunks of food stuck to it, replace it. A fresh gasket is cheap and usually fixes 70% of seal complaints. Next, test the safety valve by removing the rubber cap (if your model has one) and shaking it gently— you should feel a slight click as the spring moves. Run a thin stream of water over the valve; steam should escape cleanly. If water pools or the valve sticks, soak it in warm, soapy water, then scrub with a soft brush. While you’re at it, check the lid’s locking knobs. Rotate them a full 360°; they should move smoothly and snap into place without wobble. If the lid sits unevenly on the pot, place a ruler across the edge— any gap larger than 1 mm signals a warping issue that often requires a new lid. These simple checks cover the three main entities and give you a clear picture of what’s causing the seal failure.
Once you’ve identified the faulty part, maintenance, regular cleaning and part replacement that keeps the cooker operating safely becomes the best defense against future problems. Keep the gasket clean by wiping it after each use with a damp cloth and a touch of mild detergent; avoid harsh abrasives that can wear it down faster. For the safety valve, run a quick rinse through the vent after each cooking session to flush out food debris. Store the cooker with the lid slightly ajar so the interior stays dry and the gasket doesn’t mold. If you notice the gasket hardening, soak it in warm water for 10 minutes before the next use— this restores flexibility temporarily but plan a replacement within a few months. By treating these maintenance steps as routine, you’ll reduce the chance of a seal failure and prolong the lifespan of both the gasket and the lid. Below you’ll find a curated set of articles that dive deeper into each of these areas, from DIY gasket replacement videos to safety‑valve troubleshooting charts, giving you all the practical guidance you need to keep your pressure cooker sealing perfectly.