Oven Maintenance Tips – Keep Your Oven Working Like New
When your oven starts acting up, the first thing most of us think about is calling a repair tech. But a lot of problems can be stopped before they become emergencies, simply by doing a few easy checks each month. Below are the core tasks that will keep your oven heating evenly, staying clean and lasting longer.
1. Clean the Inside – Don’t Let Grease Build Up
Every time you bake, crumbs and splatters settle on the walls and the bottom tray. If you wait weeks, the grease hardens and can smoke the next time you use the oven. A quick weekly wipe‑down solves this. Let the oven cool, then spray a mix of water and a little dish soap onto a soft cloth. Avoid abrasive pads – they can scratch the enamel. For stubborn spots, a paste of baking soda and warm water works wonders. Just let it sit for 15 minutes, wipe clean, and you’ll notice fewer odors and more even baking.
2. Check the Door Seal – Keep Heat Where It Belongs
The rubber gasket around the oven door is the unsung hero of temperature control. If it’s cracked or sticky, heat leaks out, the oven works harder and your energy bill climbs. Run a thin piece of paper between the door and the frame; if it slides out easily, the seal needs replacing. Most seals are cheap and glue‑on, so you can swap them yourself in under an hour.
While you’re at it, make sure the door closes fully. Misaligned hinges can cause the same heat loss. Tighten any loose screws with a screwdriver; if the door still won’t line up, a quick adjustment of the hinge brackets usually fixes it.
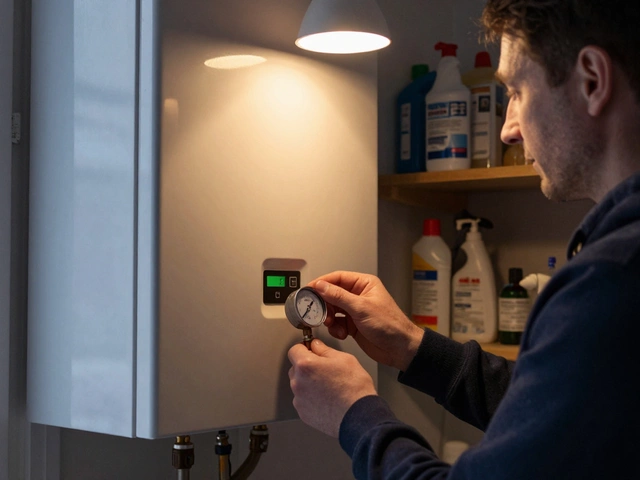
3. Calibrate the Temperature – Get Accurate Baking Results
Even a brand‑new oven can be a few degrees off. To test, place an oven‑safe thermometer inside and set the oven to 180 °C (350 °F). When the reading stabilises, note the difference. If the oven reads 170 °C, you’re off by 10 °C. Most ovens have a calibration screw or digital setting in the menu; turn the screw a notch or adjust the digital offset until the thermometer matches the set temperature. This step saves you from under‑ or over‑cooked meals.
4. Inspect Heating Elements – Spot Trouble Early
Electric ovens have visible coil elements on the top and bottom. Look for cracks, blisters or obvious discoloration. A damaged element can cause uneven heating or no heat at all. If you see any damage, replace the element before it fails completely. Replacement kits are widely available and usually include a simple plug‑in connector.
5. Schedule Professional Servicing – The Safety Net
Even with diligent DIY care, an annual professional check‑up is worth it. A qualified technician will test the thermostat, safety switches and gas connections (if you have a gas oven). They can also deep‑clean components you can’t reach, like the fan motor or the interior of the convection system. Our own blog post “Oven Won’t Heat? Electric Oven Repair Costs Explained” walks you through common cost factors, and the article “Are Ovens Easy to Fix? Electric Oven Repair Facts and Tips” helps you decide what you can handle yourself.
Remember, regular maintenance not only prevents breakdowns but also keeps your oven efficient, which saves energy and money. Set a calendar reminder for a quick clean‑up every Sunday, a seal check once a quarter, and a temperature test twice a year. When you combine these habits with a yearly professional service, your oven will stay reliable for years.
Got a specific issue like a stubborn burner or a strange smell? Drop a comment below or give us a call – we love helping locals keep their kitchens humming.