Mess‑Free Renovation: Simple Tips to Keep Your Home Clean During Appliance Repairs
Renovating a kitchen or bathroom can feel like inviting chaos into your home. But you don’t have to live in a construction zone while you get your oven, boiler, or dishwasher fixed. With a few easy steps, you can keep dust, debris, and water damage to a minimum.
Plan Your Work Zones and Protect Surfaces
Start by deciding where the work will happen and where you’ll live during the project. Lay down heavy‑duty drop cloths or old sheets on floors and countertops. Plastic sheeting works great for protecting cabinets from splashes when you’re dealing with water heaters or dishwashers. Tape the edges down so nothing slides under the carpet.
Use painter’s tape to mark off safe walking paths. When you see a new mess, clean it right away – it’s easier than scrubbing dried plaster or grease later. A small handheld vacuum can suck up dust before it settles.
Contain Dust and Debris
Dust is the biggest enemy of a tidy renovation. Seal off the room with plastic sheeting and zip ties. If you’re cutting into walls for new wiring or plumbing, attach a shop‑vac hose to the saw to pull the dust straight into a bag.
For larger jobs like removing a built‑in oven, use a dust barrier: a sheet of cardboard taped to the doorway, with a small opening for tools. This lets the crew work without sending dust into the living room.
Don’t forget to turn off the HVAC system or set it to recirculate. This stops dust from traveling through vents and settling on furniture.
When the work is done, wipe down all surfaces with a damp cloth. A quick mop on the floor will pick up any grit that escaped the barriers.
Secure Appliances and Prevent Water Damage
Before any demolition, disconnect power and water supplies. Have a bucket handy to catch any stray water from leaky pipes or washing machines. Use a rubber mat under the bucket to keep water from spreading.
If you’re moving a fridge or freezer, keep the doors closed and wrap them in moving blankets. This protects the finish and stops the appliance from wobbling if the floor is uneven.
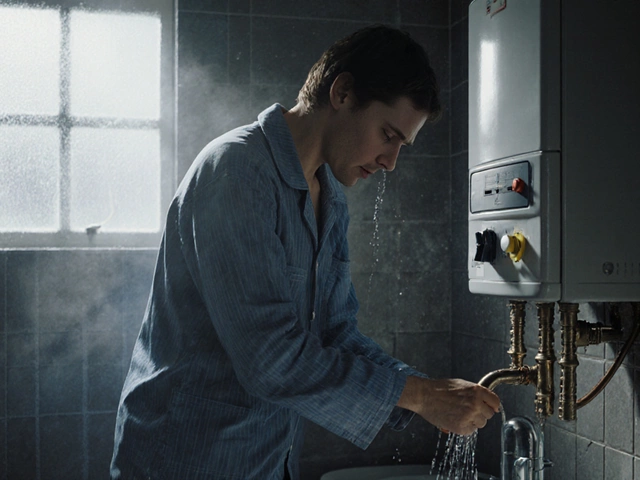
When a boiler or water heater is being serviced, place a tray under the unit. It catches any drips and keeps the floor dry, which also protects any carpet nearby.
Keep Tools Organized and Clean
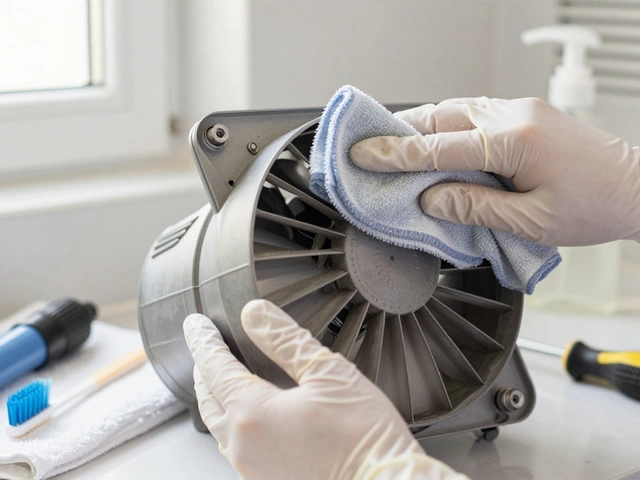
Assign a single toolbox for each worker. When a tool is set down, clean it before putting it back. A rag on the bench catches oil and grime, saving you from wiping the whole surface later.
Reusable zip‑lock bags are perfect for spare screws, nuts, and bolts. Label each bag with the appliance or area it belongs to – this prevents mixing up parts and saves time when you re‑assemble.
Final Clean‑Up Checklist
Before you call the renovation finished, run through this quick list:
- All drop cloths removed and floors vacuumed.
- Surfaces wiped with a damp cloth.
- Appliances re‑connected, tested, and doors closed.
- Any protective plastic removed and disposed of safely.
- Tools stored away, and the work area left tidy.
Following these steps means you can enjoy a newly renovated space without the lingering mess. Your appliances will work better, and you’ll avoid extra cleaning costs down the line. Ready to start your mess‑free renovation? Grab some drop cloths, set up your zones, and get to work with confidence.


