Fan Cleaning Guide: Keep Your Extractor Fans Working Like New
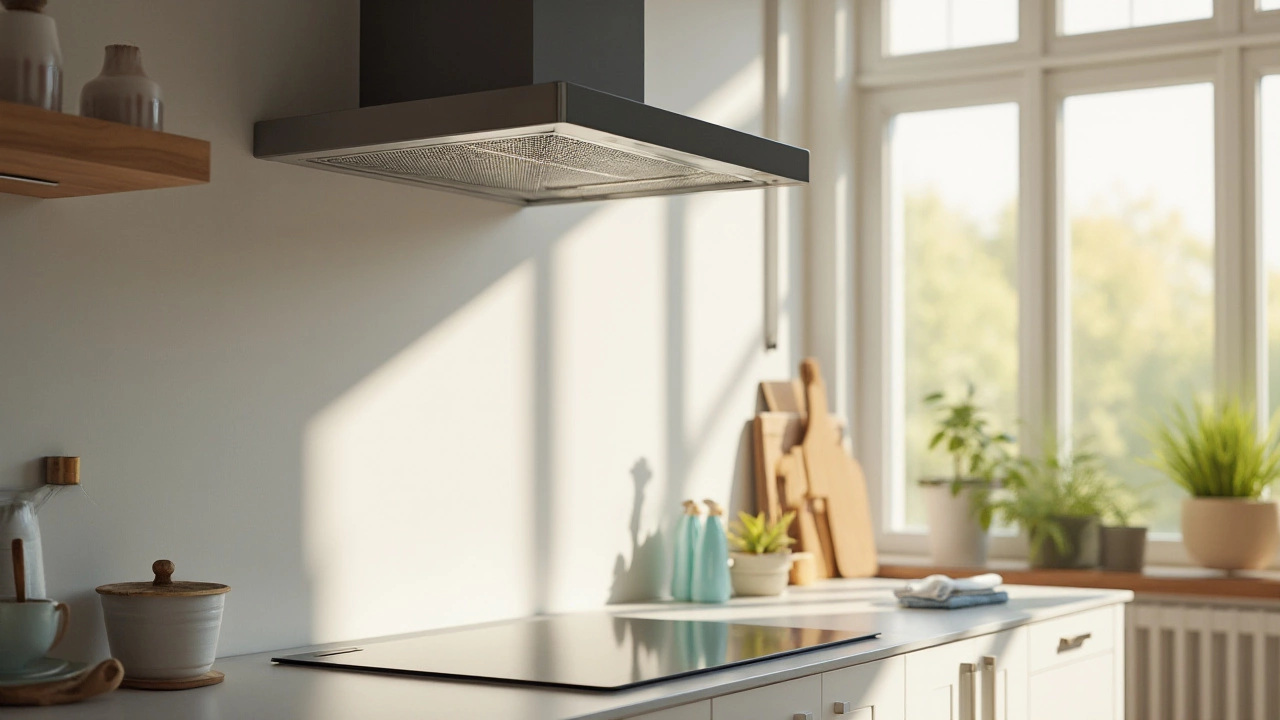
Whether it’s the kitchen hood that whirs away cooking steam or the bathroom fan that fights humidity, a dirty fan can turn a simple task into a nightmare. Grease, dust, and mould build‑up not only reduce performance but can also create nasty smells and even fire hazards. The good news? A quick clean every few months can keep the fan humming and your home safe.
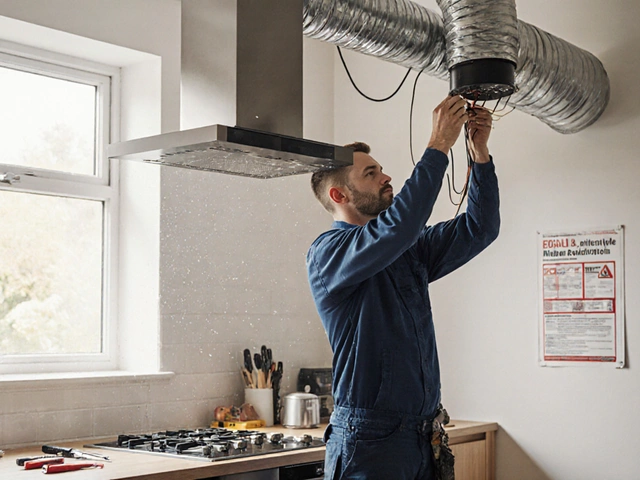
First, decide if you can tackle the job yourself. Most extractor fans are designed for easy access – just unscrew the cover and you’re ready. If the fan is wired into a hard‑wired circuit or you spot frayed cords, it’s smarter to call a qualified technician. Safety first, always.
Why Regular Fan Cleaning Matters
Dirty blades lose their ability to move air efficiently. That means longer cooking times, lingering steam, and a higher chance of mould spreading in the bathroom. Over time the motor can overheat, shortening its lifespan and leading to costly replacements. A clean fan also helps keep the air in your home fresher, reducing the need for extra ventilation or air‑conditioning.
Besides performance, a clean fan is quieter. When grease clogs the motor housing, it creates extra vibration and noise. A quick wipe‑down can make a noticeable difference in the sound level.
Step‑by‑Step Fan Cleaning Checklist
1. Turn off power. Switch off the circuit breaker or remove the fuse. Even if the fan is unplugged, it’s best to cut power at the source.
2. Remove the cover. Most covers snap off or are held by a few screws. Keep the screws in a small dish so they don’t roll away.
3. Soak the filter. If your fan has a metal or carbon filter, soak it in hot, soapy water for 10‑15 minutes. Use a soft brush to loosen stubborn grease.
4. Clean the blades. Wipe each blade with a damp cloth drenched in a degreaser or a mixture of water and a splash of dish soap. Avoid spraying liquid directly onto the motor.
5. Clear the housing. Use a small vacuum with a brush attachment or a dry microfiber cloth to pull out dust from the motor housing and vent ducts.
6. Rinse and dry. Rinse the filter under running water, shake off excess, and let it air‑dry completely before re‑installing. Make sure all parts are dry to avoid short‑circuits.
7. Re‑assemble. Snap the cover back on, replace any screws, and restore power.
Run the fan for a minute to check that everything works smoothly. If you notice unusual noises, reduced airflow, or the motor still feels hot, it’s time to call a pro.
Maintain a cleaning schedule: kitchen fans about every 1‑2 months if you cook often, bathroom fans every 3‑4 months. Heavy users might need more frequent attention.
When in doubt, Rugby Appliance Repair Services can help. Our technicians know how to disassemble, deep‑clean, and service any extractor fan, ensuring it runs at peak efficiency. Give us a call, and we’ll get your fan back to whisper‑quiet operation.