DIY Oven Fix – Simple Repairs You Can Do at Home
Got an oven that’s acting up? Before you call a technician, check out these quick fixes you can try yourself. Most oven issues are caused by a few common parts, and with a screwdriver and a bit of patience you can save time and money.
Common Oven Problems and What Causes Them
The first step is to figure out what’s actually wrong. Below are the five issues you’ll see most often:
1. Oven won’t heat. This usually points to a faulty heating element or a broken thermostat. A quick visual check for burnt spots on the element can tell you if it needs replacing.
2. Temperature is off. If food is constantly over‑ or under‑cooked, the oven sensor may be misreading the heat. Cleaning the sensor or resetting the oven’s calibration often solves the problem.
3. Door won’t close properly. Warped gaskets or a loose hinge can let heat escape, making the oven work harder. Inspect the gasket for cracks and tighten any loose screws on the hinge.
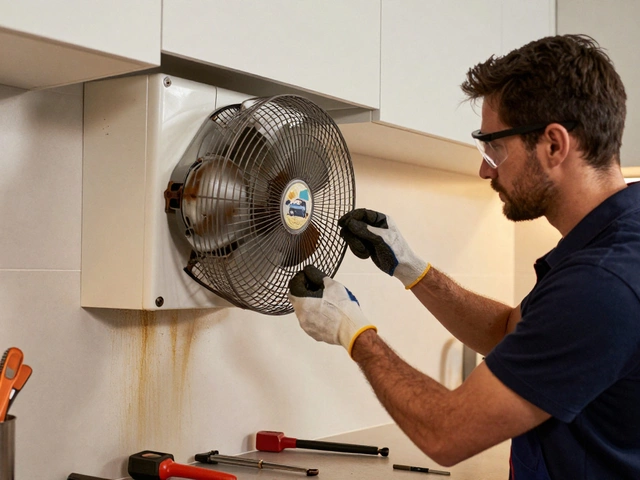
4. Strange noises. Buzzing or clicking usually means a relay or the fan motor is failing. Unplug the oven, remove the back panel, and listen for a motor that spins freely.
5. Oven light is out. This is the simplest fix – just replace the bulb. Make sure you use a bulb rated for high temperatures.
Step‑by‑Step Fix Guides
Now that you know the usual suspects, let’s walk through a couple of the easiest repairs.
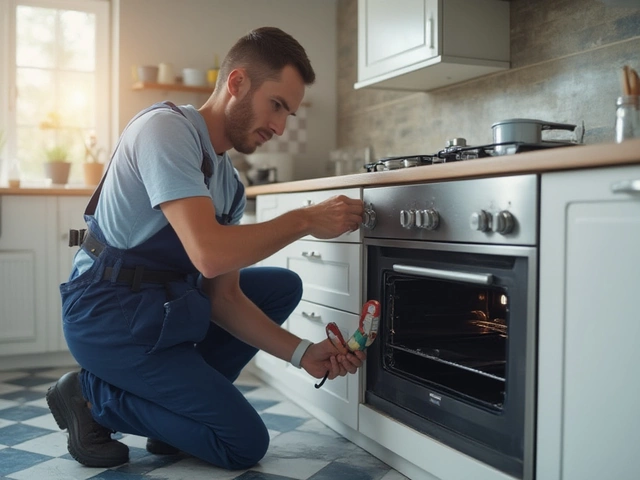
Replacing a heating element – Unplug the oven, remove the bottom panel, and locate the element screws. Unscrew, pull out the old element, and slide the new one in. Re‑screw, replace the panel, and test the oven on a low setting first.
Cleaning or calibrating the temperature sensor – The sensor sits on the back wall of the oven cavity. Gently pull it out, wipe off any grime with a damp cloth, and reinstall. If the oven still reads wrong, look for a calibration button on the control panel (often hidden behind a small cover) and follow the manual’s steps.
Fixing a stuck door latch – Open the oven door fully, locate the latch mechanism, and see if any debris is jammed. Use a toothpick or small brush to clear it. If the latch pin is bent, gently straighten it with needle‑nose pliers.
Replacing a fan motor – After disconnecting power, remove the rear access panel. The fan motor is usually held by two screws and a connector. Take note of the wiring order, detach the connector, unscrew the motor, and swap in the new one. Re‑connect, screw everything back, and give the oven a test run.
Safety tip: always double‑check that the oven is unplugged before you start any work. If you smell burnt wiring or see sparks, stop immediately and call a professional.
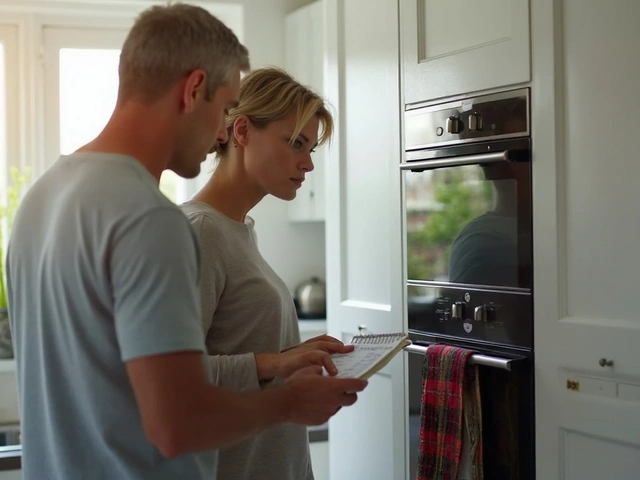
When you’ve tried these steps and the oven still misbehaves, it’s time to call in a qualified technician. Some problems – like a cracked control board or a gas line issue – need specialist tools and certification.
DIY oven fixes can be surprisingly straightforward. By tackling the easy stuff yourself, you’ll avoid unnecessary service calls and keep your kitchen running smoothly. Keep a small toolbox handy, note down the model number of your oven, and you’ll be ready for the next hiccup.