Water Heater Maintenance Decision Tool
Answer the questions below to determine the best maintenance method for your water heater and get a step-by-step guide.
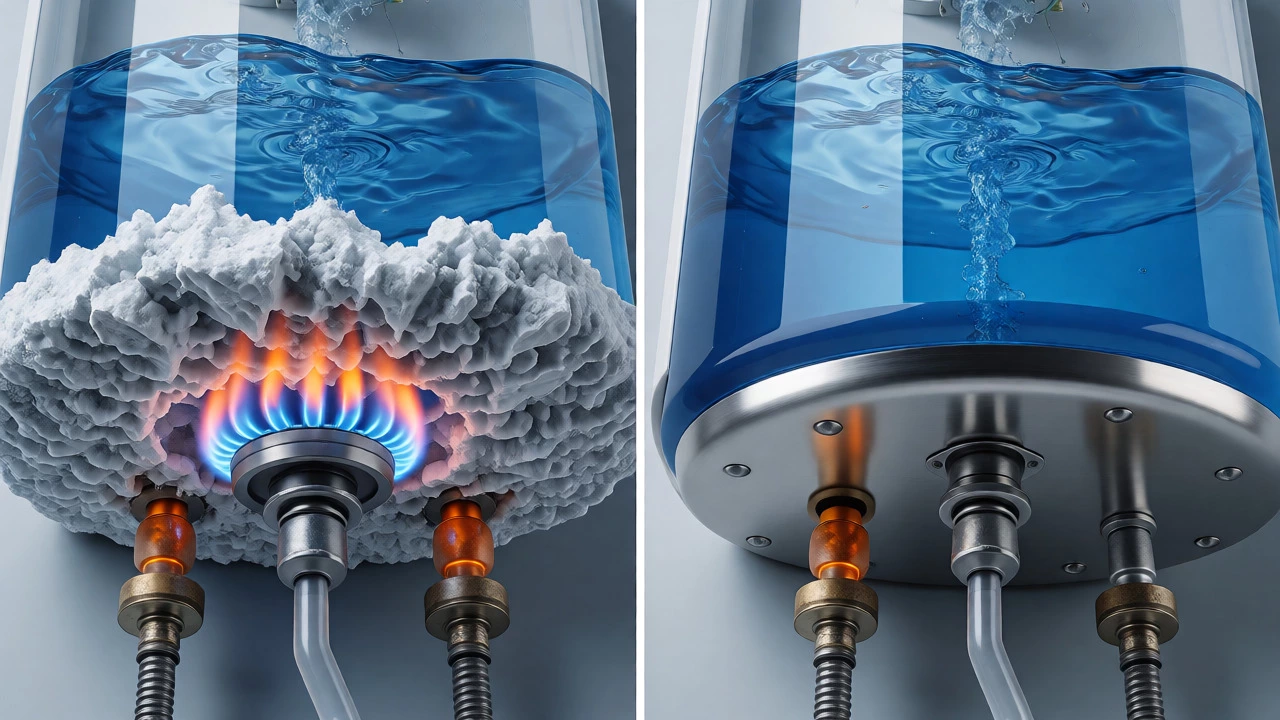
You open the hot tap, and instead of a steady stream, you get sputtering, popping noises, or lukewarm water that runs out way too fast. This is usually the sound of your water heater struggling against its own history. Over time, minerals from your supply-especially in hard water areas like Adelaide’s western suburbs-settle at the bottom of the tank as sediment buildup. When this layer gets thick, it insulates the heating elements (in electric models) or traps heat under the burner (in gas models), forcing your unit to work harder and use more energy.
The big question homeowners ask when they spot this issue is simple: should I just drain it, or do I need to flush it? While the terms are often used interchangeably by DIYers, they refer to two different levels of maintenance. Draining removes the bulk of the water and some loose debris. Flushing actively dislodges packed sediment using water pressure. Choosing the wrong method-or skipping maintenance entirely-can shorten your unit's lifespan by years. Let’s break down exactly what each process does, when you need which one, and how to keep your hot water system running efficiently.
Understanding Sediment Buildup
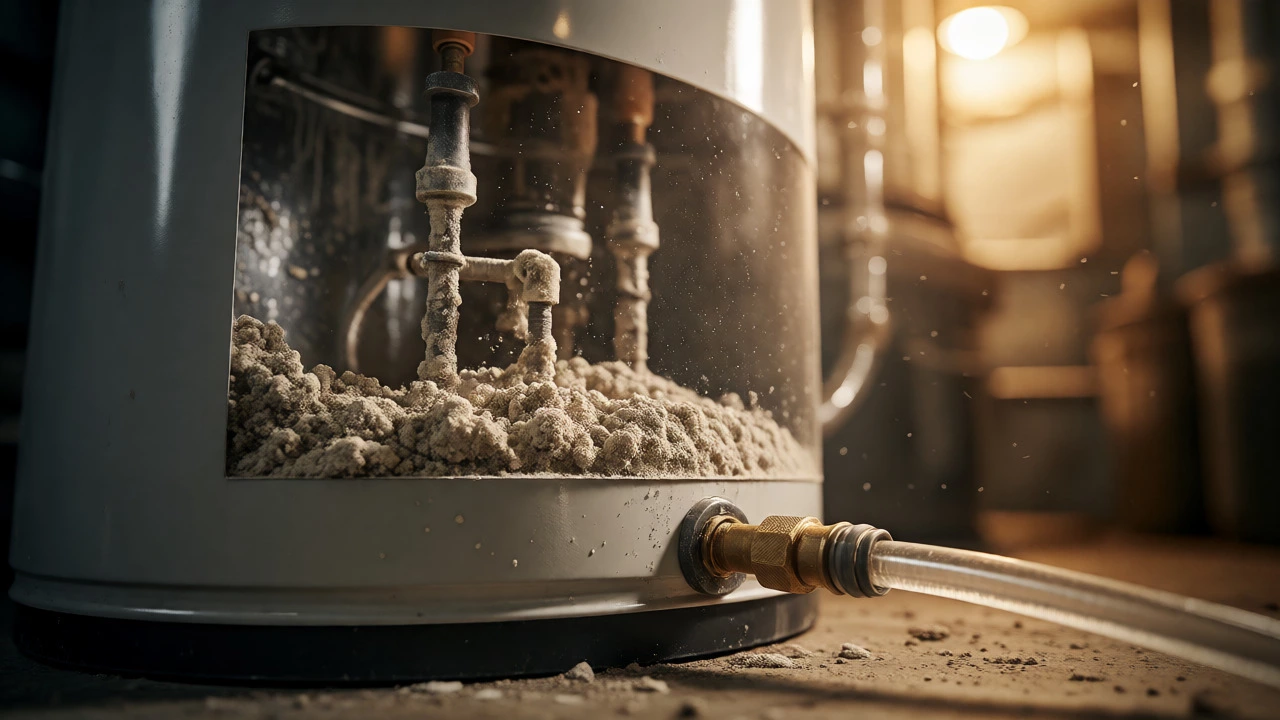
To know whether to flush or drain, you first need to understand the enemy. Tap water contains dissolved minerals like calcium and magnesium. When water heats up, these minerals precipitate out of the solution and settle at the bottom of the tank. This isn't just dirt; it's a hardened crust of scale.
In gas water heaters, this sediment sits directly on top of the burner assembly. It acts as an insulator, meaning the burner has to burn longer and hotter to transfer heat through the sludge into the water. This causes thermal stress on the tank floor, leading to cracks and leaks. In electric heaters, the sediment buries the lower heating element. The element overheats because it can't transfer heat efficiently to the water, eventually burning out. Replacing a heating element is cheap; replacing a whole tank because it cracked from thermal stress is not.
Draining alone might remove the liquid, but it rarely removes the compacted cake of scale at the very bottom. That’s where flushing comes in.
What Happens When You Just Drain?
Draining is the basic act of removing water from the tank. You connect a hose to the drain valve, run it outside, and let gravity do the work. This is essential before any major repair or if you’re going away for winter and want to prevent freezing (though less common in most Australian climates).
When you only drain the tank:
- You remove standing water and some floating particles.
- You expose the interior walls for visual inspection.
- You reduce the weight of the unit, making it easier to move if needed.
However, draining relies on gravity. If the sediment has compacted over months or years, it sticks to the bottom like concrete. Opening the valve won’t wash it away. You’ll see clear water come out initially, then maybe some cloudy discharge, but the heavy sludge stays put. If your goal is to fix efficiency issues caused by scale, a simple drain is often insufficient.
The Power of Flushing Your Water Heater
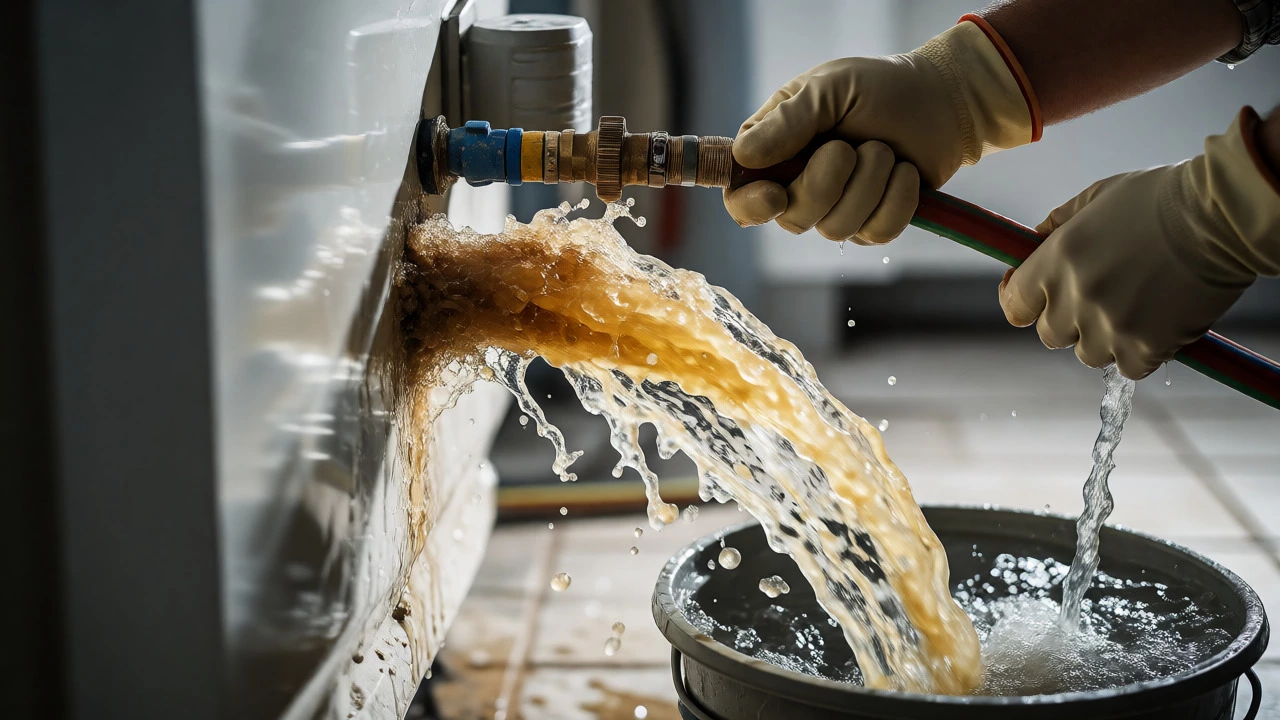
Flushing takes maintenance a step further by introducing active force. Instead of just letting water sit and drain, you use the incoming cold water supply to scour the inside of the tank. This is typically done by opening the cold water inlet while the drain valve is open, creating a turbulent flow that breaks up and carries away sediment.
A proper flush involves:
- Cutting power or gas to the unit.
- Opening a hot water tap elsewhere in the house to break the vacuum lock.
- Attaching a garden hose to the drain valve.
- Opening the drain valve fully.
- Cracking open the cold water inlet slightly to create turbulence inside the tank.
- Running the water until it runs completely clear.
This method is significantly more effective at removing the mineral crust. By agitating the bottom of the tank, you dislodge particles that gravity alone couldn’t move. For most homeowners experiencing reduced hot water capacity or noisy operation, flushing is the correct first line of defense.
When to Flush vs. When to Drain Only
Deciding between the two methods depends on the age of your unit, the severity of the symptoms, and the type of water heater you have. Here is a practical guide to help you choose.
| Factor | Drain Only | Flush |
|---|---|---|
| Purpose | Preparation for repairs, winterizing, minor cleaning. | Removing sediment buildup, restoring efficiency, fixing noise. |
| Effectiveness | Low for sediment removal; high for water removal. | High for sediment removal; moderate for water removal. |
| Time Required | 15-30 minutes depending on tank size. | 30-60 minutes due to agitation time. |
| Risk Level | Low. Main risk is stuck valves. | Moderate. Risk of disturbing seals or clogging pipes with large chunks. |
| Best For | New installations, annual light check, pre-repair prep. | Units older than 2 years, hard water areas, noisy tanks. |
If your water heater is brand new (under 1 year), a simple drain during your first service check is fine. There hasn’t been enough time for significant scale to form. However, if you live in an area with hard water-which covers much of South Australia-you should aim to flush annually. If you haven’t touched the unit in three or four years and hear loud banging, definitely flush it.
Special Considerations for Gas vs. Electric Units
The mechanics differ slightly depending on your fuel source, and this affects how you approach flushing.
Gas Water Heaters: These units have a pilot light or electronic ignition. Before doing anything, turn the gas control valve to "Pilot" or "Off." Never attempt to flush a gas heater while it’s actively heating, as the thermostat might trigger unexpectedly once the water level drops below the sensor. Also, be careful not to disturb the thermocouple or flame sensor during the process. After flushing, wait until the tank is full again before relighting the pilot to avoid dry-firing the burner.
Electric Water Heaters: Safety is paramount here. You must switch off the circuit breaker dedicated to the water heater. A common mistake is turning off the wall switch but leaving the breaker on, or vice versa. Verify power is off with a non-contact voltage tester. Unlike gas units, electric elements can fail quickly if exposed to air without water (dry firing). Ensure the tank is refilled completely before restoring power.
Step-by-Step Guide to Flushing
Ready to tackle the job? Follow these steps carefully. If you encounter resistance, stop. Don’t force old valves.
- Safety First: Turn off electricity (breaker) or gas (valve). Allow the water to cool if possible, though waiting hours isn’t always necessary if you proceed cautiously.
- Connect Hose: Attach a standard garden hose to the drain valve at the base of the tank. Run the other end to a drain, gutter, or outside area. Note: Hot water can damage plastic lawn features, so direct it carefully.
- Break Vacuum: Open a hot water faucet somewhere in the house (like the kitchen sink). This allows air to enter the tank so water can flow out smoothly.
- Open Drain Valve: Use a flathead screwdriver or pliers to open the valve slowly. Expect a rush of steam and hot water initially.
- Agitate (The Flush Step): Once water starts flowing, briefly open the cold water inlet valve on top of the heater. This sends fresh water into the tank, stirring up the sediment. Close it again. Repeat this a few times if the water remains muddy.
- Check Clarity: Let the water run until it comes out of the hose clear. This indicates the bulk of the sediment is gone.
- Refill: Close the drain valve. Remove the hose. Open the cold water supply fully. Keep the hot tap open until a steady stream of water flows from it (no air bubbles). This confirms the tank is full.
- Restore Power/Gas: Only after confirming the tank is full, turn the electricity back on or relight the gas pilot.
Troubleshooting Common Issues
Things don’t always go according to plan. Here are the most frequent hurdles homeowners face during this maintenance task.
The Drain Valve Won’t Open: Sediment often jams the valve. Try gently tapping it with a hammer handle. If it’s seized shut, do not force it. You might need a plumber to replace the valve, which is a small part but requires draining the tank anyway.
Water Leaks Around the Valve: If the valve leaks even when closed, the internal washer may be worn. Tightening it might help temporarily, but replacement is often needed. Have a bucket ready.
No Hot Water After Flushing: Did you forget to refill the tank before turning the power/gas back on? Or did the reset button trip on an electric heater? Check your breaker panel and look for a red "Reset" button near the thermostat access panels. Press it firmly.
Sediment Clogs the Pipes: Sometimes, flushing dislodges large chunks of scale that travel downstream and clog aerators on your taps. If your shower head stops working properly, unscrew the aerator and clean out the debris.
Frequency and Maintenance Schedule
How often should you do this? There is no one-size-fits-all answer, but here are general rules of thumb based on water quality:
- Hard Water Areas: Flush every 6-12 months. Mineral content accelerates buildup.
- Soft Water Areas: Flush every 18-24 months.
- Older Units (10+ years): Inspect annually, but be cautious. Aggressive flushing on a very old, fragile tank might dislodge a plug holding a crack together. If the unit is near end-of-life, consult a professional before flushing.
Regular maintenance extends the life of your water heater significantly. A well-maintained tank can last 10-15 years, whereas a neglected one might fail in 5-7 years due to corrosion or element failure.
Is it dangerous to flush my own water heater?
It is generally safe if you follow safety protocols. The main risks are burns from hot water and electrical shock. Always cut power or gas before starting, wear gloves, and ensure the tank is refilled before restoring energy sources. If you are uncomfortable with plumbing tasks, hiring a professional is worth the cost.
Why is my water heater making popping noises?
Popping or rumbling sounds are almost always caused by sediment buildup. As water gets trapped under the layer of scale, it boils violently rather than heating evenly. Flushing the tank to remove this sediment usually resolves the noise immediately.
Can I flush a water heater without a drain valve?
Most modern water heaters have a drain valve at the bottom. Some older models or specific brands might lack one, requiring you to disconnect the pipe at the bottom to drain it. This is messier and often requires a professional. If yours lacks a valve, consider installing one during your next service.
How long does it take to flush a 50-gallon water heater?
Expect the process to take 30 to 60 minutes. The actual draining time depends on your home’s water pressure and the diameter of the drain valve. If the water runs clear quickly, it might take less time. If there is heavy sediment, you may need to repeat the agitation cycle several times.
Does flushing void the warranty?
Generally, no. Manufacturers recommend regular maintenance, including flushing, to keep the unit within warranty specifications. However, if you damage the unit by forcing a stuck valve or ignoring safety warnings, the manufacturer might dispute a claim. Keep records of your maintenance if possible.