
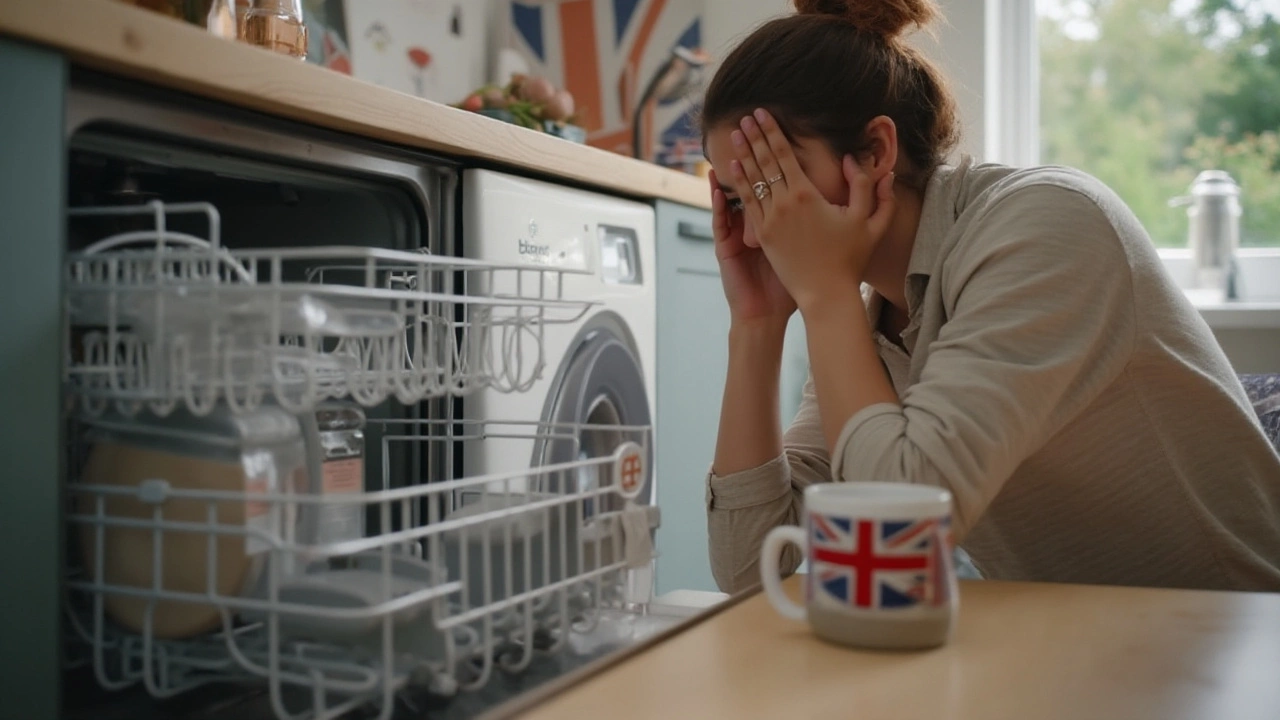
A dishwasher is one of those hidden workhorses of the kitchen, tirelessly cleaning up after countless meals. But what happens when it decides to take an unexpected break? A dishwasher malfunction can be mysterious and frustrating, yet surprisingly, many problems can be diagnosed right at home.
In this guide, we'll walk through some straightforward steps to help identify common issues that might be causing your dishwasher to misbehave. From the power supply to the inner workings, these tips could get your appliance back in celebration mode without needing to reach for the phone. After all, knowing a bit about how this essential item operates isn't just a handy skill—it's practically a necessity in the hustle and bustle of everyday life.
- Checking the Power Supply
- Inspecting Water Inlet and Drainage
- Examining Spray Arms and Filters
- Detecting Unusual Noises and Vibrations
Checking the Power Supply
Before diving into complex diagnostics, begin with a straightforward, yet crucial step: checking the power supply of your dishwasher. Often, what might seem like a major malfunction can boil down to something as simple as a loose plug or a tripped circuit breaker. It's a well-known fact that home appliances, especially those connected to significant electrical loads, can occasionally trip the circuit if there's an overload or a surge. This is why it's essential to start by ensuring that your dishwasher is securely plugged in. Look for the outlet where the cord connects and gently push it in to confirm it's seated properly.
Next, navigate to your home's main electrical panel and check for any tripped circuit breakers. Dishwashers typically require their own dedicated circuit, so identify the one corresponding to it and make sure it's in the 'ON' position. Sometimes, breakers can be a bit finicky. Even if they appear on, it's worthwhile to flip them off and back on to reset. Safety is always the priority, so never handle the electrical panel with wet hands or while standing on a damp surface.
If the breaker hasn't tripped, and yet your appliance still won't power on, consider trying another small appliance in the same outlet to rule out an outlet failure. It's an old hack, but plugging in something like a lamp or toaster can tell you a lot about whether the outlet itself is the culprit. If the test appliance also fails to work, it may be time to consult an electrician. According to Consumer Reports, a common cause of outlet failure is wear and tear over time, especially in older homes. They say, "Homeowners often overlook electrical outlets until a significant problem arises."
For those living in regions prone to power surges, installing a surge protector can be beneficial. This device fits right into your electrical panel, offering an extra layer of protection to appliances like dishwashers. It's not only a means to prevent the risk of tripping breakers but also safeguards your investment from sudden electricity spikes. The U.S. Department of Energy reports that power surges are a frequent occurrence, often caused by external sources such as lightning or internal issues related to load management.
If all basic checks seem clear and yet the dishwasher refuses to cooperate, consider the possibility of a blown fuse or a faulty control panel. While these are more advanced issues that might require professional attention, knowing they exist can prepare you for any discussions with service technicians. It's not uncommon for efficient troubleshooting to lead to the identification of control board issues, especially in models known for electronic displays. Remember, understanding power supply nuances not only ensures the smooth functioning of your everyday appliances but also fortifies your home's overall electrical resilience.
Inspecting Water Inlet and Drainage
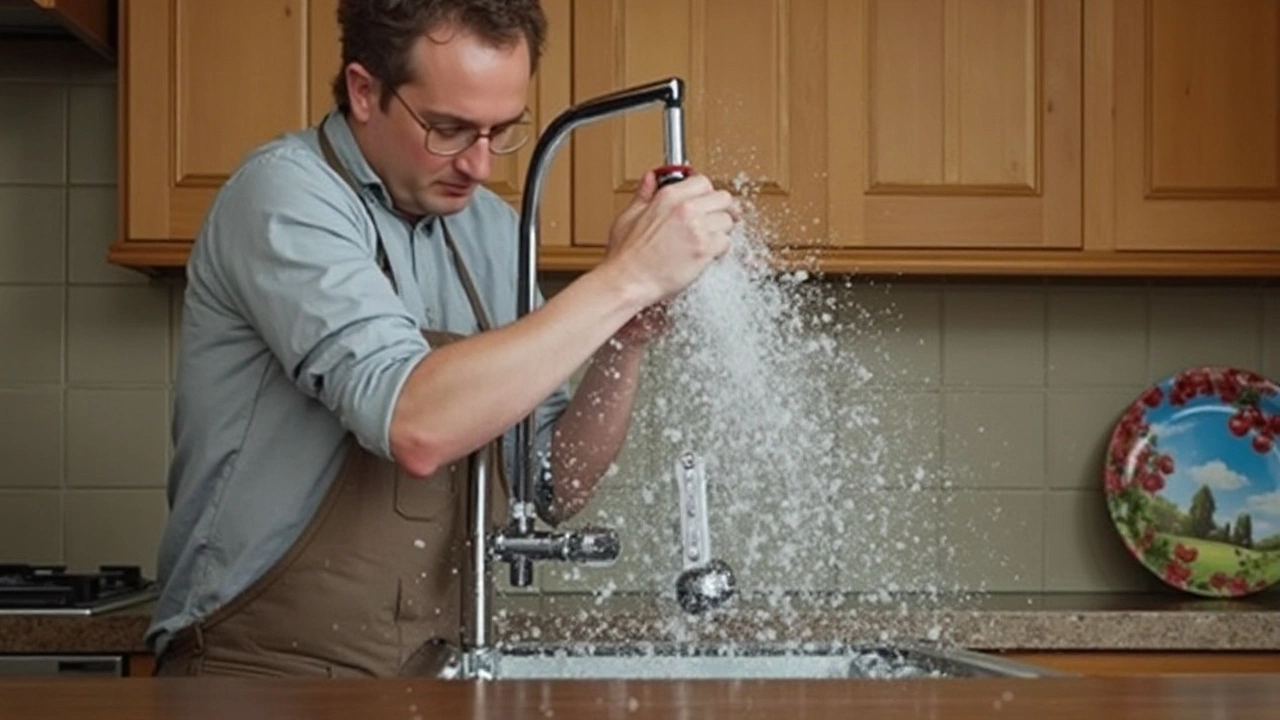
One of the first steps in diagnosing dishwasher performance issues involves checking the water inlet and drainage systems. Dishwashers rely heavily on a consistent water supply and efficient drainage to perform optimally. Issues in either of these areas can drastically affect cleaning results, leaving plates marred with food residue or an ominous pool of water at the machine's base. To begin, scrutinize the water inlet for blockages. Mineral buildup can restrict water flow, especially in areas with hard water. When minerals like calcium and magnesium collect, they form scale, which clogs hoses and can lead to alarming pressure build-ups. Equip yourself with a flashlight and take a little peek where the hose connects to the dishwasher. Notice any white, chalky residue? It's an indicator that descaling might be needed. In the delicate ecosystem of home appliances, a simple vinegar run-through—a cup on the top rack during an empty wash—can work wonders.
Next, turning your attention to drainage, ensure no food particles are obstructing the path. Filter obstructions are common and easy fixes often overlooked. Filters can be deceptively clean on the surface while hiding debris below. To gain access, generally, the bottom rack needs removal, after which a twist or a pull reveals the filtration system. Once exposed, clean it thoroughly with warm water and a brush if necessary. A clog-free filter ensures that the machine's cycles aren't futile. Leaving no stone unturned, take a moment to inspect the drain hose for kinks or blockages. Ensuring the hose is installed without twists prevents backflow issues, which are known to lead to unpleasantly soapy water pooling after a cycle ends.
"According to the University of California Division of Agriculture and Natural Resources, scaling can reduce water flow substantially, affecting appliance efficiency."
The DIY maintenance doesn't end here. Check the air gap, primarily if heaps of residue persist. Found next to your sink's faucet, the air gap prevents wastewater from the sink and garbage disposal from backing up into the dishwasher. A blockage here signals more than just inconvenience, threatening the cleanliness of your dishes. If water is streaming from this area during a cycle, reach beneath the sink to remove any gunk from the air gap tube. Doing so will likely quell any persistent drainage issues.
Finally, habitual maintenance is key. Incorporating a monthly deep clean into your routine using a dishwasher cleaner can extend the appliance lifespan dramatically. Brands offer specific cleansers designed to dissolve buildup, going beyond the scope of regular detergent. As championed by appliance repair experts, 'A machine's longevity corresponds directly to the care it's given.' For those eager to maintain appliance harmony, investing a little bit of time in ensuring the water inlet and drainage are in prime condition allows a dishwasher to perform its role efficiently, cycle after cycle.
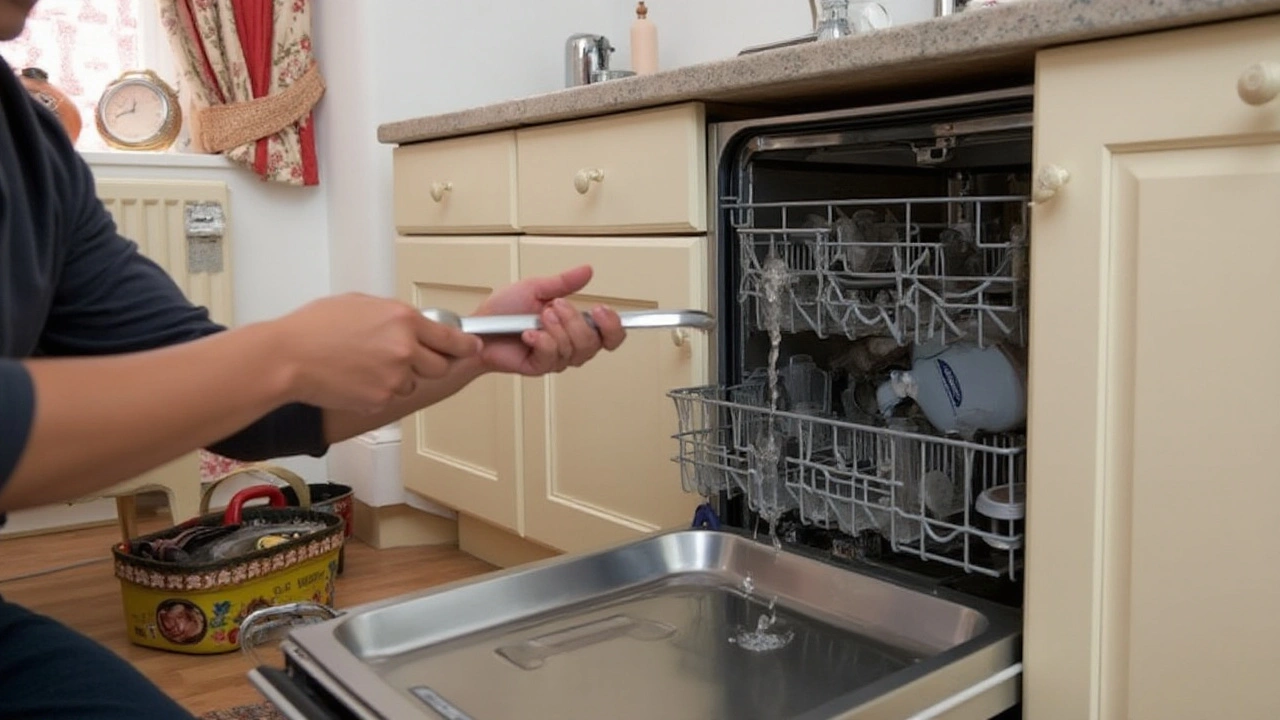
Examining Spray Arms and Filters
When you open your dishwasher and find that your dishes aren't as sparkling clean as you'd like, it may be time to take a close look at the spray arms and filters. These components are crucial in ensuring that water reaches every corner of the machine, blasting away food particles and stains. If they're clogged or damaged, the dishwasher's cleaning efficiency takes a significant hit. First, you should carefully remove the spray arms and inspect them for any blockages. Often, bits of food and debris get lodged in the tiny holes, preventing the water from streaming through at full force. Hold the spray arm up to the light, peering through each nozzle to check for obstructions.
Cleaning the spray arms can be a surprisingly satisfying process. If you spot any blockages, gently push out the debris using a toothpick or a piece of wire. Be cautious as you do this, to avoid creating any new holes or widening the existing ones. Once cleared, rinse the spray arms under running water before reattaching them to the dishwasher. The filters deserve a similar level of attention, serving as the last defense against food scraps from returning to the cleaned dishes. Located at the bottom of the dishwasher, these filters often fall victim to neglect. A gentle twist or snap will usually release them, allowing you to give them a thorough rinse under tap water. For more stubborn build-ups, a toothbrush can be your best ally.
According to appliance repair experts, ensuring these components are clean can improve your dishwasher's performance by up to 60%. Take note of the filter's position before removing it, to ensure a perfect fit when putting it back. Regular cleaning of the filters can also extend the lifespan of your appliance, keeping it in top condition for years. An unexpected blockage in the spray arms or filters can sometimes go unnoticed amidst the quiet hum of the dishwasher. Like a secret garden, sprouting debris if left unchecked, addressing these issues is easier and less time-consuming than you might think. It's often said that 'cleanliness is next to godliness,' a sentiment that proves true as your dishes emerge once again immaculate.
"Preventative maintenance can be the difference between a quick fix and a costly repair," notes home improvement expert Sarah Beeny.
This rings especially true when it comes to household appliances. By incorporating a routine check of your dishwasher's spray arms and filters, you not only improve your dishwasher's efficiency but also contribute to the longevity of your machine, leaving you with one less worry in the daily chore list. So next time your dishwasher gives you grief, spare a few minutes to give these unsung heroes the attention they deserve.
Spray Arms and Filter Maintenance Tips
For best results, consider devising a maintenance schedule for your dishwasher. Every month or so, repeat the inspection and cleaning procedure to prevent future build-ups. It's also wise to run the dishwasher on an empty hot water cycle occasionally, which can help in breaking down any lingering grease deposits. This additional step doesn't just ensure cleanliness; it enhances the sterilization capability of your dishwasher, helping kill off any hidden germs. Just like how regular oil changes keep your car's engine running smoothly, these small actions can make a big difference.
Detecting Unusual Noises and Vibrations
Let's turn to the peculiar symphony of sounds your dishwasher might make. It should purr softly in the background, almost blending in with the rhythm of your household. But when your dishwasher starts to croak, squeal, or thump like an over-enthusiastic rock band, it's certainly time to listen up. These noises aren't just annoying, they often signal some underlying issue that could blossom into a bigger problem if ignored. Before we dive into potential mechanical dilemmas, it’s useful to know what's considered 'normal'. A humming during operation is typical; clinks of water spray, perhaps, as well. Anything beyond or louder than this could be a cause for concern.
When it rattles like a tin can full of marbles, it’s usually a sign spray arms are clashing with your dishes or internal components. Check if the dishes are loaded properly; there should be enough clearance for the arms to move freely. And it's not just about the arrangement; inspect the racks themselves for any items that may have dislodged and are clattering along for a ride. Though often overlooked, worn bearings or a broken pump motor could also masquerade behind these unsettling noises. If tweaking the arrangement doesn’t solve the issue, pay heed to these components. Sometimes, parts like the motor or impeller could wear down over time, causing vibrations that scream for professional intervention.
In recent studies, manufacturers have noted that almost half of all noise complaints stem from the dishwasher's positioning. If your appliance isn't resting solidly on a flat, level surface, it might creatively amplify even the slightest of imbalances into crashes and bangs. Placing the dishwasher on an unbalanced surface can be as disruptive as leaving a puppy unsupervised in a living room full of pillows. Ensure the feet of the unit are firmly steadied and adjust them as necessary. It's always a good idea to have a spirit level handy for such tasks.
"A surprising noise? Consider your dishwasher’s age and its last tune-up. Older models, particularly those past their warranty, like to 'announce' their gripes loudly when parts start to wear,” advises Mark Johnson, an upscale appliance repair expert, who says routine checks can prevent these operatic outbursts.
If the vibrations get weirdly intense, examine the seals and gaskets first. They function as the unsung heroes keeping water exactly where it should be. A failing seal could easily rattle its tune. Catching their deterioration early on could not just reduce the clatter, but also help maintain efficiency and prevent leaks. A tip I've come across often from seasoned repairmen is to regularly check how your dishwasher connects to power and water sources. Vibrations can be excessively magnified if hoses are not tightly secured, oscillating back and forth during cycles. Address these mundane yet essential connections for peace of mind and noise reduction.