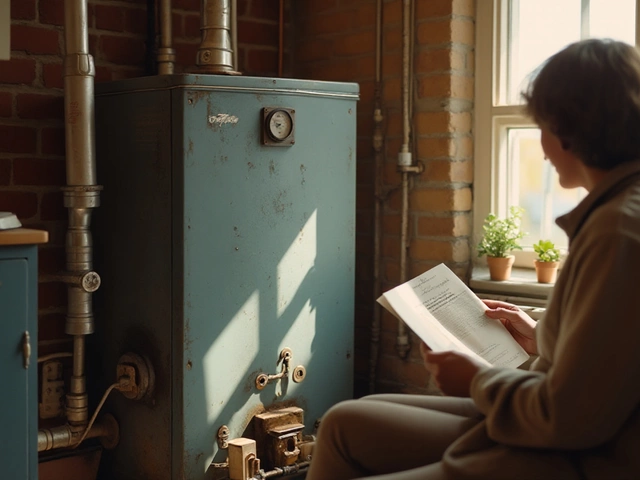
So, your extractor fan has given up the ghost, and you're wondering if you can replace the motor yourself. Good news: it is possible, and you don't need to be an electrician to tackle this task. Before jumping into the tool kit, it's vital to figure out if the motor is indeed the problem. A fan that hums but doesn't spin, or emits a burnt smell, might be giving you hints.
The first step is to pinpoint if the motor death sentence is warranted. Sometimes a deep clean or replacing other parts does the trick. However, if the motor is truly kaput, then getting the right replacement is key. Check the old motor for a model number or specification details; it’s usually on a label somewhere. This info helps you buy an EXACT replacement—you wouldn't want to hunt through hundreds of wrongly sized options.
- Identifying the Problem
- Choosing the Right Replacement Motor
- Gathering Your Tools
- Step-by-Step Motor Replacement Guide
- Tips for a Successful Repair
Identifying the Problem
Before you dive headfirst into replacing the motor on your extractor fan, it's essential to make sure the motor is actually what's causing the issue. Pinpointing the exact problem can save you time and money.
Check for Common Symptoms
Sometimes, the signs of a failing motor are pretty obvious. A few telltale signals include a fan that hums but doesn't spin or one that makes strange, grinding noises. Also, a burnt smell is a major red flag. These symptoms often suggest the motor is a prime suspect.
Inspect and Test
First things first: flip the switch and see if there's any life left in the fan. If it hums without spinning, this could indicate the motor's issue. Next, turn off the power and remove the cover. With a clear view, check for any obstructions or evident damage, like burnt wires or jammed blades.
If you're still unsure, you can test the motor using a multimeter to check electrical continuity. No reading means the motor's a goner, while a reading may suggest other electrical issues could be at play.
Possible Culprits Besides the Motor
Remember, the motor might not always be the problem. Clogged filters, blocked ducts, or faulty wiring could mimic motor issues. It's crucial to explore these possibilities before condemning the motor.
Quick Troubleshooting Tips
- Double-check the power source. It might sound basic, but sometimes the problem is as simple as a tripped circuit breaker.
- Make sure the fan isn't blocked by dust or debris; a simple clean might save the day.
- Consider replacing the capacitor—it’s a small, inexpensive part but crucial for motor start-up.
If after all these checks your motor replacement judgement still stands, then you're ready to roll up your sleeves and tackle the fix.
Choosing the Right Replacement Motor
Picking out the right motor for your extractor fan repair isn't just important—it's crucial. Using the wrong one can lead to poor performance or even damage other parts, which is exactly what we’re trying to avoid here.
First off, you'll want to check the old motor’s specifications. Look for a label or a stamp on the motor. Most will have an ID that includes the model number, voltage, and sometimes the RPM—yep, those little numbers matter. You want an exact match or something as close as possible. Trust me, in this case, close enough doesn’t always cut it.
Why Motor Specs Matter
So, why all the fuss about specs? Well, the voltage of the new motor needs to match your existing setup to avoid electrical issues. If you’re not too keen on tripping your circuit breaker every time you turn on the fan, this is a must.
Speed, often listed in RPM (rotations per minute), determines how fast the fan blades will spin. A motor with lower RPM can struggle to perform, and one with too high RPM can wear out other parts fast. So, aim for matching these stats as precisely as you can.
Where to Shop
You’ve got a few options here. Many people find their motor online, via sites like Amazon or dedicated appliance parts stores. You’ll find motors for all kinds of DIY repair jobs, often with detailed reviews from folks who've been in the same boat.
- Read reviews: Learn from others who have tackled similar repairs.
- Double-check part numbers: Compare images and specifications.
- Know the return policy: Just in case it doesn't fit or work.
If online isn’t your thing, local hardware stores or specific appliance repair shops might have what you need. Plus, talking in person can sometimes get you extra tips and advice.
Getting a warranty isn’t a bad idea either. The last thing you want is for the new motor to give up right after installing. Having that peace of mind can be worth the few extra bucks.

Gathering Your Tools
Before you roll up your sleeves and dive into the guts of your extractor fan repair, let’s make sure your workbench is set up just right. You don't want to be halfway through the job and suddenly need to dash to the store for something silly.
Basic Tools You'll Need
Here’s a list of the essentials:
- Screwdriver Set: A decent set, ideally with both flathead and Philips screwdrivers. You'll probably need various sizes, so having options is always good.
- Multimeter: For checking if your motor is actually getting power before yanking it out. This tool helps avoid unnecessary hassle.
- Needle-Nose Pliers: Handy for pulling out stubborn wires or components.
- Wire Cutters: If wires need trimming or you’re redoing connections, these are necessary.
- Voltage Tester: Always double-check that there’s no live current where you’ll be working. Safety first!
Safety Gear to Consider
While you’re at it, make sure you've got some safety essentials:
- Safety Goggles: Never underestimate the importance of sight protection. Wires can snap unpredictably, and you don’t want to meet them face-to-face.
- Work Gloves: Especially if the area you’re working in is cramped or has sharp metal edges.
Quick Tip for Tool Gathering
It's often helpful to keep a DIY repair toolbox nearby that you can add to over time. Finding a sturdy, organizational toolbox means you're not wasting precious minutes hunting for that missing screwdriver as your extractor fan dangles helplessly on the bathroom ceiling.
Having these basics covered will set you up for a smoother repair. You'll be less likely to hurt yourself or waste time, which is a win-win when dealing with home fixes.
Step-by-Step Motor Replacement Guide
Ready to get your hands dirty? Let's walk through replacing that worn-out fan motor. Having the right game plan is key to a successful DIY extraction fan repair.
1. Safety First
First things first—safety. Shut off the power to your fan at the circuit breaker. It's crucial to double-check with a voltage tester to make sure there's no lingering power.
2. Remove the Cover
Next up, remove the fan cover. This usually involves loosening a couple of screws or snapping off a cover. Once the cover is off, give it a clean if needed. It's amazing what a clearer vent cover can do for performance!
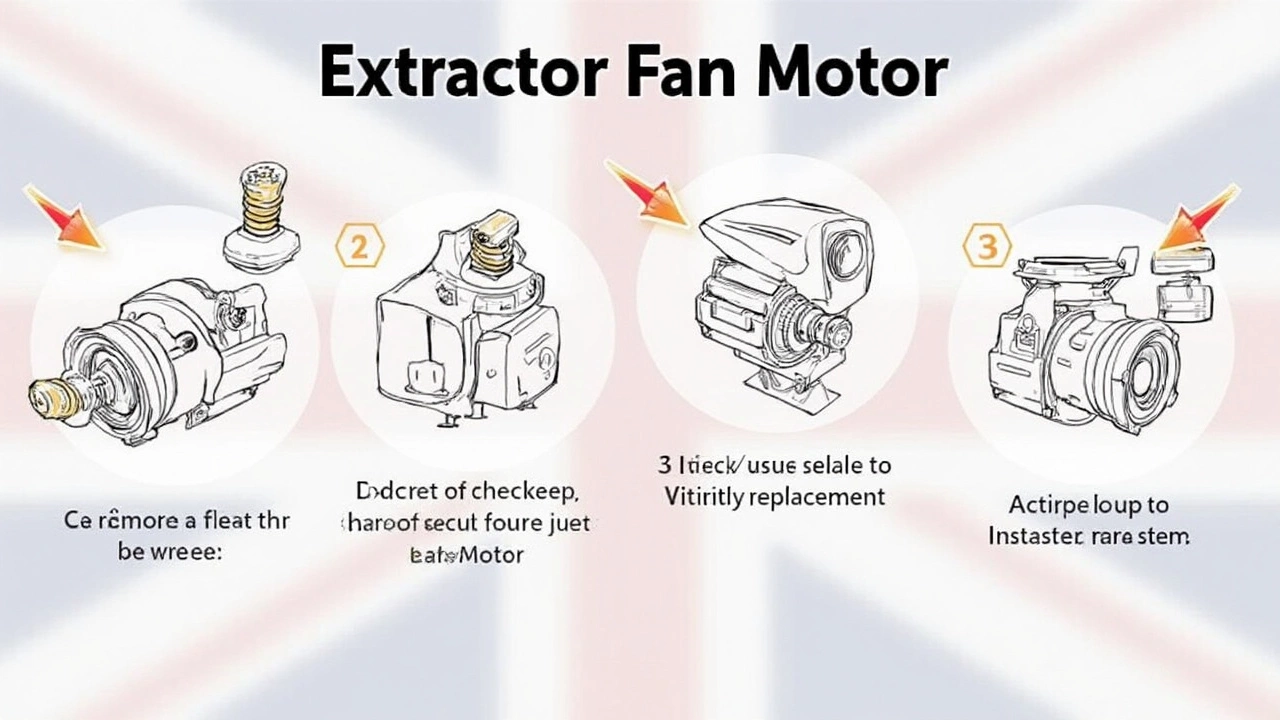
3. Disconnect the Old Motor
Now, it’s time for the main event: the motor. Disconnect any wires, taking care to notice how they’re connected. A quick photo here helps for reassembly. Unscrew the motor mountings to free it from its housing.
4. Compare and Install the New Motor
With the old motor out, compare it with your spiffy new replacement. They should be twins! If not, double-check your purchase details. Secure the new motor in place, and reconnect the wires exactly as you found them.
5. Test the Fan
Before reattaching the cover, flick the power back on to test your handiwork. You want the fan to hum like when it was new, not clunky or reluctant. If that’s a check, off goes the power again and back goes the cover!
Replacing a motor may feel like a daunting task, but breaking it down into these manageable steps makes it so much easier. Extractor fan maintenance doesn’t have to be overwhelming, and with a little patience, you’ll have that extractor fan running smoothly once more.
Tips for a Successful Repair
Tackling the motor replacement in your extractor fan can feel a bit like working in a fix-it TV show—just without the camera crew and dramatic background music. So, how do you get it right? Here are some tried and tested tips to make your repair journey smooth.
1. Safety First
Yeah, it's the boring bit, but skipping it isn't an option. Always, and I mean always, turn the power off before you start poking around inside your fan. Check and then double-check that it's off. If it’s in a moist area like the bathroom, dry everything up to reduce any risky business with electricity.
2. Keep Track of Parts
There’s nothing worse than finishing a job and realizing you have extra screws lying around. As you dismantle, place each component in a safe spot. A small container or labeled baggies work wonders for keeping screws and tiny parts from vanishing.
3. Consult the Manual
If you've still got the fan's manual, now's the time to use it. If not, a quick search online might bring up some diagrams or instructions. They can be a lifesaver, giving insight into tricky spots.
4. Test the Circuit
It might not be the motor at all! Use a multimeter to check if there’s actually power reaching the fan. This simple test could save you hours of unnecessary work.
5. Be Patient
Repairing stuff can be frustrating. If something’s not clicking (literally or figuratively), take a break, step back, and breathe. Coming back to it with fresh eyes often helps.
Table for Quick Glance
| Tip | Benefit |
|---|---|
| Turn off power | Prevents electrical accidents |
| Organize parts | Makes reassembly easier |
| Use a manual | Guided support through process |
| Test the circuit | Avoids unnecessary motor replacement |
| Take breaks | Aids clear thinking and focus |
Follow these pointers and you'll not only replace that motor like a pro but also gain some confidence in tackling future DIY challenges. Who knows, maybe next, you’ll get to star in your own repair show!