Extractor fans, those unsung heroes in our kitchens and bathrooms, quietly whisk away moisture and odors, making our homes a more pleasant place to be. But what happens when they're no longer up to the task? Knowing who should step in to replace an extractor fan is crucial, both for efficiency and peace of mind.
For the adventurous DIY enthusiast, taking on the task yourself can be an appealing option. However, not every situation suits a hands-on approach, and sometimes calling in an expert is the best course of action. In this guide, we'll explore the different avenues for replacing that trusty fan. It's all about making the best choice for your home and ensuring that everything goes off without a hitch.
- Recognizing When Your Extractor Fan Needs Replacement
- DIY Replacement: What You Need to Know
- Hiring a Professional: Finding the Right Person for the Job
- Common Pitfalls in Extractor Fan Replacement
- Tips for a Smooth Installation Process
- Maintaining Your New Extractor Fan
Recognizing When Your Extractor Fan Needs Replacement
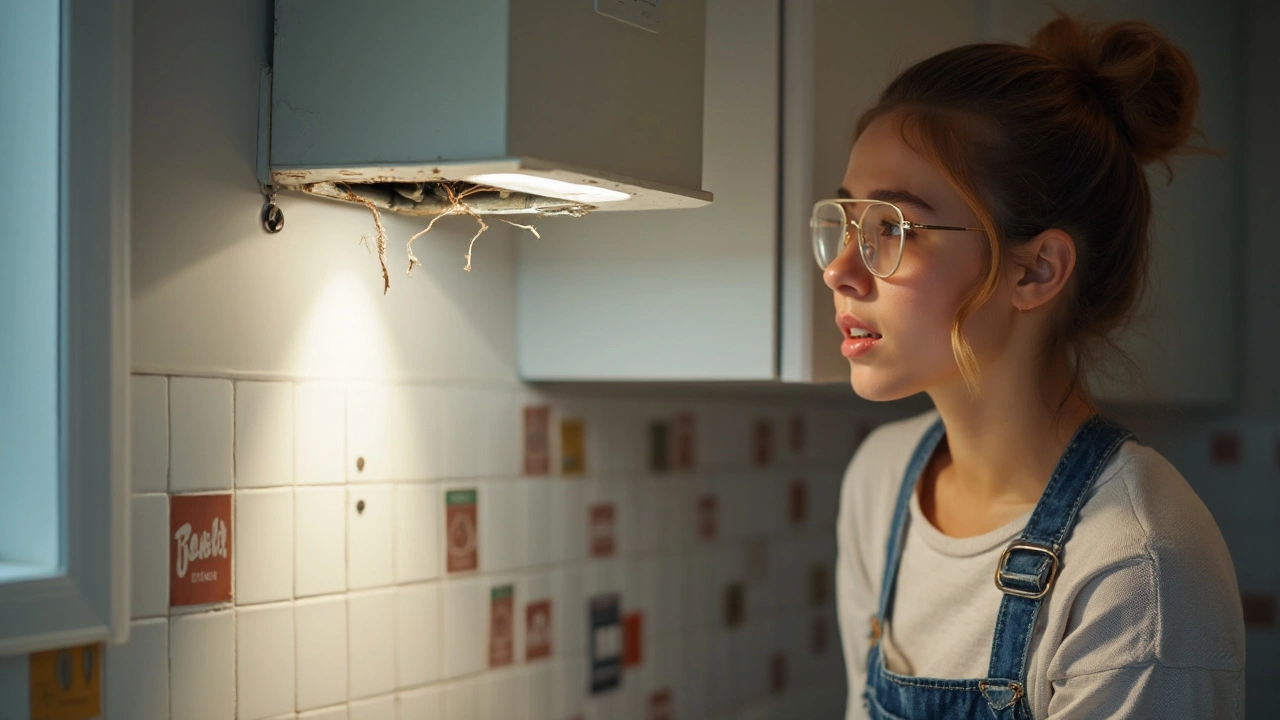
Extractor fans are indispensable in keeping our homes free from excess humidity and unpleasant odors. Yet, like any good thing, they don't last forever. Recognizing the signs of a failing fan might save you from bigger problems down the road. If your extractor fan has been making unusual noises, it's time to pay attention. A sudden change in the noise level, such as a rattling or grinding sound, often signals that the fan's bearings might be worn out or debris has found its way inside. Regular care and maintenance could keep issues at bay, but these creaks and groans should not be ignored.
In addition, if you notice that the fan is spinning slowly or stops altogether, it's possibly a motor issue. This reduced performance can minimize the fan's ability to clear out moisture efficiently. Such inefficiency could inevitably lead to mold growth, especially in poorly ventilated areas like bathrooms. Pay heed to this, as addressing the problem early might prevent the hassle of dealing with mold removal later. Experts suggest that a fan's lifespan usually ranges between five to ten years, so if yours is creeping towards this timeframe, start thinking about its replacement.
A lack of airflow is another sign that your fan requires attention. An old or clogged fan often struggles to move air as efficiently as it used to. This might occur due to a build-up of dust and grime on the fan blades, which hampers functionality. Evaluating whether a thorough cleaning might revive the fan could save you both time and money. However, if cleaning doesn't do the trick, it's probably time to replace the entire unit.
Susan White, an HVAC specialist, mentions, "Homeowners often go years without realizing their extractor fan is underperforming due to the simple reason of forgetting its presence, until a problem becomes glaringly apparent. Addressing minor issues early can save a lot on repair costs."
An unpleasant, musty smell lingering after using your fan could also be an indication that it’s time for a replacement. This typically happens when excess moisture isn’t being effectively vented out, leading to persistent odors that don't seem to dissipate. A sharp increase in your energy bills can be another subtle clue; older fans often require more power as they age, possibly due to failing components. Paying attention to these subtle signals can help you decide if you should repair or replace the fan.
Finally, if you've recently renovated the space where your fan operates, it might no longer suit your needs. A model that worked effectively previously might not handle the increased demand brought by a larger or upgraded bathroom. In such cases, upgrading to a newer, more efficient model, potentially with eco-friendly features, could make a huge difference in energy savings over the long term. Remember, when pondering who will replace the fan, weigh the costs and benefits, and consider the environmental impact of both newer and older technologies.
DIY Replacement: What You Need to Know
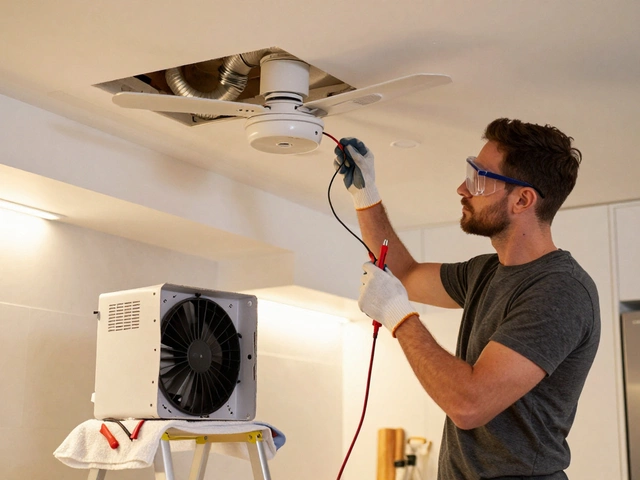
If your trusty extractor fan is on the fritz and your hands are itching to do something about it, you might be thinking of a DIY replacement. While such projects can be rewarding, they also require a good amount of preparation and knowledge. Before you start unscrewing things and getting into the thick of it, make sure you've covered all the bases. It's not just about handling tools; it's also about understanding the system you're working with and ensuring safety is your top priority.
First and foremost, identify the type of fan you have and the specifications needed for your space. Fans come in a variety of shapes and sizes, and not every model fits every scenario. Make sure you're looking at the right replacement model. Tools are your best friends here, so check you have a screwdriver set, electrical tester, and wire strippers. Also, don the necessary protection gear like gloves and goggles.
"A successful extractor fan replacement starts with precise planning and the right tools," advises home repair expert John Bishop from Home Fix Haven.
Safety can't be overemphasized, as working with electrical components always carries risks. Ensure the power to the fan is completely shut off to prevent any surprise shocks. This involves turning off the circuit breaker. If possible, mark the fuse box to alert others of the maintenance work. An often overlooked fact is the importance of sealing gaps properly. This doesn't only optimize the fan's functioning but restricts unwanted airflow, maintaining indoor comfort.
When uninstalling the old fan, take care not to damage the housing or ceiling as you might need to reuse some components. This part of the task requires gentle unfastening and removal, paying heed to any existing wiring setups which can choose to study or sketch before disconnecting. Installing the new fan might seem like a simple reversal of operations, but it is pivotal that you wire the new systems correctly. Follow the manufacturer's guide closely; this is the time to triple-check everything.
Finally, once installed, testing is crucial. Turn the power back on and test if the fan runs smoothly. Look for strange sounds or vibrations, an indicator that something might not be aligned correctly. Keep a close look at the fan's efficiency, ensuring it is appropriately extracting air without any obstructions. This part is essential to avoid repeat tasks shortly. Should you consistently face issues getting the fan to work, consider reaching out on online platforms for quick troubleshooting or recommendations.
While taking this DIY route can be fulfilling, what holds utmost importance is a successful setup and a smoothly operating extractor fan.
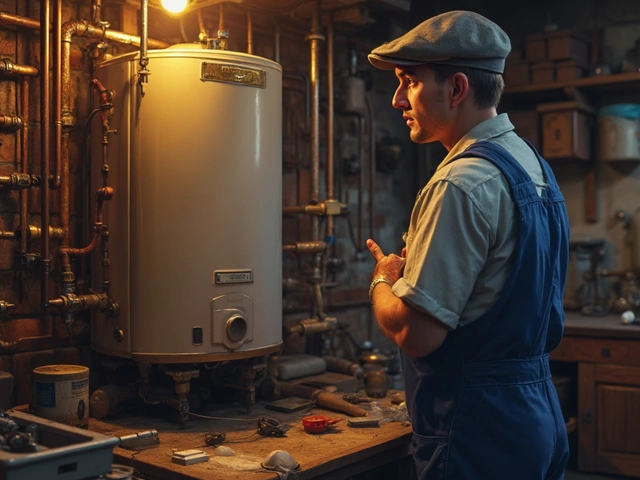
Hiring a Professional: Finding the Right Person for the Job
When it comes to replacing an extractor fan, sometimes the smart move is to bring in a professional. This could save you both time and potential mishaps, particularly if the job involves intricate electrical work. The first step in finding the perfect person for the job is to assess whether they have the specific skills and experience needed. Look for individuals who have a track record with electrical installations and a special focus on ventilation systems. Check for certifications, which are a great indicator of their expertise and commitment to good practices.
Start your search by asking friends, family, or colleagues if they have recommendations based on their experiences. A personal referral can often lead you to a reliable professional. If personal contacts are tight-lipped, online resources can help. Platforms like local business directories or trade websites offer reviews and ratings. When browsing these platforms, pay close attention to any patterns in feedback, such as consistently praised punctuality or dedication to ensuring a clean workspace.
Before you decide who gets to tackle your beloved extractor fan, it's wise to get a few quotes. This provides not only a range of pricing but also insights into different approaches. Some may include ceiling reinforcements in their services, while others might suggest upgrading to a more energy-efficient model. During estimates, ensure everything is clearly itemized so you can compare apples to apples. It’s crucial to avoid overestimating savings and underestimating potential costs.
Consider the professional's availability and your schedule as well. It is crucial to find someone who can work at times convenient for you and who won't rush the job due to other commitments. Always discuss the timeline beforehand to avoid surprises. Another factor to weigh is their warranty policy. A guarantee can provide peace of mind and is a testament to their confidence in their craft. Knowing they will return to address any issues that may arise without extra charges is invaluable.
While price is a significant consideration, it should not be the sole deciding factor. Sometimes, the cheapest option isn’t the best, especially if redoing the job later due to poor workmanship costs you more. “Investing in professional services is often worth the peace of mind,” quotes a trade expert from a leading home improvement magazine
Quality doesn't have to come with a premium, but scrimping on expertise rarely pays off..
In a world awash with DIY inspiration, remember that knowing when to ask for professional help is as crucial as any technical skill. Hiring the right person transforms an extractor fan replacement from a potential headache into a seamless task, freeing you to enjoy a fresh and pleasant home environment.
Common Pitfalls in Extractor Fan Replacement
Replacing an extractor fan might seem like a straightforward task, but it's not without its challenges. One common issue people face is overlooking the importance of matching the specifications of the new fan with the old one. Each fan has different power requirements and air extraction capacities, so picking the wrong one can lead to inadequate performance or even damage. It's crucial to check the fan's rating, ensuring it's suitable for the room size and usage frequency. A bathroom, for instance, generally requires a higher capacity fan compared to a laundry room due to the level of moisture involved.
Another common mistake is neglecting to check the ventilation paths. The efficiency of an extractor fan heavily relies on proper ducting. If the pathways are blocked or poorly installed, the fan won't work as intended. This can result in inefficient odor and moisture extraction, defeating the purpose of having the fan in the first place. Always ensure ducts are unobstructed and maintained regularly. Additionally, during the replacement process, ensure that the fan's positioning within the ceiling or wall doesn't hinder airflow.
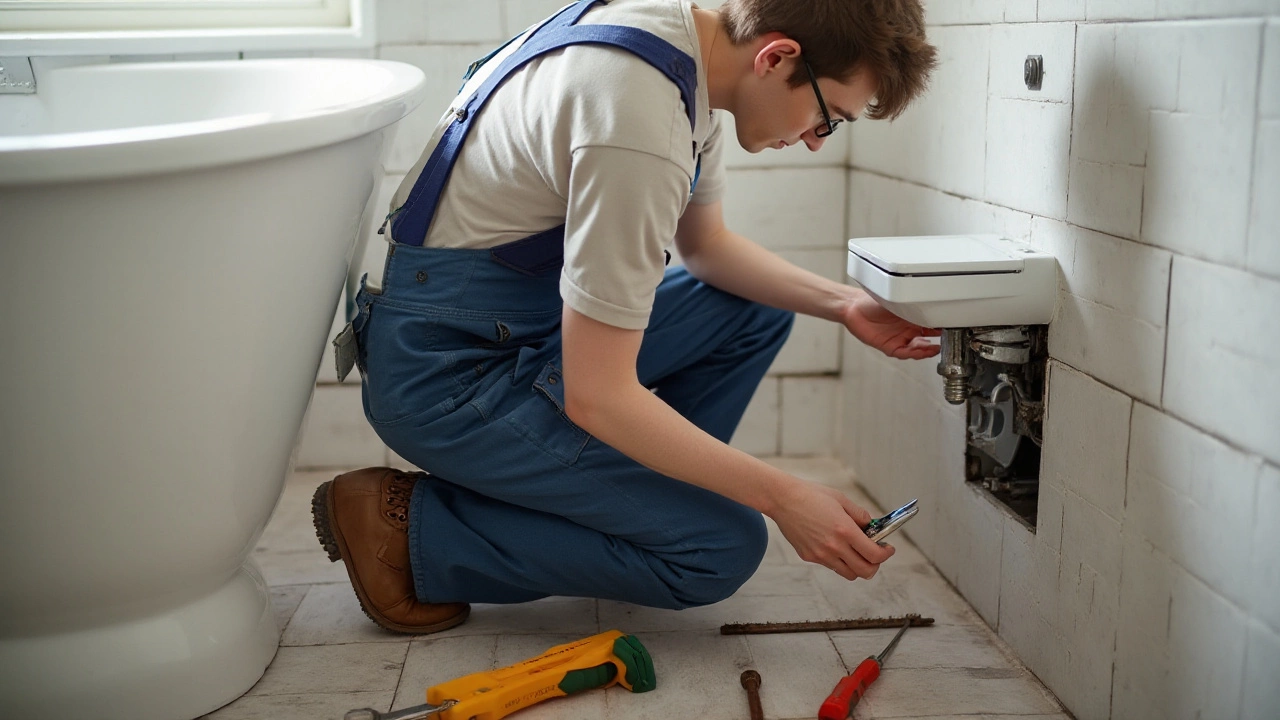
It's also important to consider the electrical connections, as these can often trip up the DIY enthusiast. While wiring isn't overly complicated for someone experienced, one wrong connection can cause major issues, including electrical hazards or damage to the fan itself. If you're not confident about wiring, it's always best to consult or hire a qualified electrician. During installation, making sure the power is disconnected is an absolute necessity to avoid potential shocks.
An often-overlooked aspect is the noise level of the extractor fan. Modern fans have varying degrees of quietness, and opting for a cheaper model might lead to a buzzing or rattling sound that's distracting. This isn't just an inconvenience; in places like bathrooms, high noise levels might discourage frequent use, compromising moisture control and leading to mold or mildew problems. Choosing a high-quality, quiet fan can improve your home environment significantly.
"A poorly installed extractor fan can turn a sanctuary into an echo chamber," says home renovation expert, Jamie Connor. "The balance between power and silence is key when selecting your new fan."
Lastly, improper sealing can lead to energy inefficiencies and unwanted drafts. A properly sealed fan ensures that no air escapes around the edges, which can affect the fan's performance and your home's overall comfort. Insulating around the fan and the duct joints can help maintain optimal sealing and improve the fan's operation in keeping unwanted air out.
Tips for a Smooth Installation Process
Embarking on the journey to replace your extractor fan can be intimidating, but with the right guidance, it can transform into a seamless task. First and foremost, having the right tools and materials at hand will give you a strong advantage. Gather essentials like a screwdriver set, wire strippers, a drill, and safety gear like goggles. Ensuring you have the correct replacement fan model is crucial. Measure your existing fan's dimensions and specifications beforehand. When ready, turn off the power supply to avoid any risk of electrical shock, a mistake easily made but crucial to avoid.
Avoid common pitfalls by thoroughly reading the installation manual that's usually tucked inside the packaging of your new fan. It provides vital manufacturer-specific advice which is not universally applicable. While diving into this task, remember the golden rule of taking things slow and careful. Mishaps often happen when haste exceeds caution. If your installation entails new electrical wiring, understanding the basic wiring colors and connections is of utmost importance. A handy tip is to take a picture of the existing connections before dismantling to have a reliable reference.
Quality of insulation materials can make a difference, especially in a climate with extreme temperatures like Adelaide. Proper sealing reduces strain on your extractor fan and enhances its efficiency. As a rule of thumb, once installed, test the fan for unusual noises; these can be early indicators of a poor installation. A helpful practice is running the fan at different speeds to ensure smooth operation across settings, as it may reveal installation inaccuracies or mechanical jam.
Let’s not forget, sometimes consulting online tutorials and videos can bring clarity; visual guidance complements written instructions beautifully. A handy
‘Learning often comes from observing the nuanced details, often missed when speed blurs our vision', reminds respected electrician Anne-Marie Scott.While fan installation might seem curtailed to sheer ability, installing with knowledge often prevents regrets post-installation.
Finally, understanding the benefits of energy efficiency can be compelling. A captivating statistic: homes with effective ventilation can potentially save up to 20% on their heating and cooling costs. Investing time in this process equates to investing in your home’s heat management efficiency. Document your installation; it’s a small task now but could offer valuable insights for future repairs or replacements. By focusing on these small, nitty-gritty details, you lay the foundation for a repair process that’s future-ready and thoroughly efficient.
Maintaining Your New Extractor Fan
Once your new extractor fan is installed, keeping it in top shape is crucial to ensure it runs efficiently and prolong its lifespan. It might not demand a herculean effort, but understanding the basics of maintenance can save you from more significant issues down the line. One key aspect is regular cleaning. Over time, dust and grease can accumulate in the fan blades, reducing effectiveness and leading to nasty odors. To clean your fan, first, turn off the power at the source to ensure safety. Then, gently remove the cover and soak it in warm, soapy water to loosen grime. While the cover soaks, use a soft brush to carefully clean the blades, taking care not to disturb the wiring or motor components.
Checking the fan's functionality is also vital. Periodically test the fan's suction by placing a small, light piece of paper near the vent. If it clings securely, your fan is likely operating well. If not, it might be time to look into potential blockages or even a motor issue. Annual inspections by a qualified technician can also aid in identifying wear and tear that you might not notice with the naked eye. As a tenant of good maintenance, listening is your ally. Listen for unusual noises such as rattling or humming, as these might indicate misaligned parts or loose screws.
According to a study published by the Australian Appliance Maintenance Institute, "Regular maintenance of household appliances can enhance efficiency up to 20% and extend their life by several years."Ensuring the fan is wired correctly and checking for any burned-out bulbs is another step to consider. Modern extractor fans often come equipped with indicator lights that notify you when a filter needs attention. If yours is outfitted with such conveniences, make a point of not ignoring these alerts. They’re built to help you maintain optimal performance effortlessly.
Staying proactive about maintaining your new extractor fan involves creating a routine. Mark monthly check-ins on your calendar to inspect and clean the fan as needed. Treating replacement parts with care is equally essential, as rough treatment during cleaning can damage sensitive components. Remember, keeping instruction manuals handy can be invaluable, offering specific guidance for your model. Keeping your extractor fan running smoothly doesn’t take much time, but it reaps significant rewards in home comfort and air quality.