Fan Maintenance: Simple Steps to Keep Your Extractor Fans Working
Extractor fans in the kitchen and bathroom pull out steam, smells, and moisture. When they’re dirty or neglected they get noisy, lose power, and can even cause mold. The good news? Most of the upkeep takes just a few minutes and a few basic tools. Below you’ll find the why and how of keeping your fans humming along.
Why Regular Fan Maintenance Matters
First off, a clean fan moves air faster. Dust on the blades or in the motor creates resistance, so the fan works harder and uses more electricity. Over time that extra load can wear out the motor and lead to expensive repairs.
Second, moisture that isn’t expelled can settle on walls and ceilings. In bathrooms this often shows up as white patches or a faint mildew smell. In kitchens the result is greasy buildup that’s harder to clean later. Regular fan care stops those problems before they start.
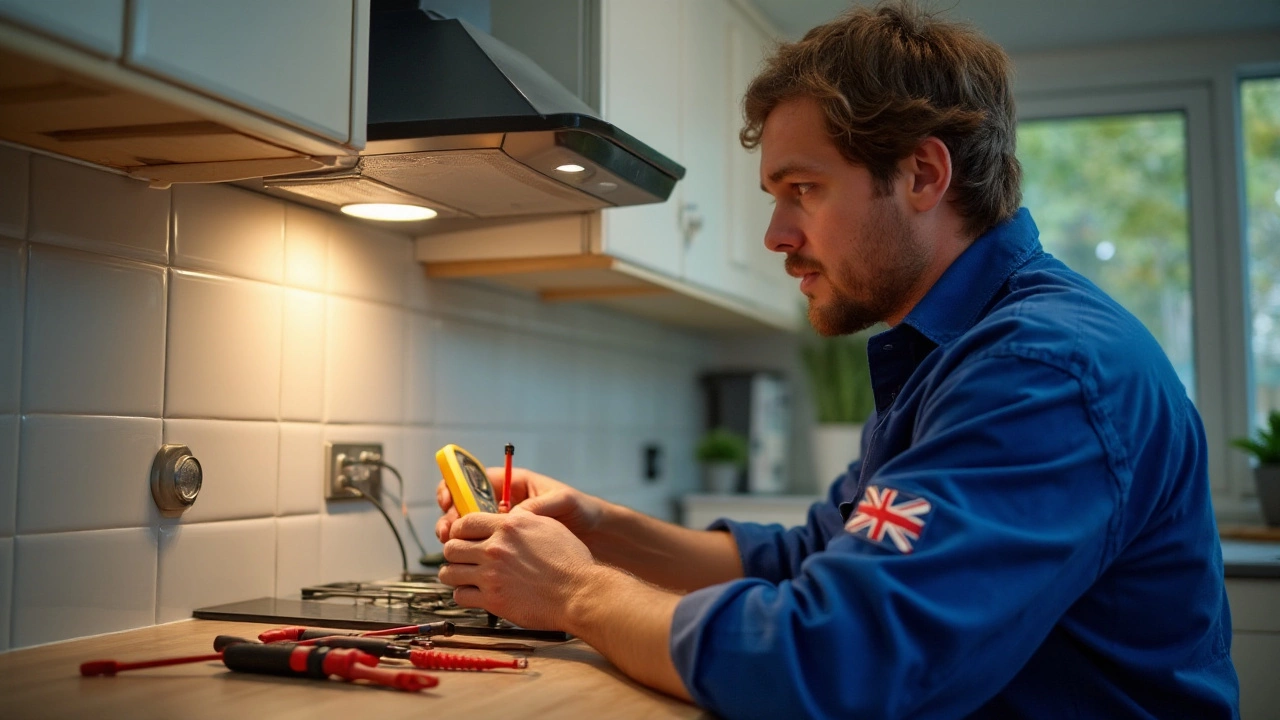
Finally, safe operation is a big factor. A fan with a frayed cord or loose wiring is a fire hazard. Spotting wear early lets you replace a part or call a pro before anything dangerous happens.
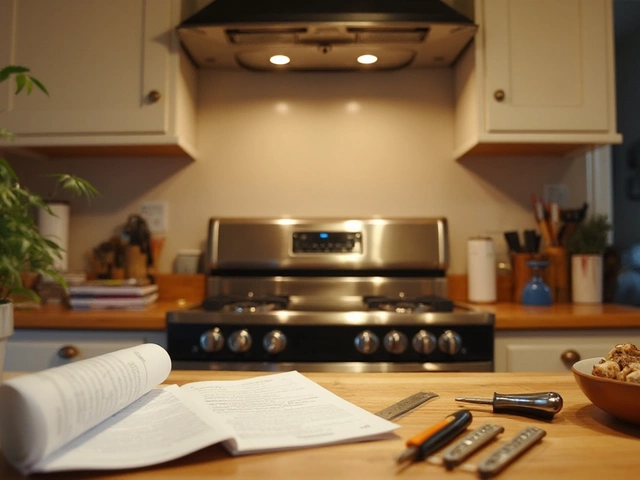
Easy DIY Maintenance Checklist
1. Turn the power off. Before you touch anything, flip the circuit breaker or unplug the fan. Safety first.
2. Remove the cover. Most extractor fans have a plastic or metal grille that snaps or screws off. Keep the screws in a small container so they don’t get lost.
3. Clean the grille. Soak it in warm, soapy water for ten minutes, then scrub with a soft brush. Grease and dust will come off easily. Dry it thoroughly before reinstalling.
4. Vacuum the fan housing. Use the brush attachment on your vacuum to pull out dust from the motor housing and the duct opening. If you see a lot of buildup, a handheld blower can push the debris out of the vent.
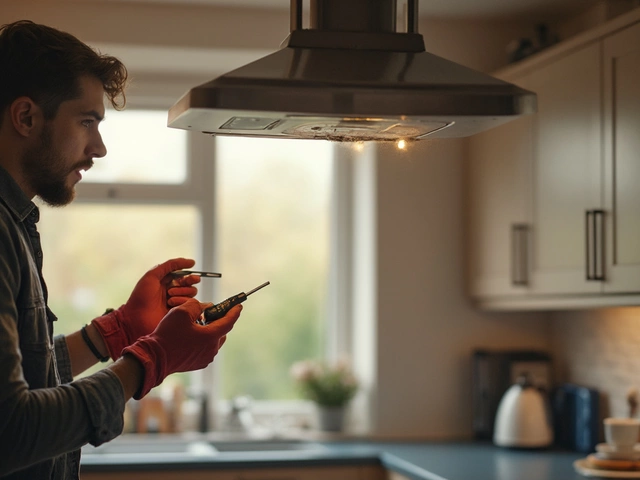
5. Check the blades. Spin the blades by hand. They should move smoothly without wobbling. If you notice a scrape, tighten the mounting screws or replace the blades.
6. Lubricate the motor (if applicable). Some fans have a sealed motor that doesn’t need oil, but older models may have a bearing that benefits from a few drops of light machine oil. Check the manufacturer’s guide first.
7. Inspect the wiring. Look for cracked insulation, loose connectors, or signs of overheating. Any damage means it’s time to call a qualified electrician.
8. Test the fan. Turn the power back on and run the fan for a minute. Listen for unusual noise and feel for steady airflow. If the fan is still noisy or weak, the motor may need professional attention.
Doing this checklist every 3‑6 months keeps performance high and extends the life of the fan. For homes with heavy cooking or frequent showers, aim for the shorter interval.
If you ever spot a burnt smell, sparks, or the fan simply won’t start, stop using it immediately and contact a repair service. Trying to force a broken motor can cause more damage and void warranties.
In short, a quick clean, a visual inspection, and a test run are all you need to keep your extractor fans in top shape. Regular care saves energy, prevents mold, and stops small issues from turning into pricey repairs. Your kitchen and bathroom will stay fresh, and you’ll avoid the headache of a fan that quits right when you need it most.